Game Boy Collage #1
For a few months now, I’ve wanted to work on some new old-school artwork: creating a collage from the internals of a classic Nintendo Game Boy. Similar to the How Things Work series of books, each component of the Game Boy would have annotations and detailed schematics. Unlike those books, the Game Boy would continue to work. After all, if it doesn’t work, it’s not very fun.
8-bit handhelds
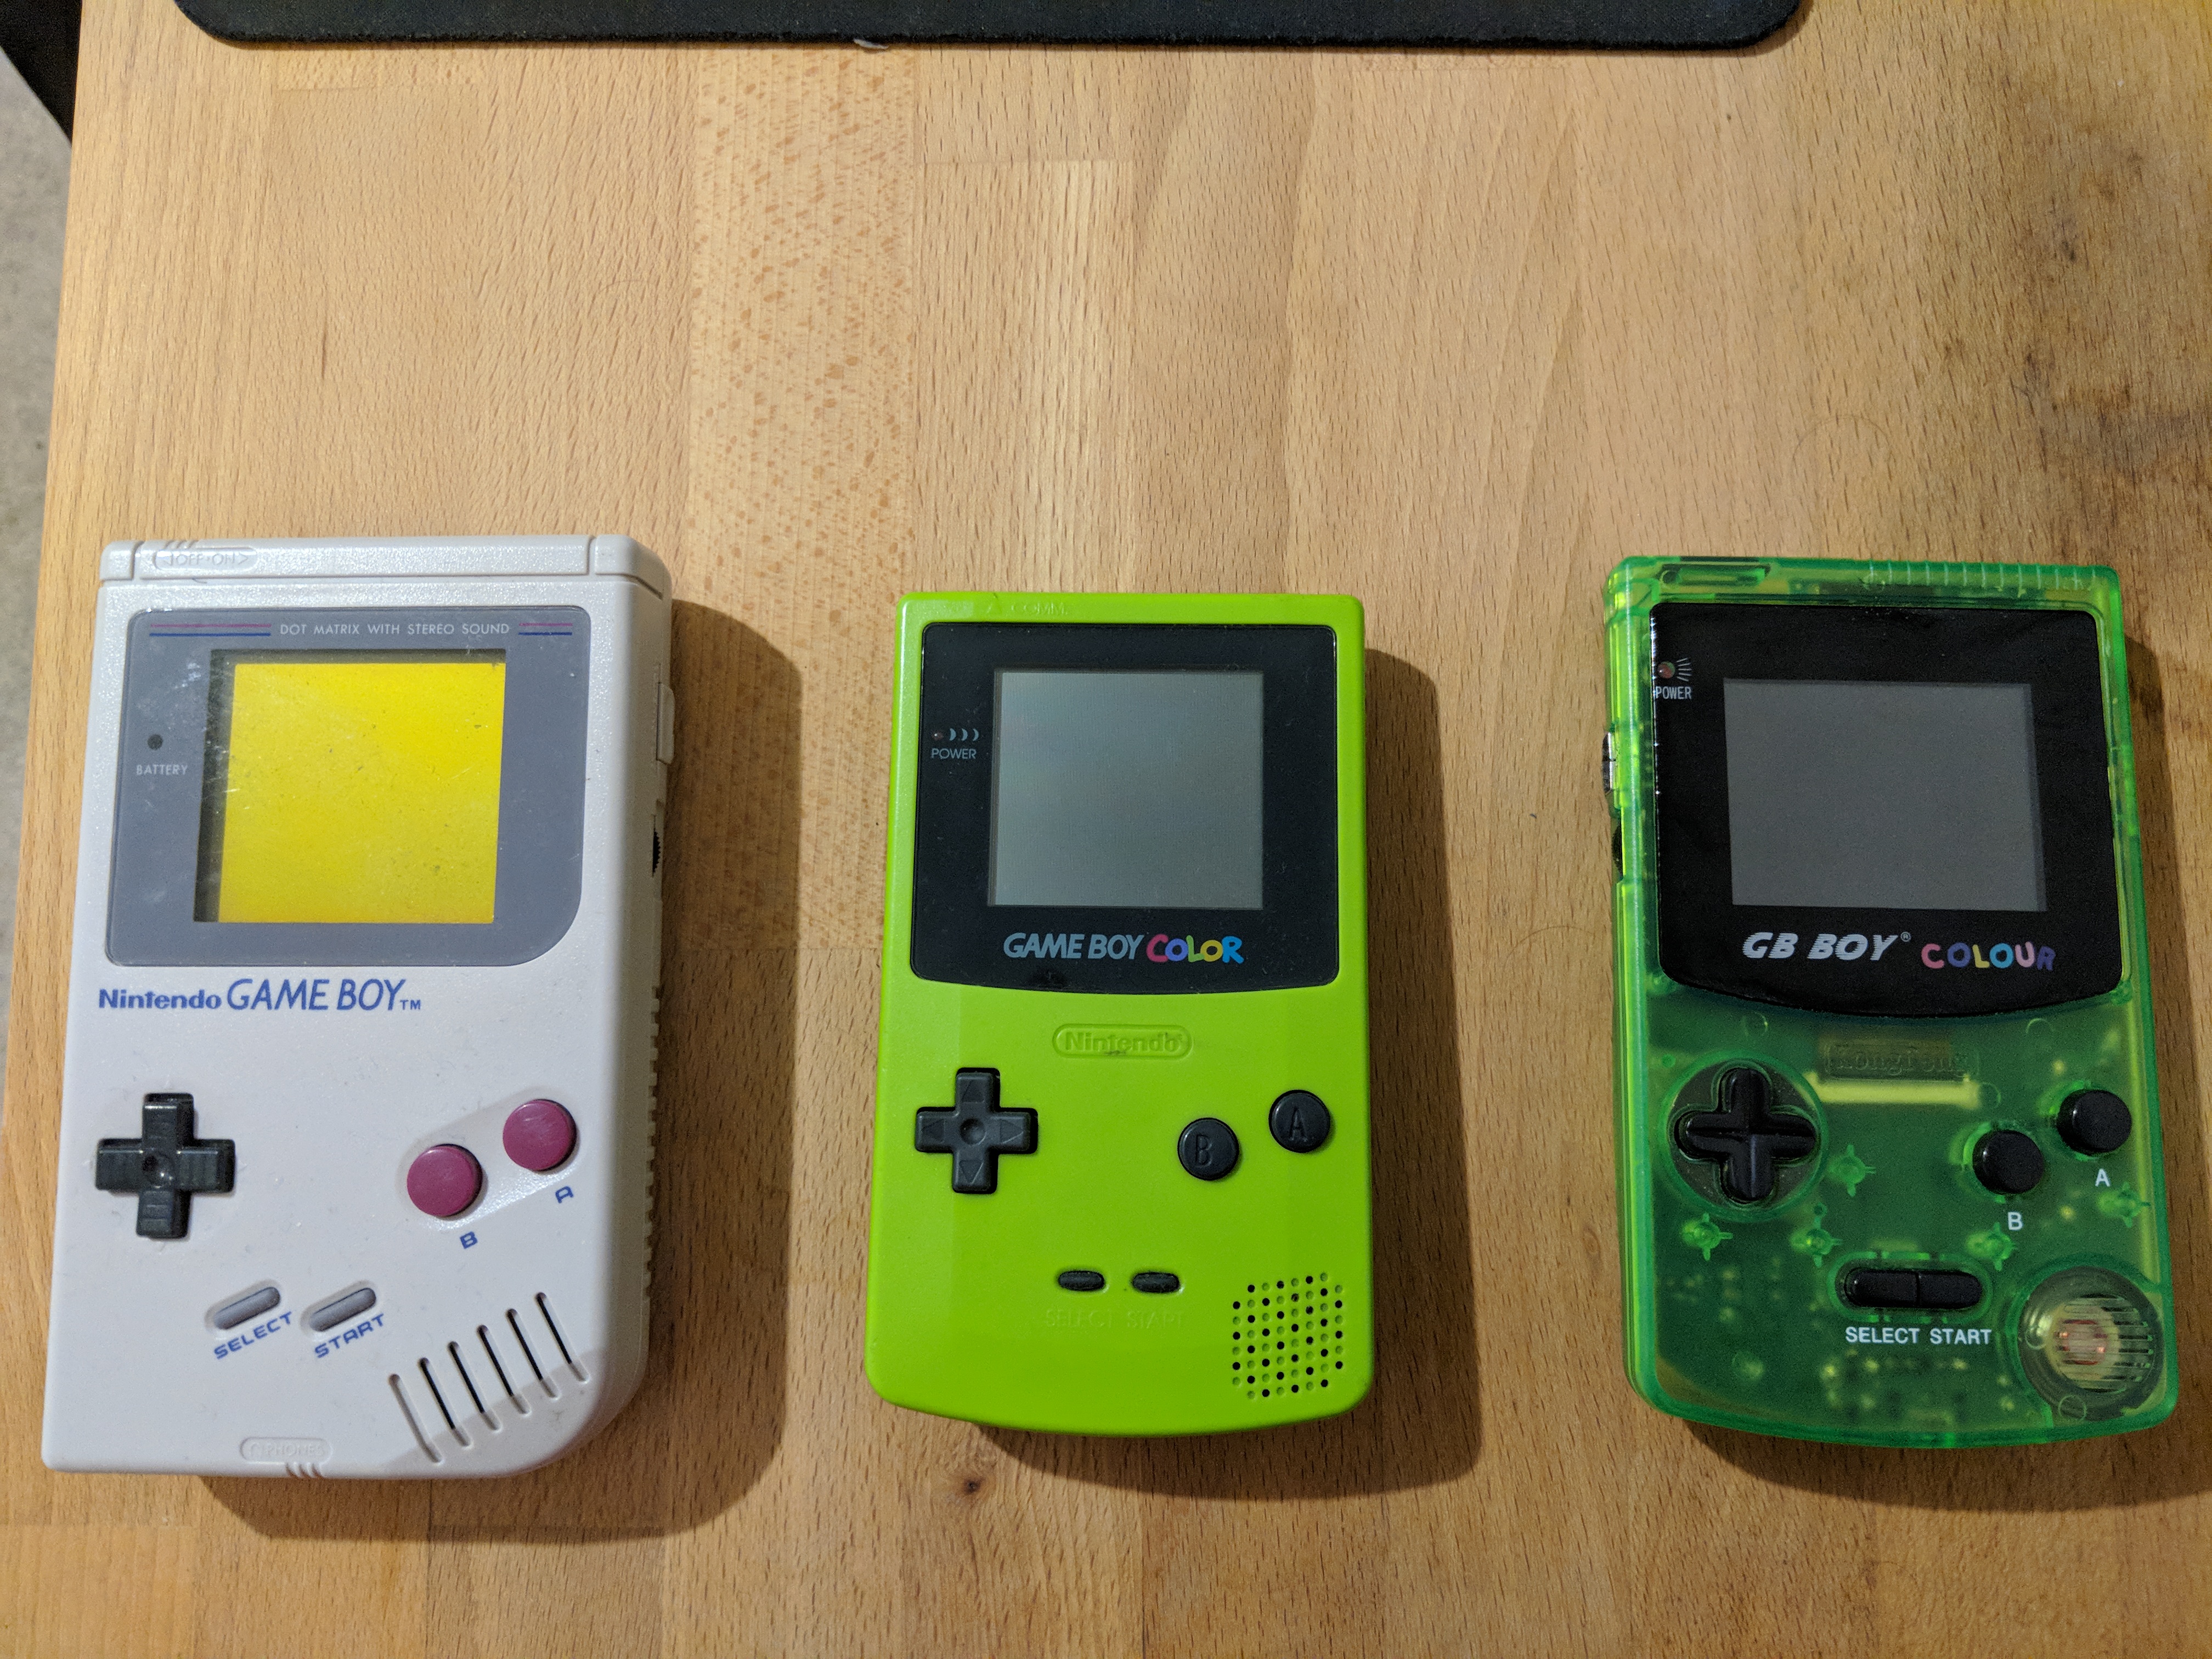
Although I’ll only be taking apart one, I have three 8-bit handhelds.
For a few months now, I’ve wanted to work on some new old-school artwork: creating a collage from the internals of a classic Nintendo Game Boy. Similar to the How Things Work series of books, each component of the Game Boy would have annotations and detailed schematics. Unlike those books, the Game Boy would continue to work. After all, if it doesn’t work, it’s not very fun.
8-bit handhelds
Although I’ll only be taking apart one, I have three 8-bit handhelds.
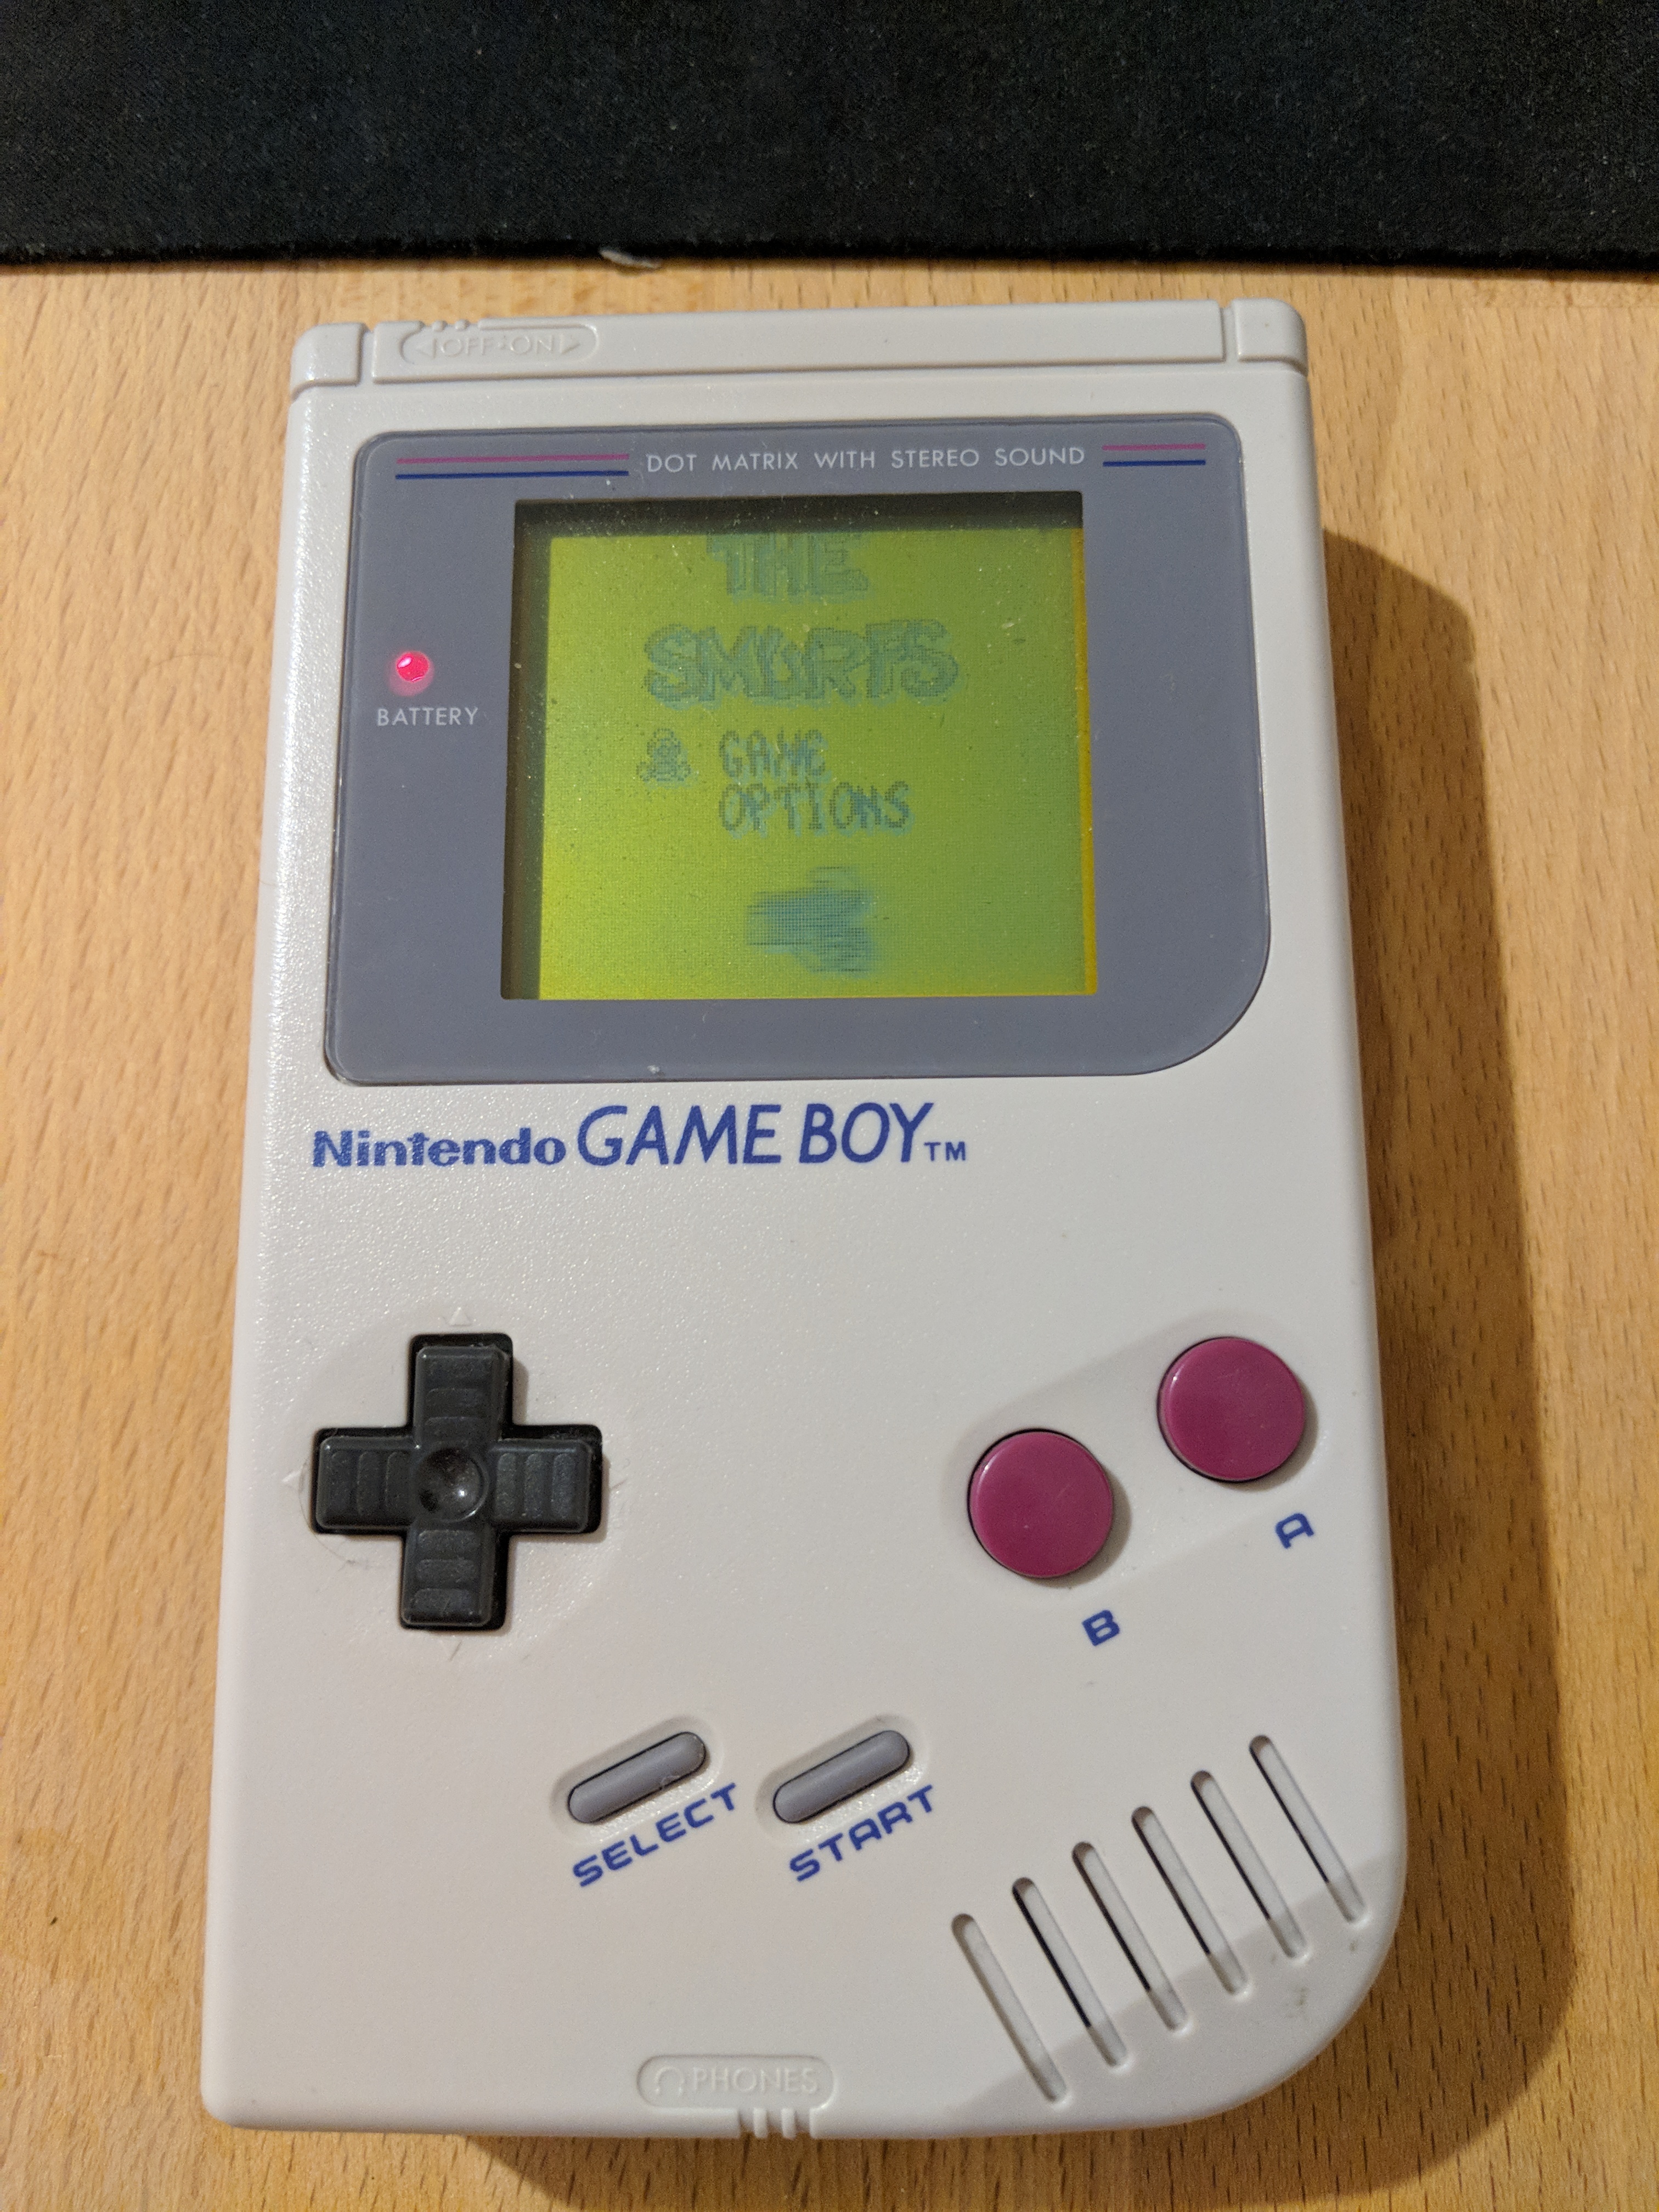
Game Boy (DMG) playing Smurfs
On the left is the original gray Game Boy. It sports a super reflective black and green screen, guzzling 4 AA batteries, and a big boxy shape.
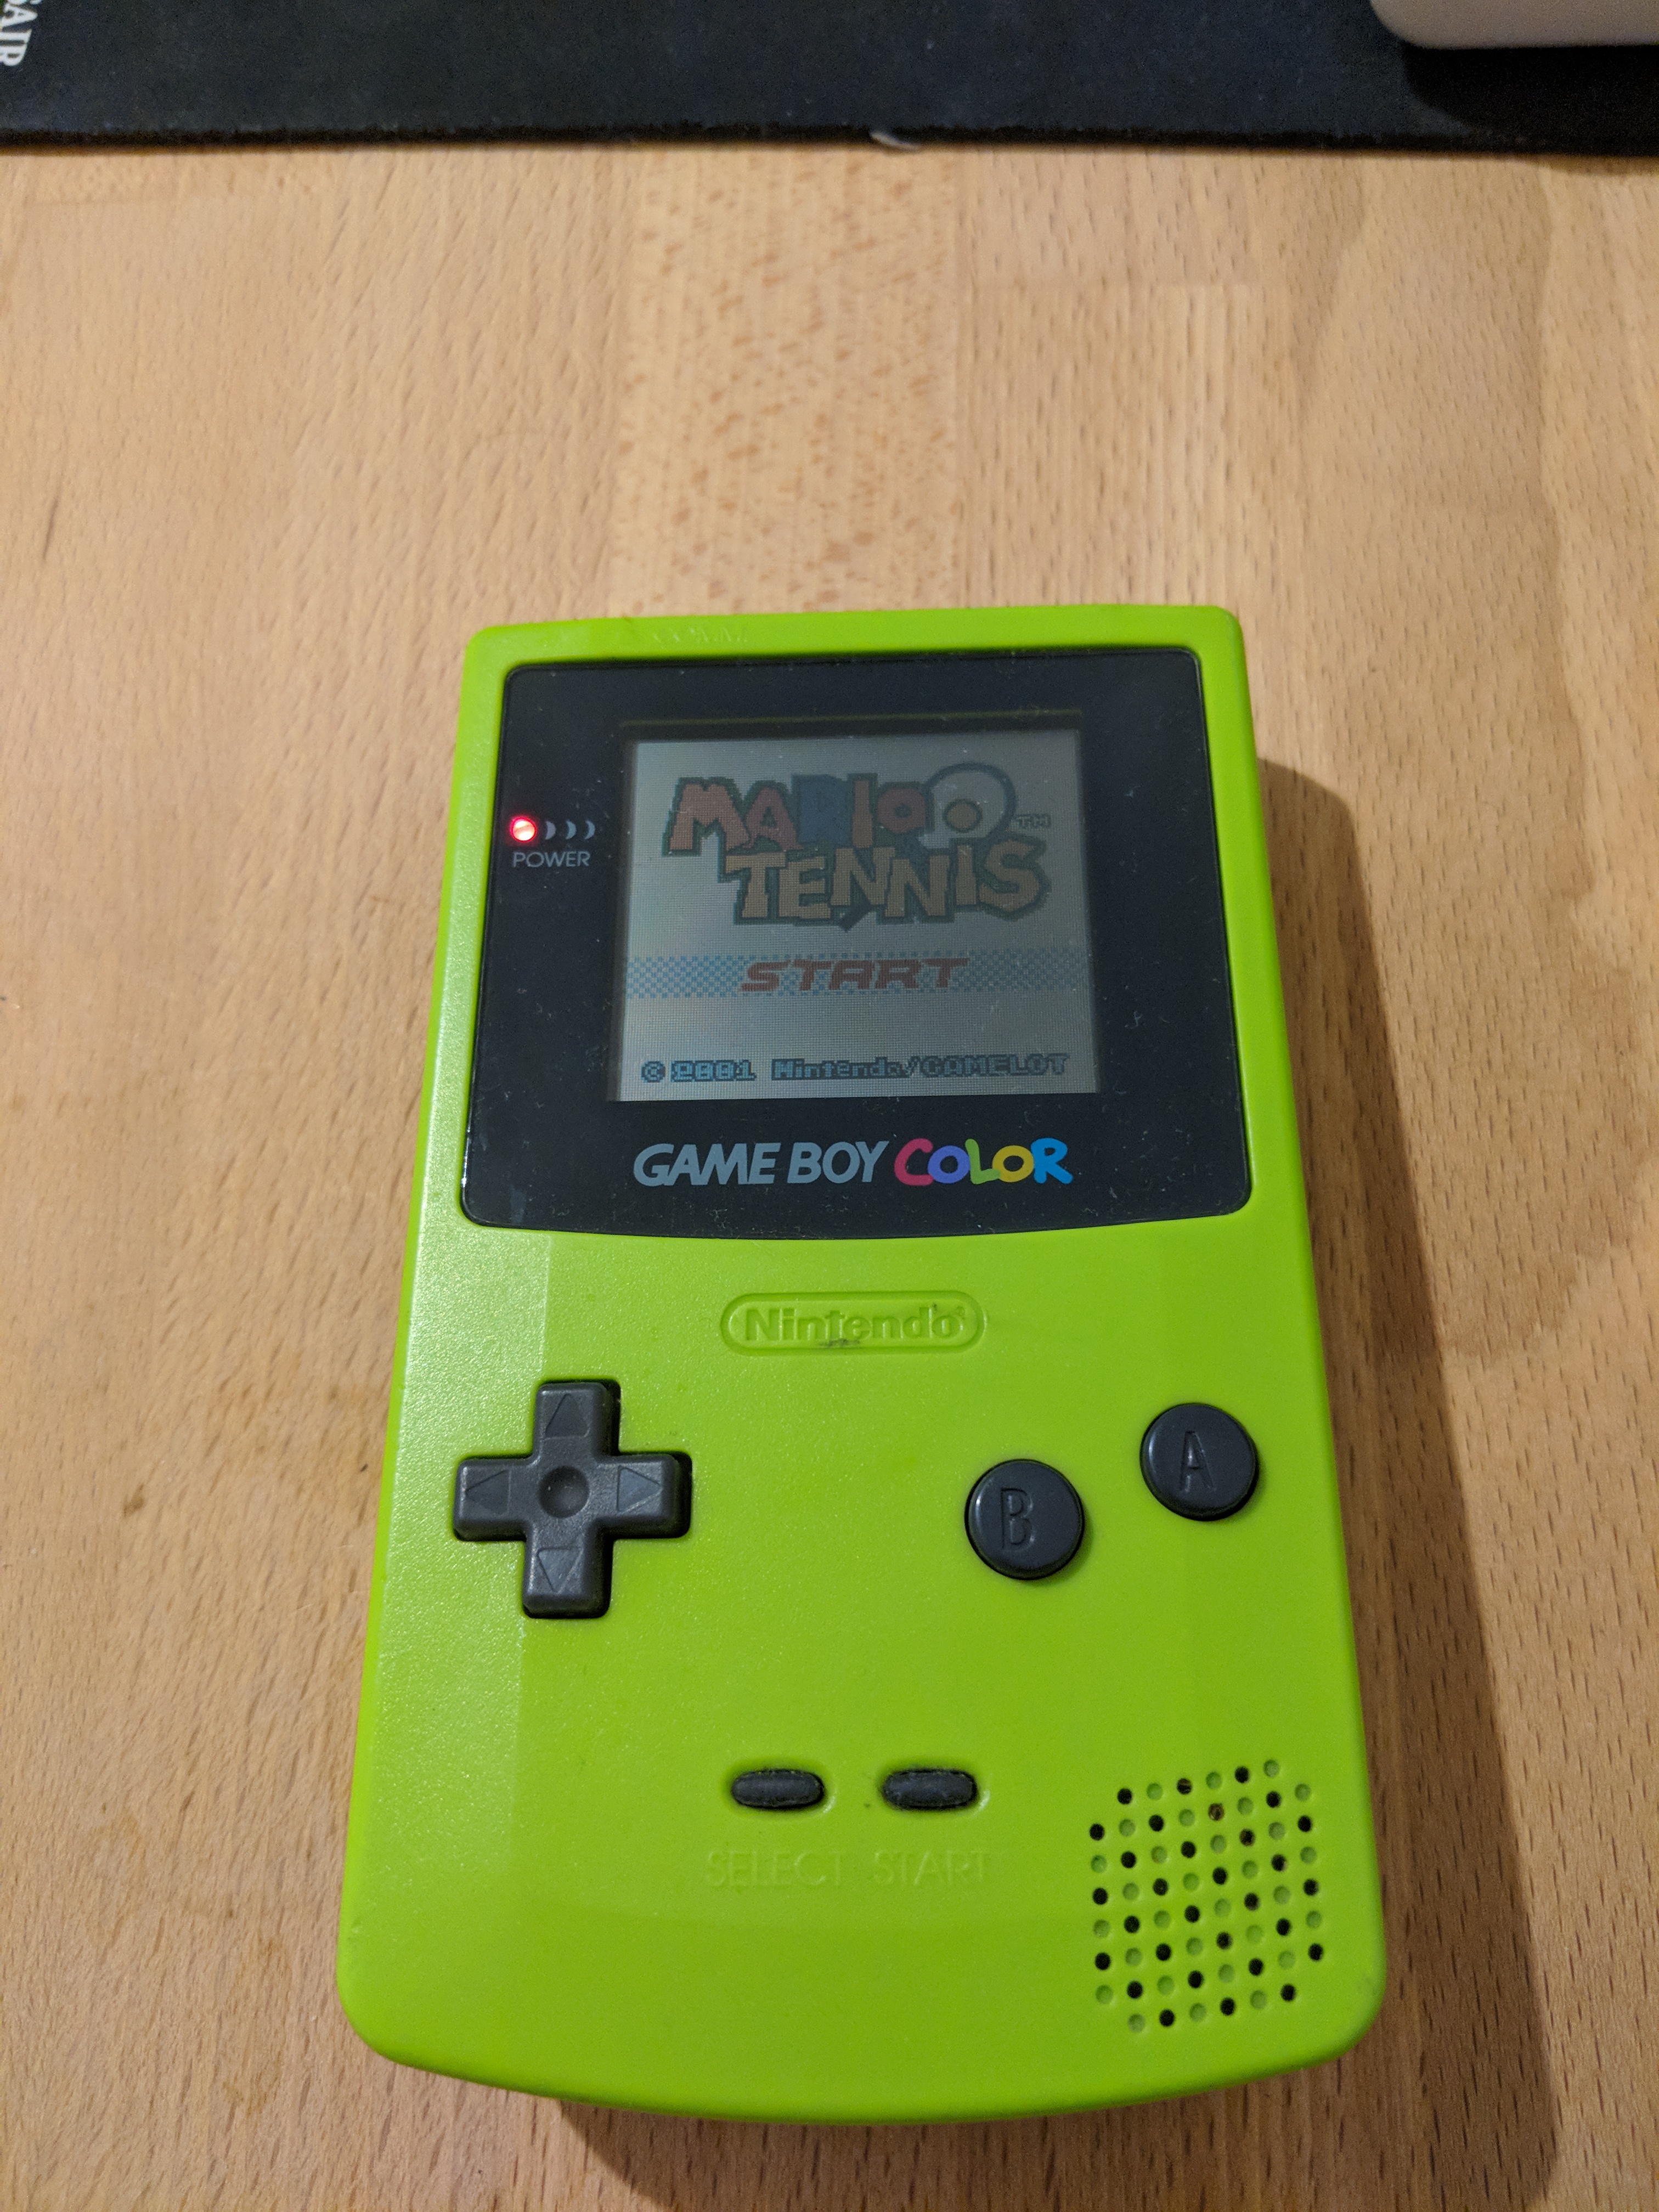
Game Boy Color (GBC) playing Mario Tennis
To the right in the center is a lime green Game Boy Color, capable of up to 32K colors, and backward compatible with the original Game Boy. I have fond memories playing on my lime green Game Boy Color growing up. I can’t even guess how many hours I put on it.
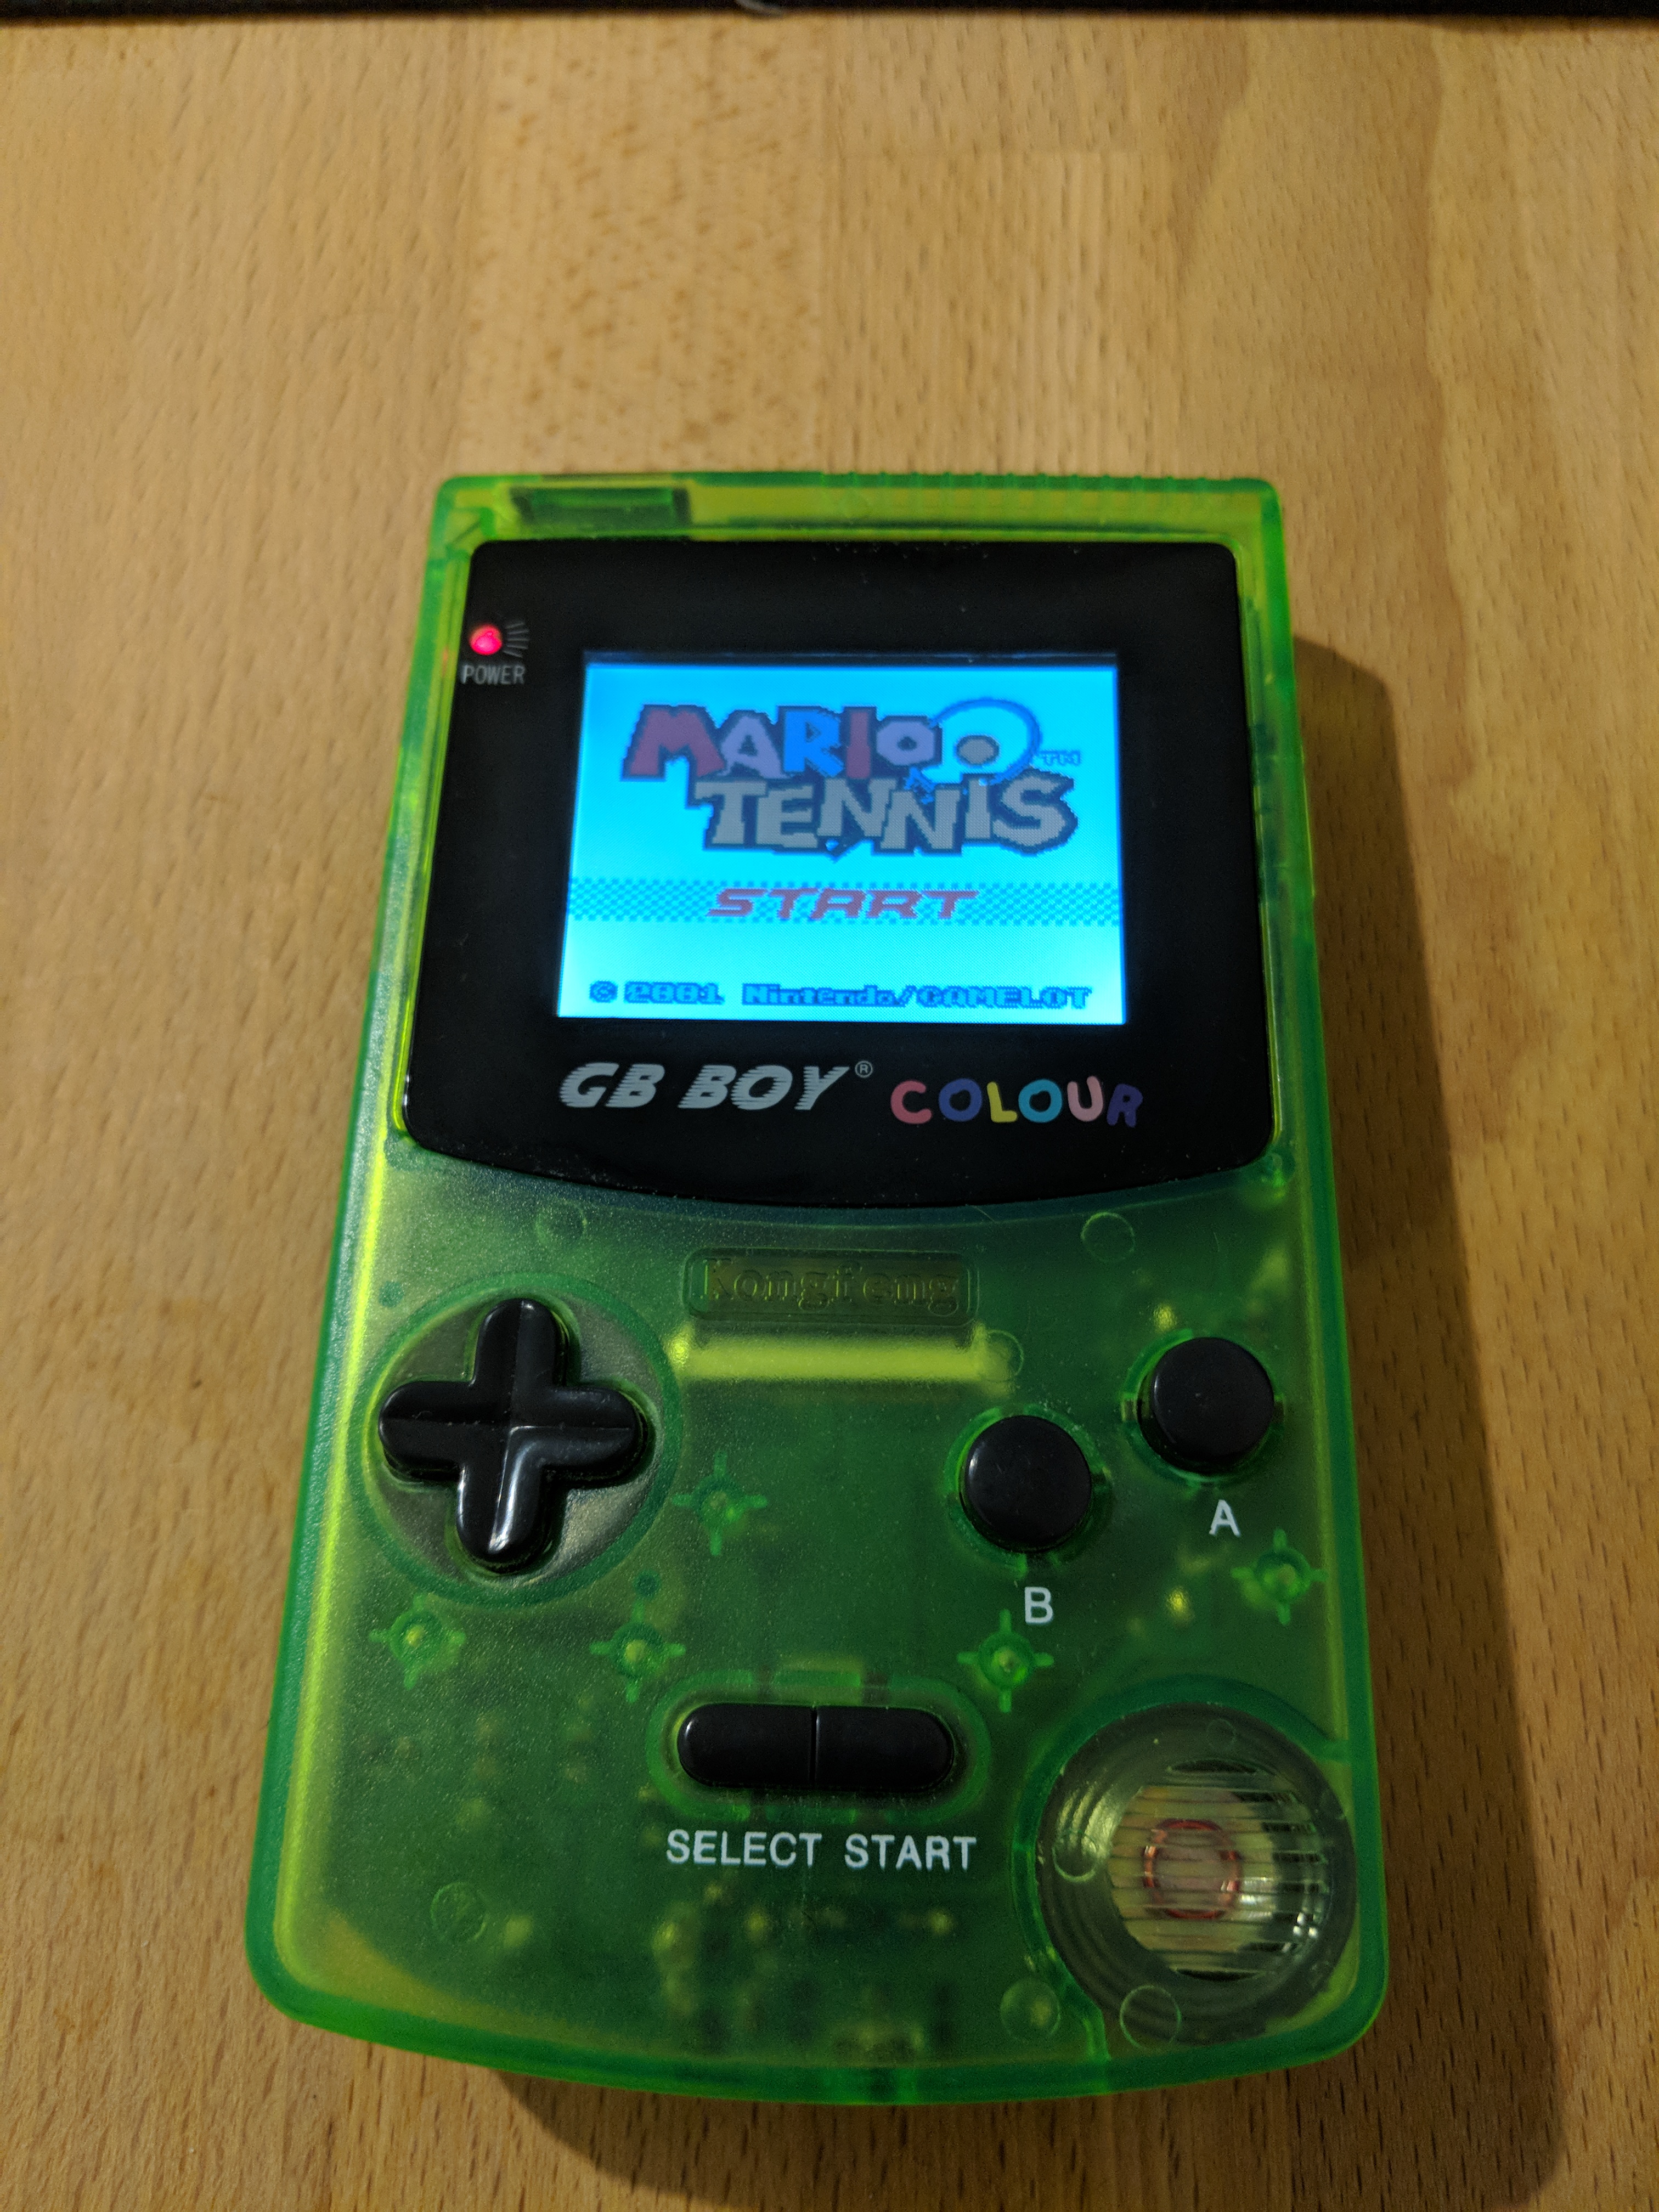
GB Boy Colour playing Mario Tennis
Finally, on the rightmost side, is the GB Boy Colour, a 2010s clone of the Color. The screen is the wrong aspect ratio and the wrong resolution. The custom processor runs the games at the wrong clock speed. The audio hardware, while loud, is a poor emulation of the original. It does, and this is the saving grace, have a backlight LCD screen.
My understanding is that this uses a custom System on Chip design to emulate the Game Boy Color. I haven’t taken it apart, but I think it will be interesting to do so in a future post.
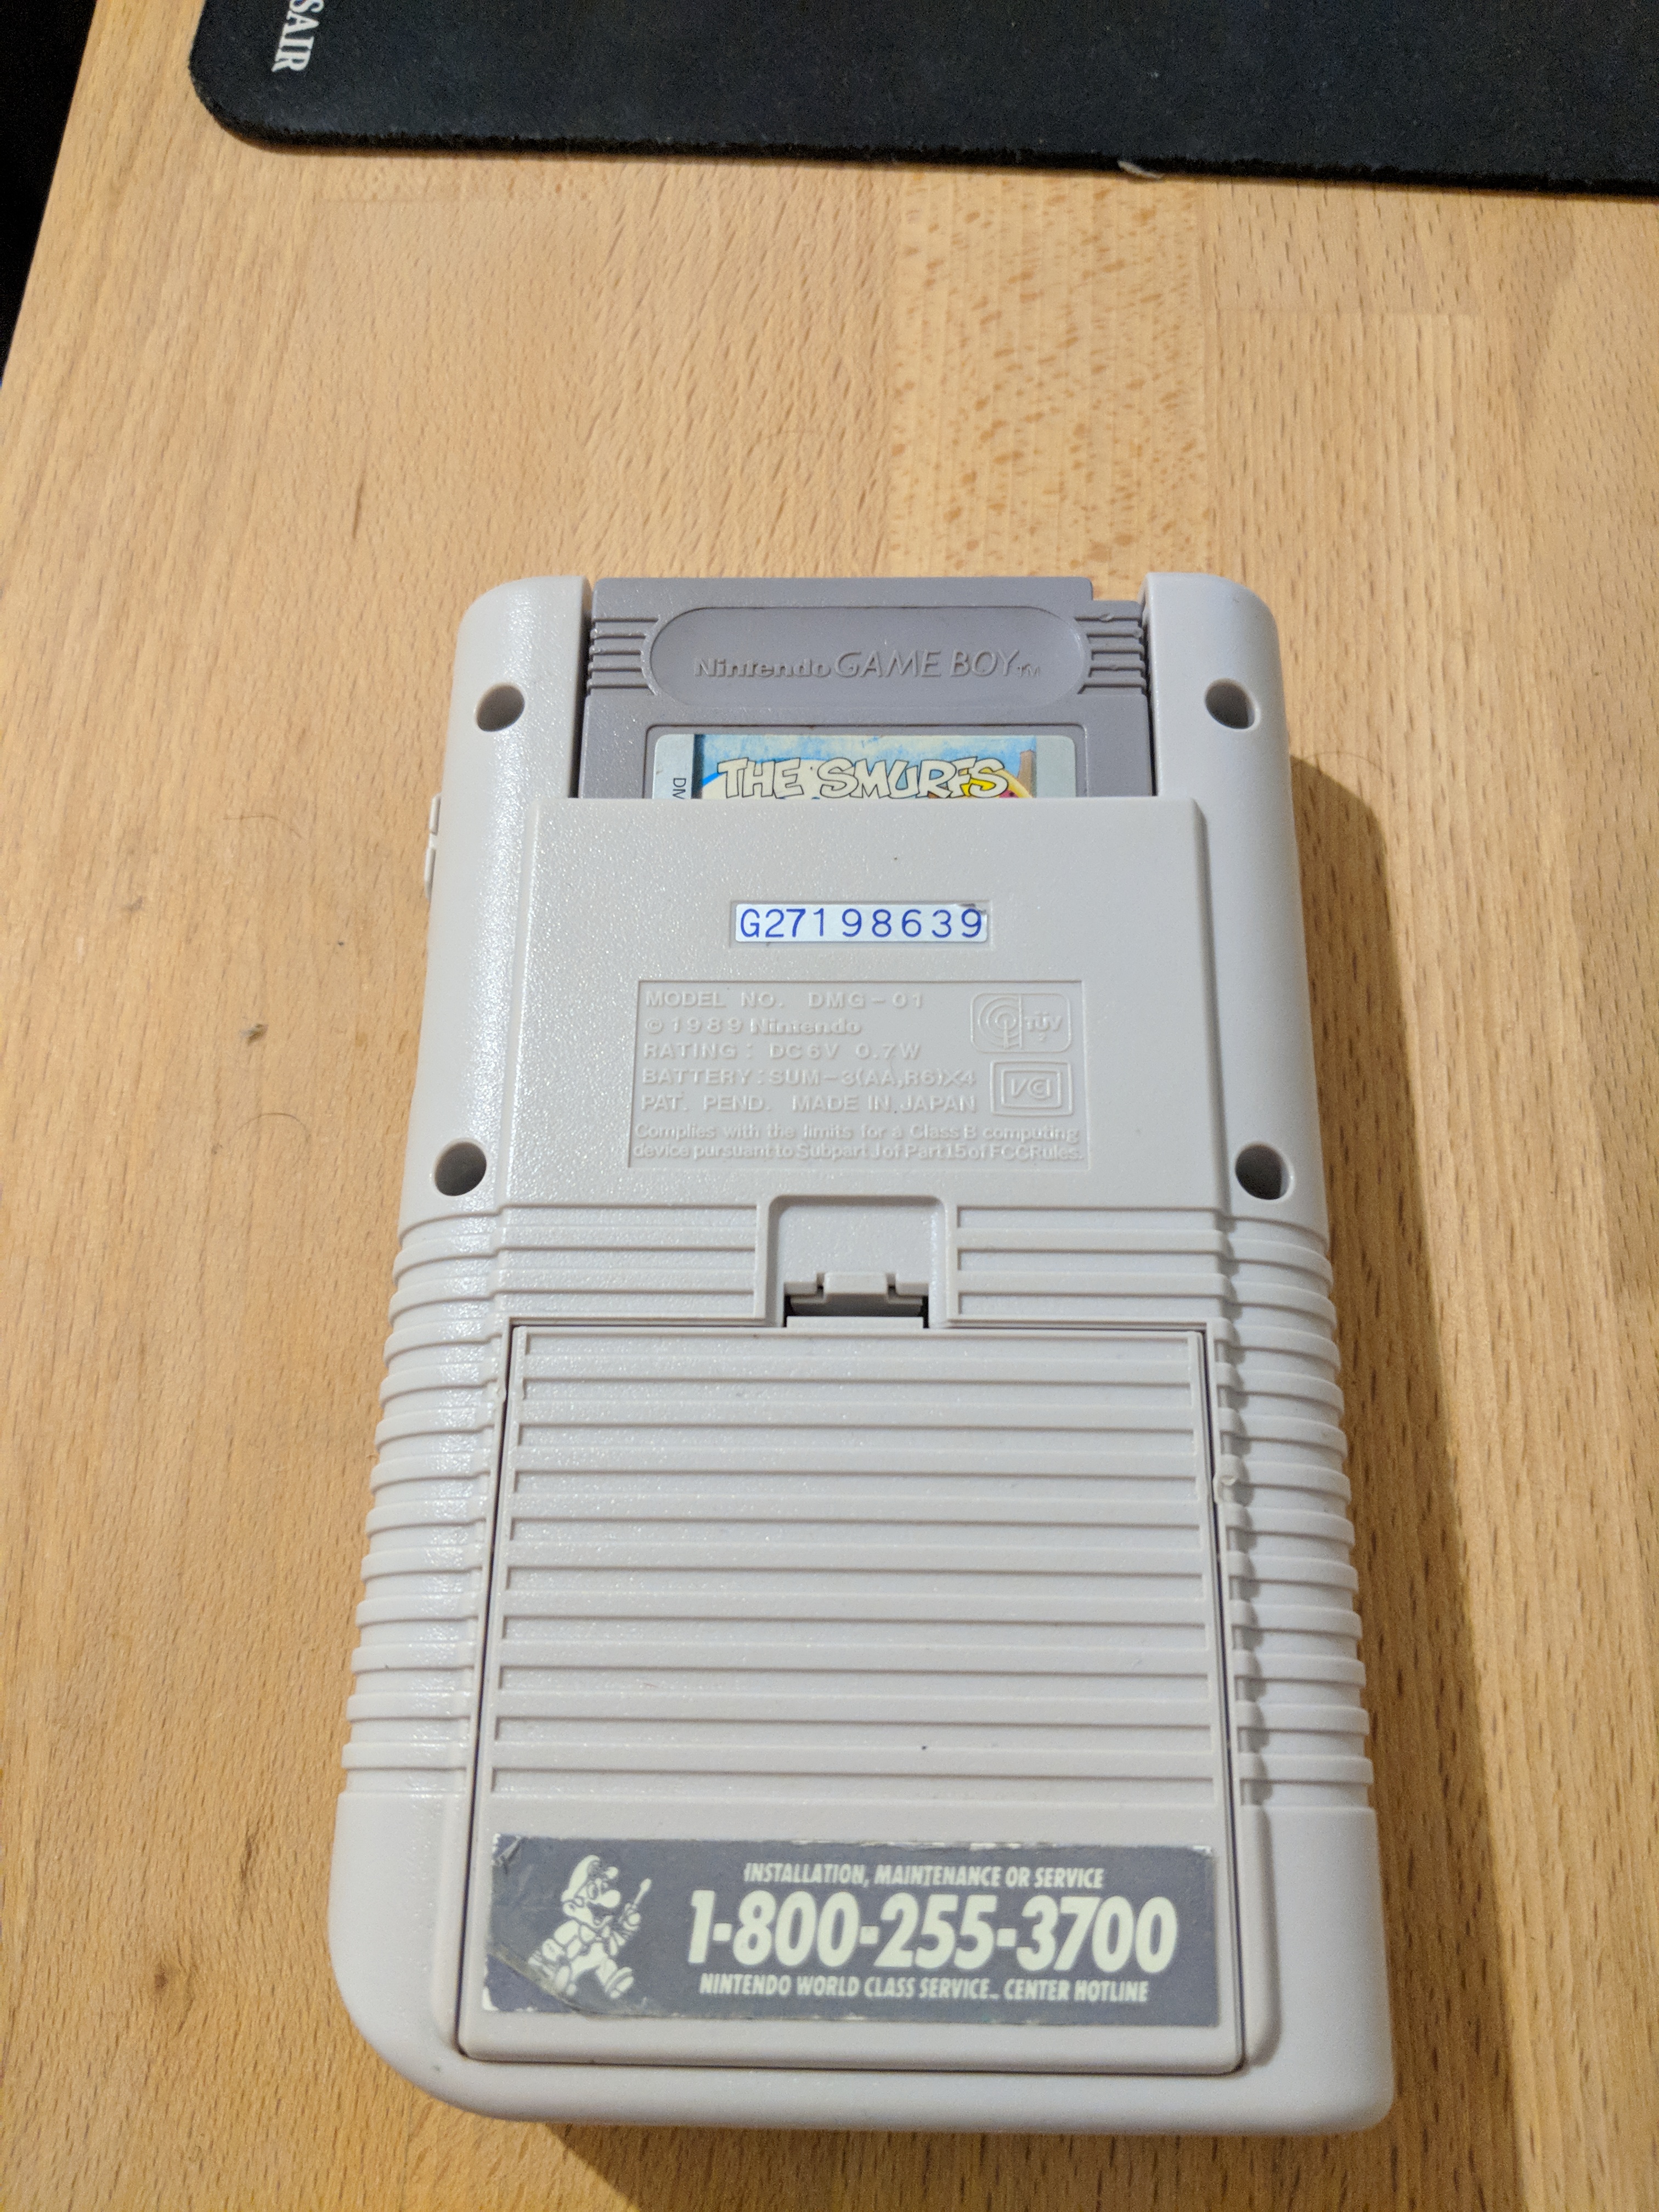
Backside of DMG. Serial Number G27198639
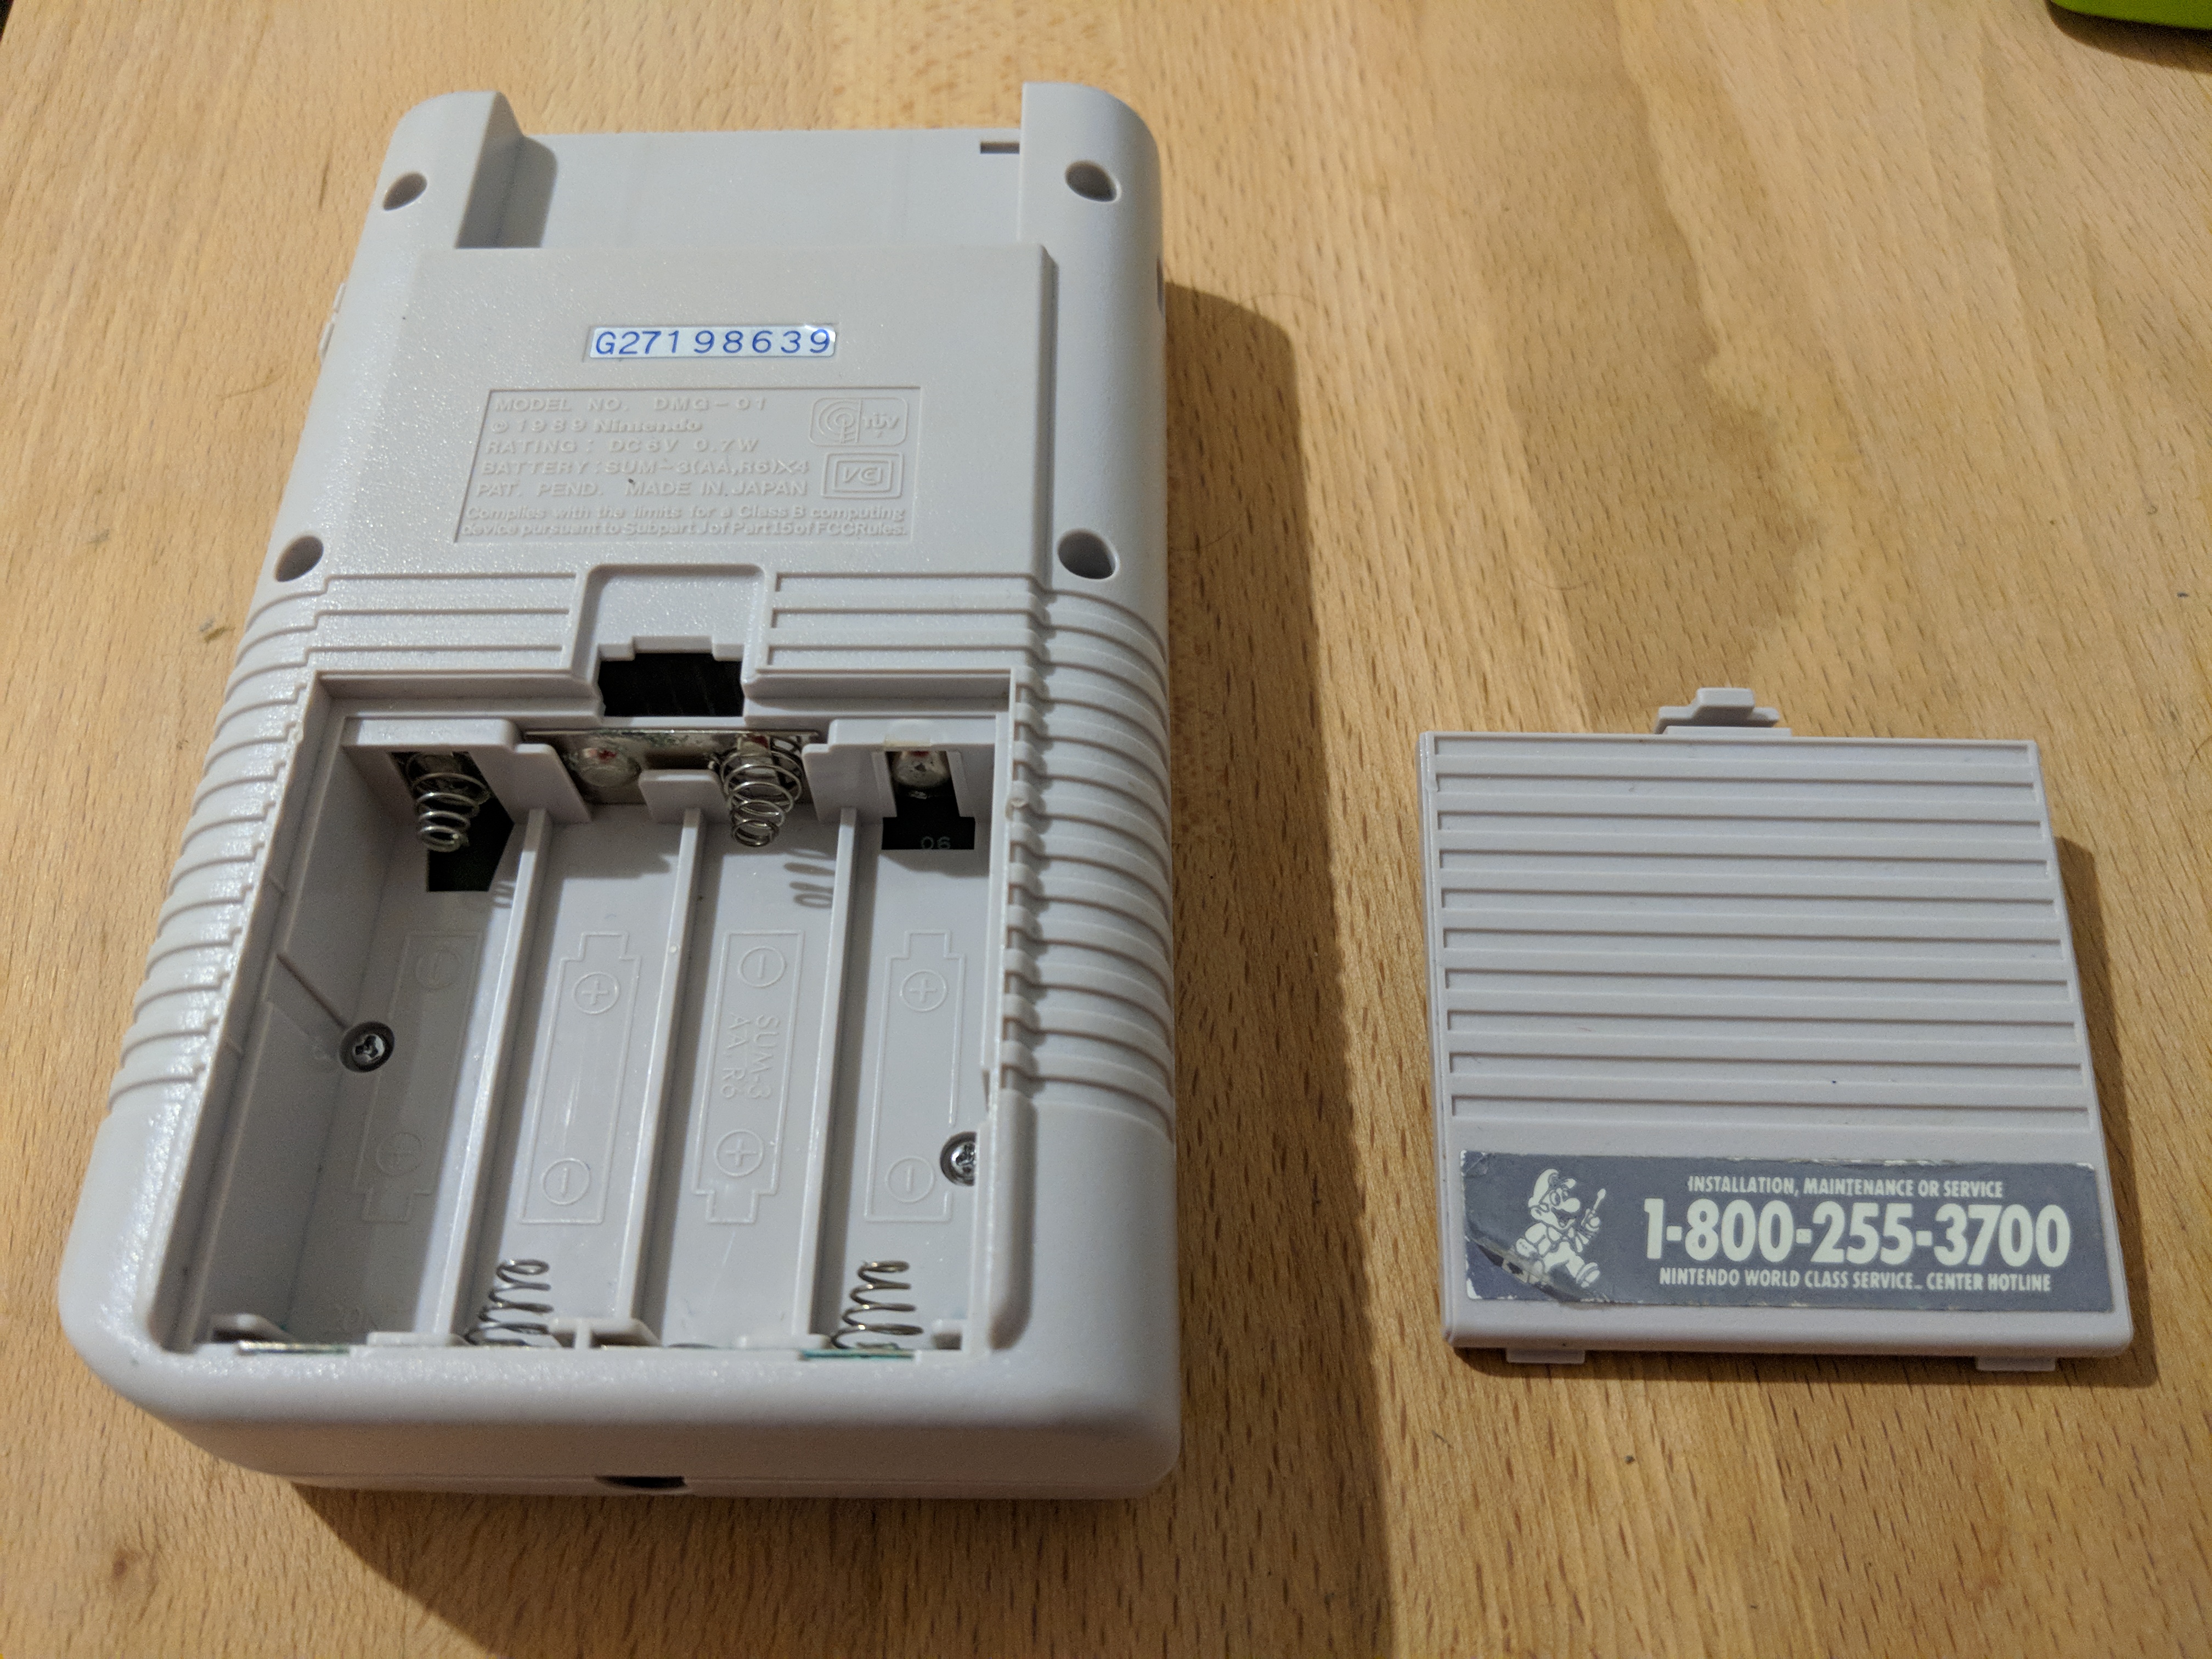
Backside of DMG with the battery compartment visible
Moving back to the original, gray, Game Boy unit, before we take it apart, I should take some pictures of the outside. The serial number and service stickers aren’t in pristine condition, but they’re still in pretty decent shape! I’d like to repair both labels; I’m looking into the best repair methods.
Left side of the DMG
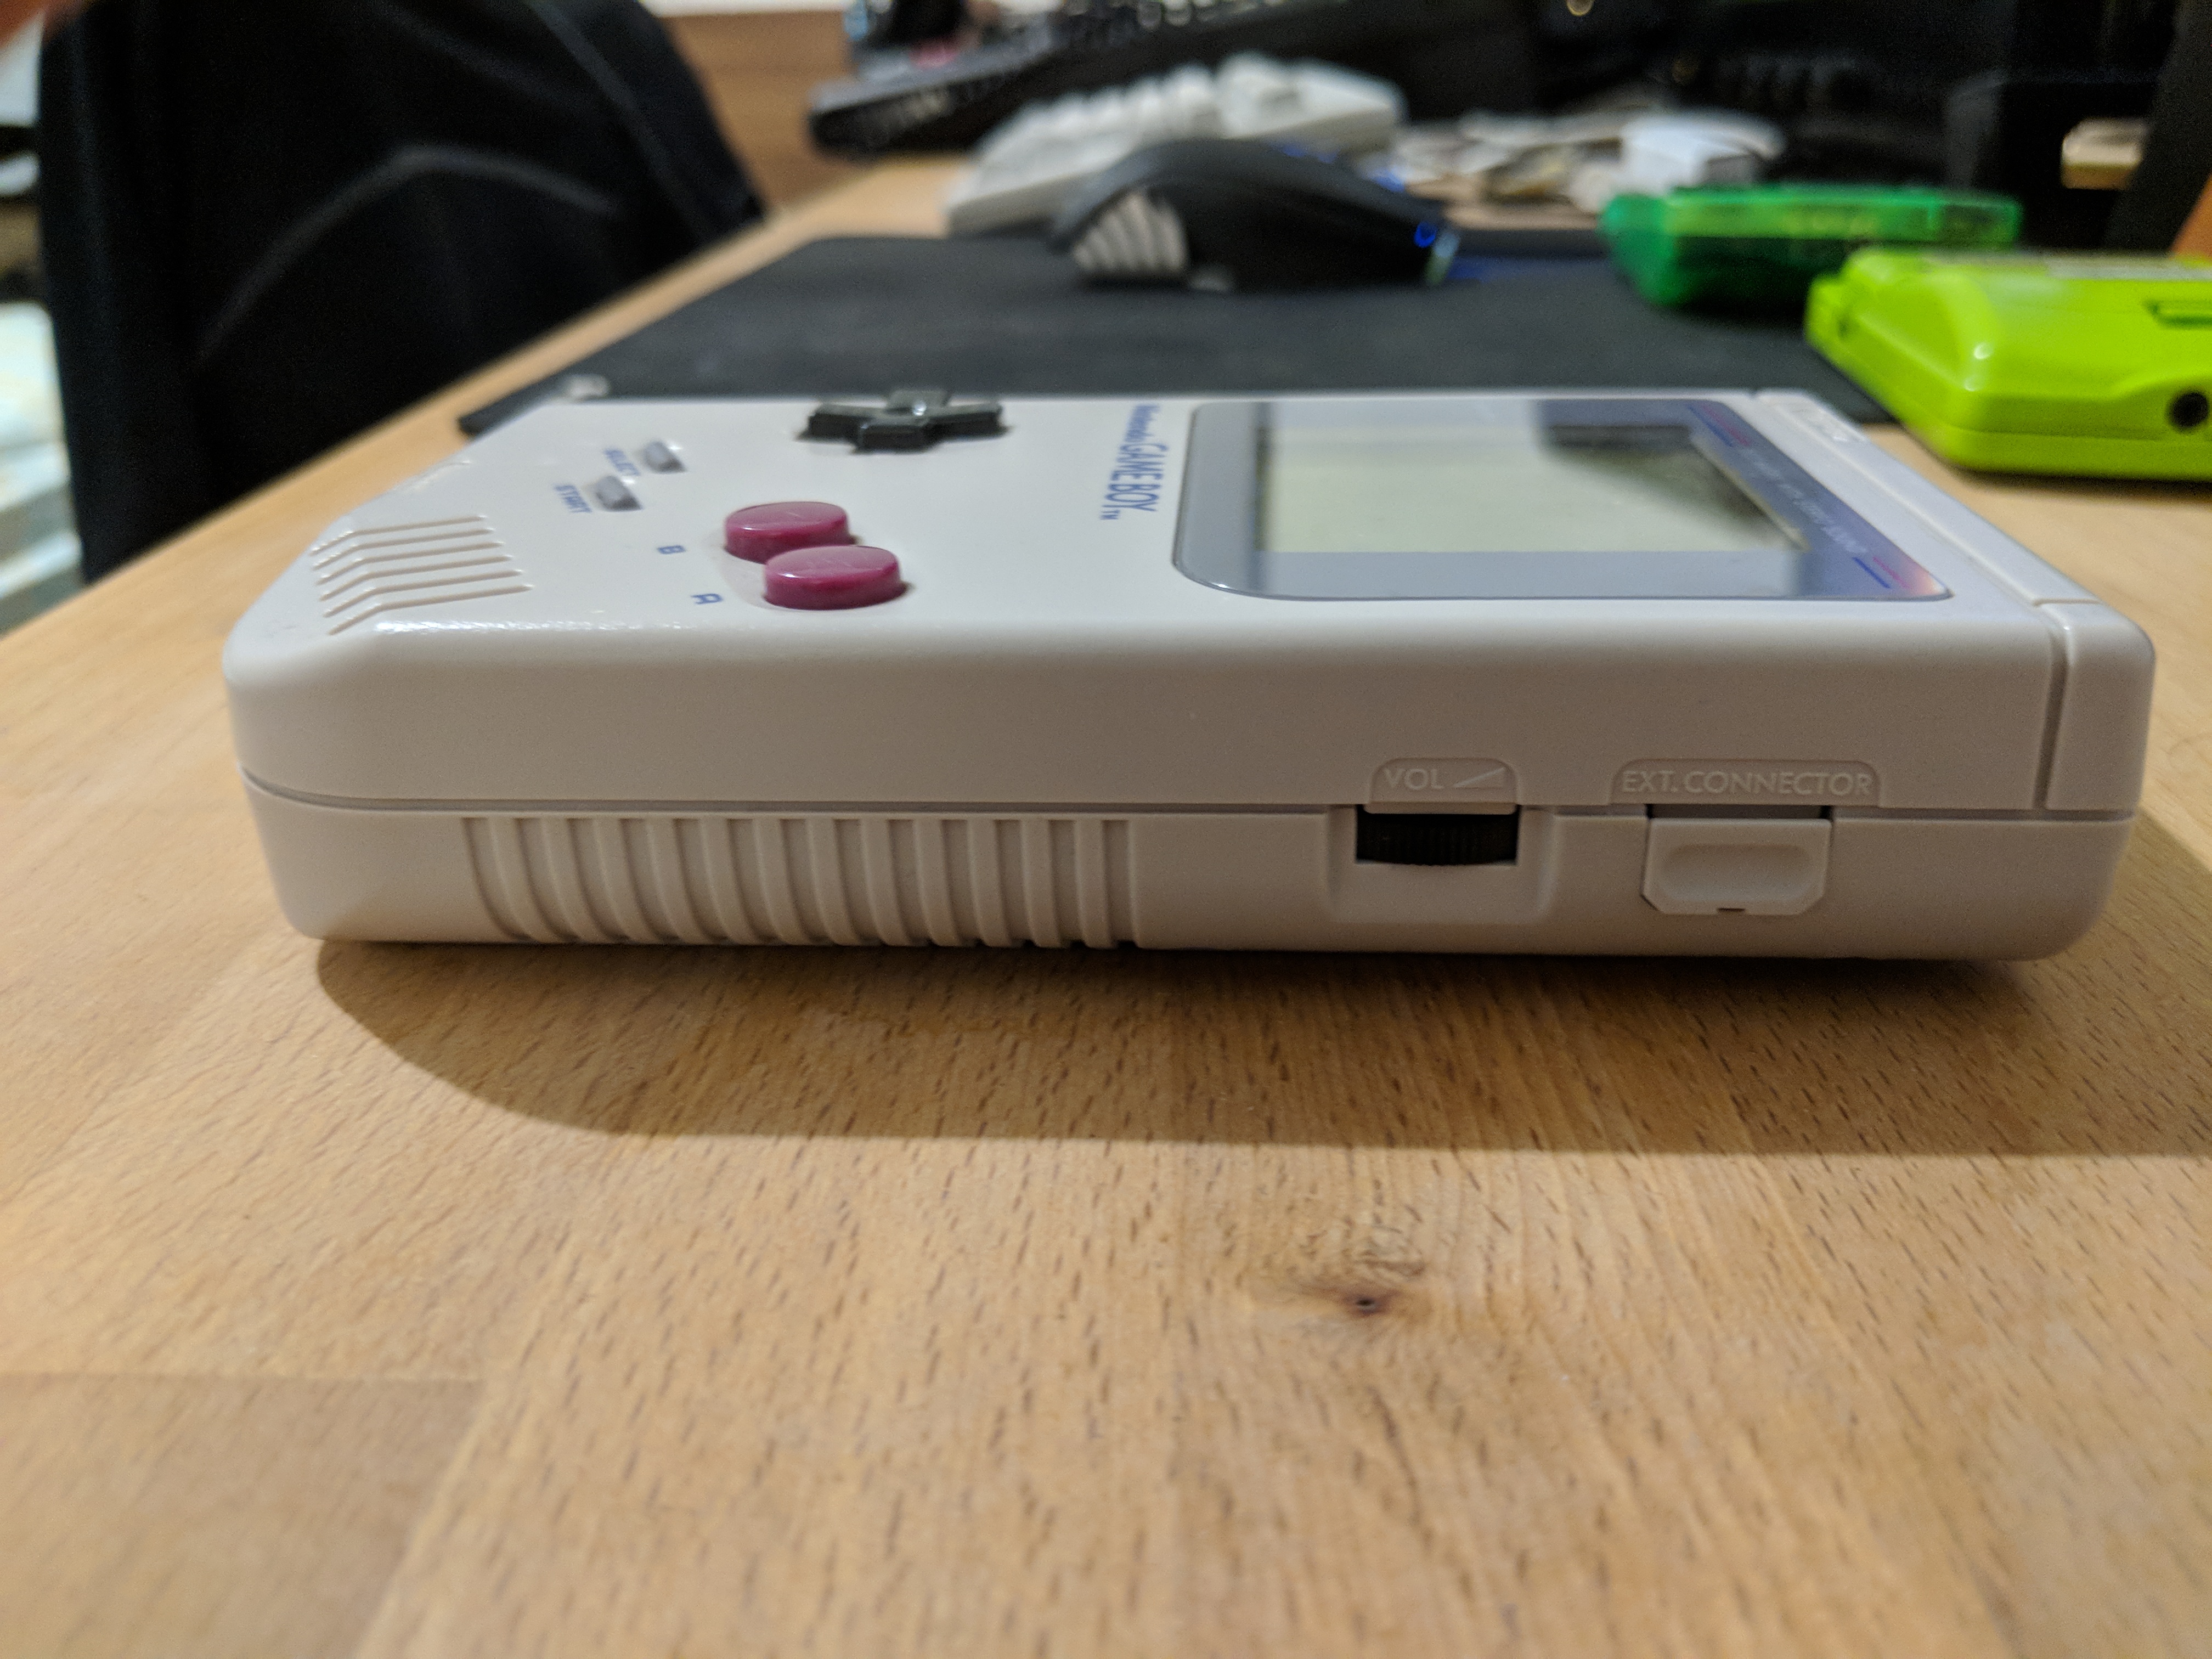
Right side of the DMG
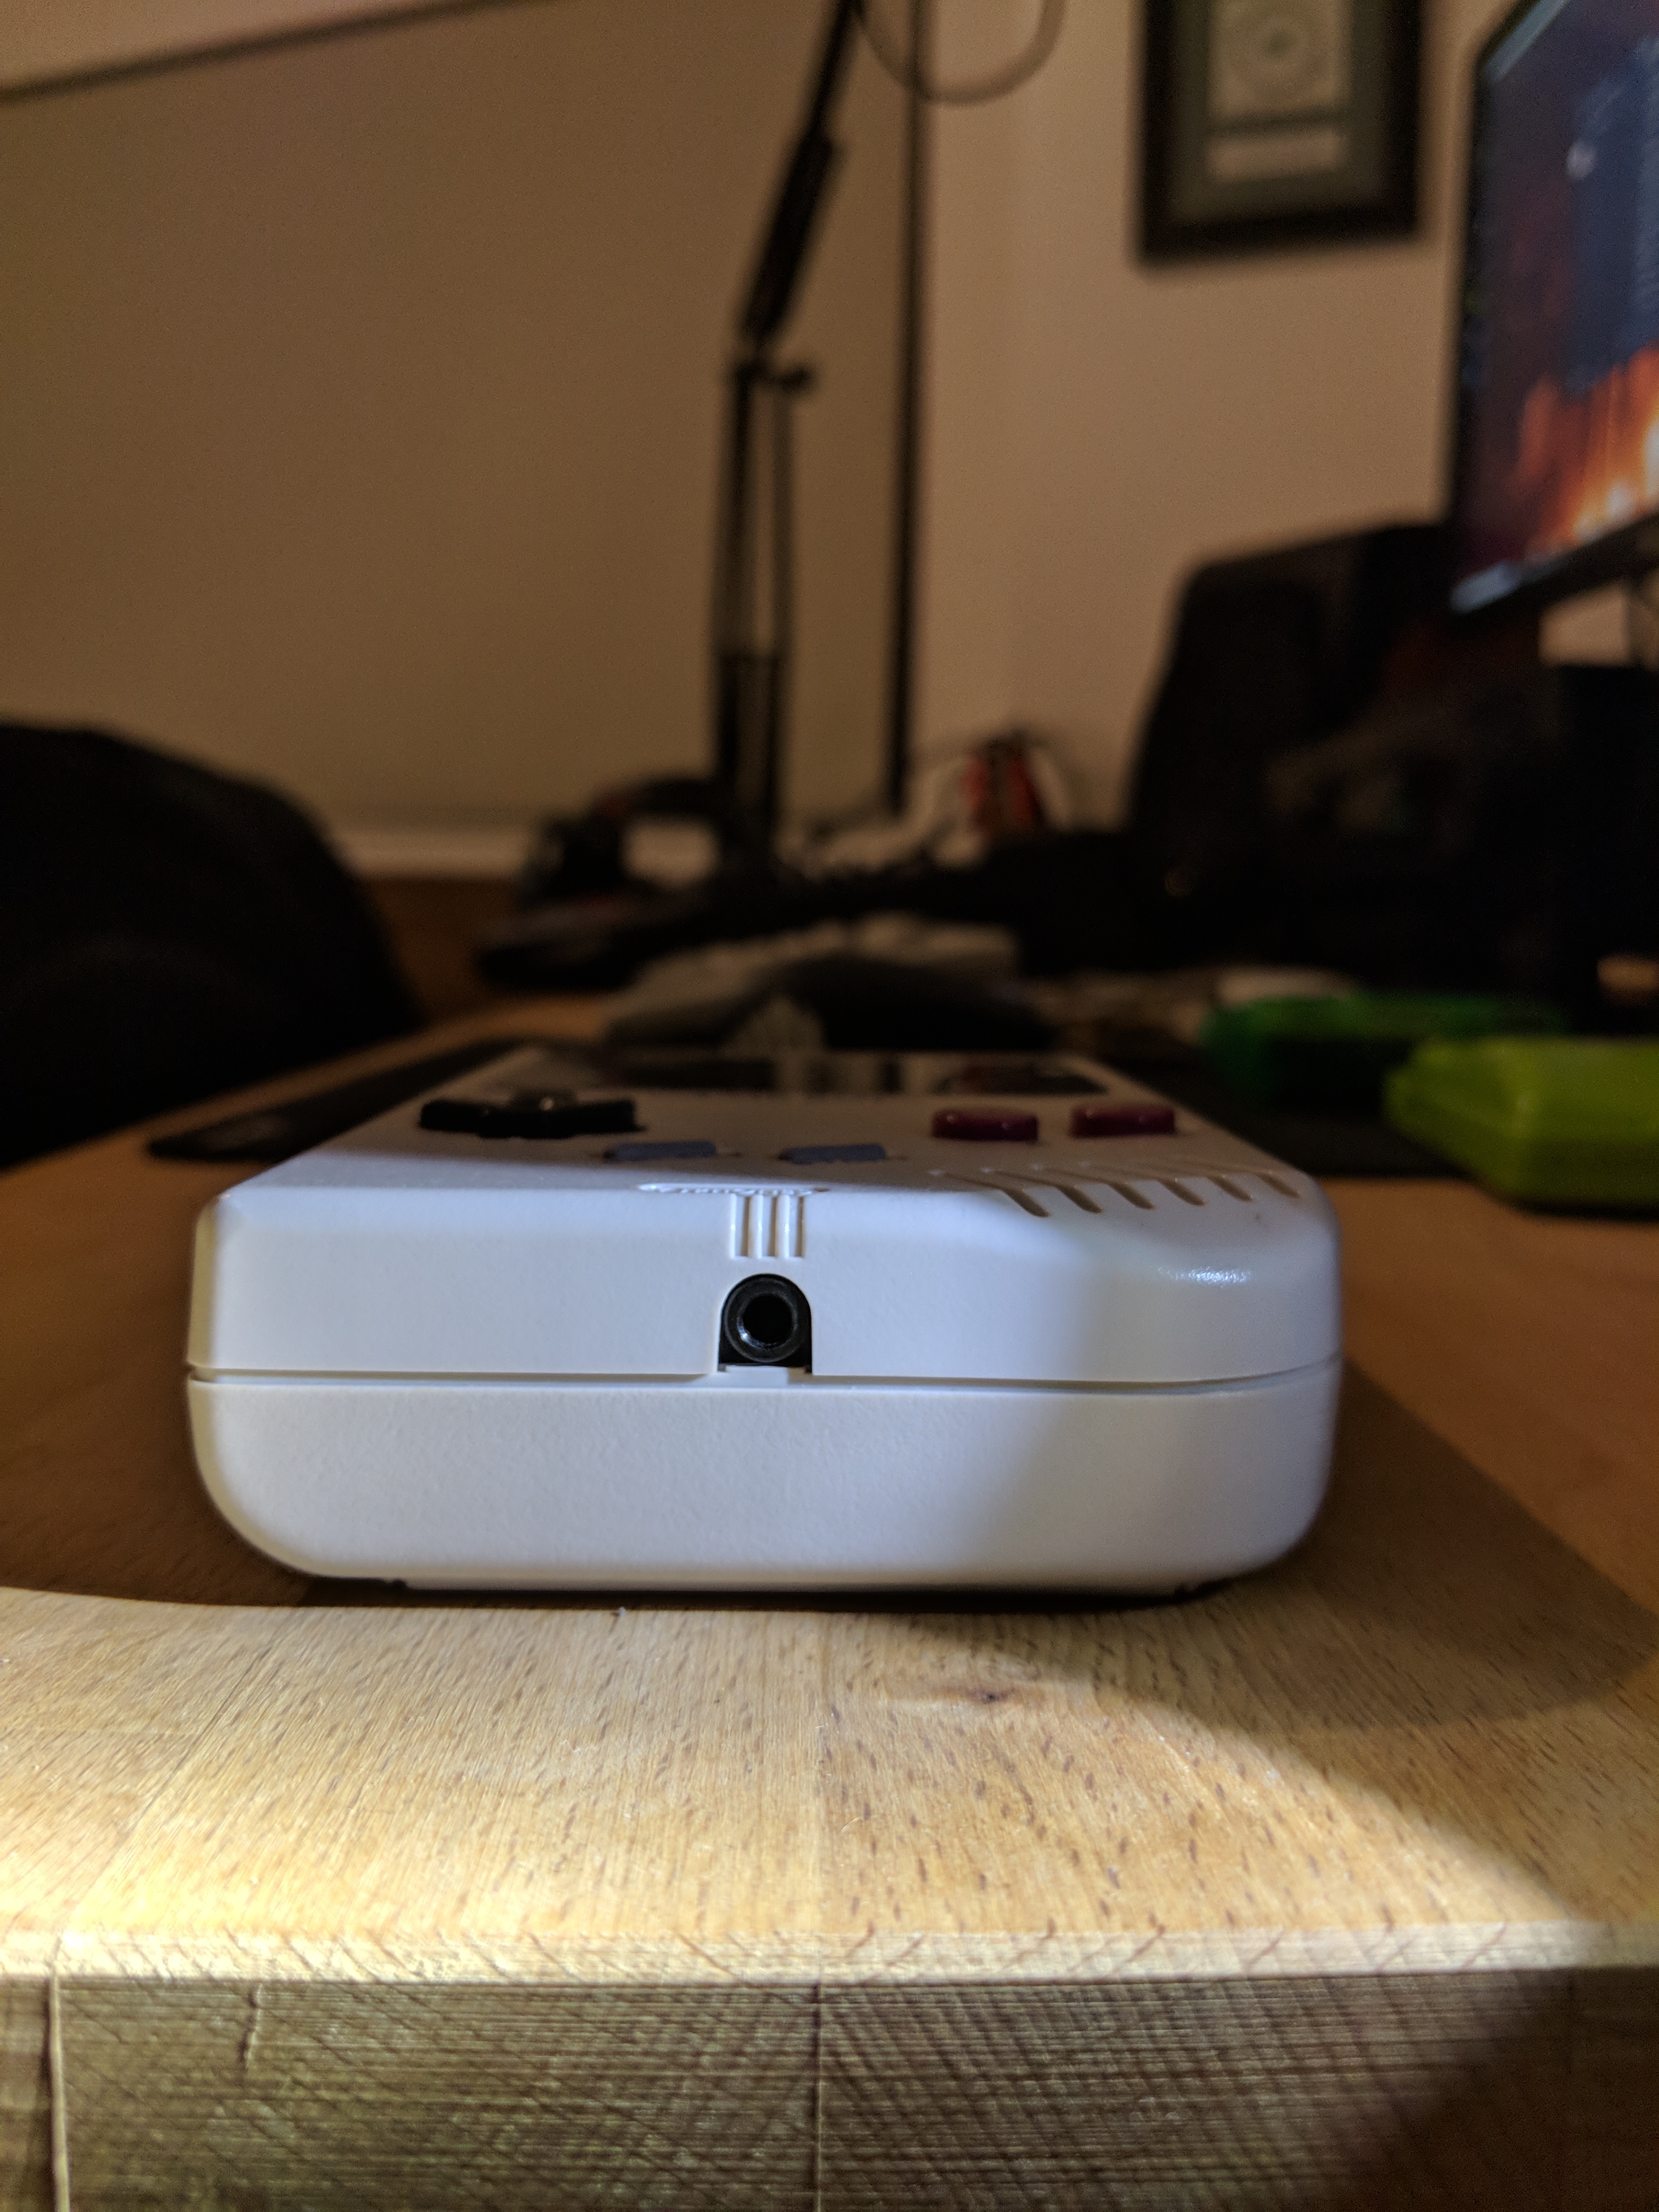
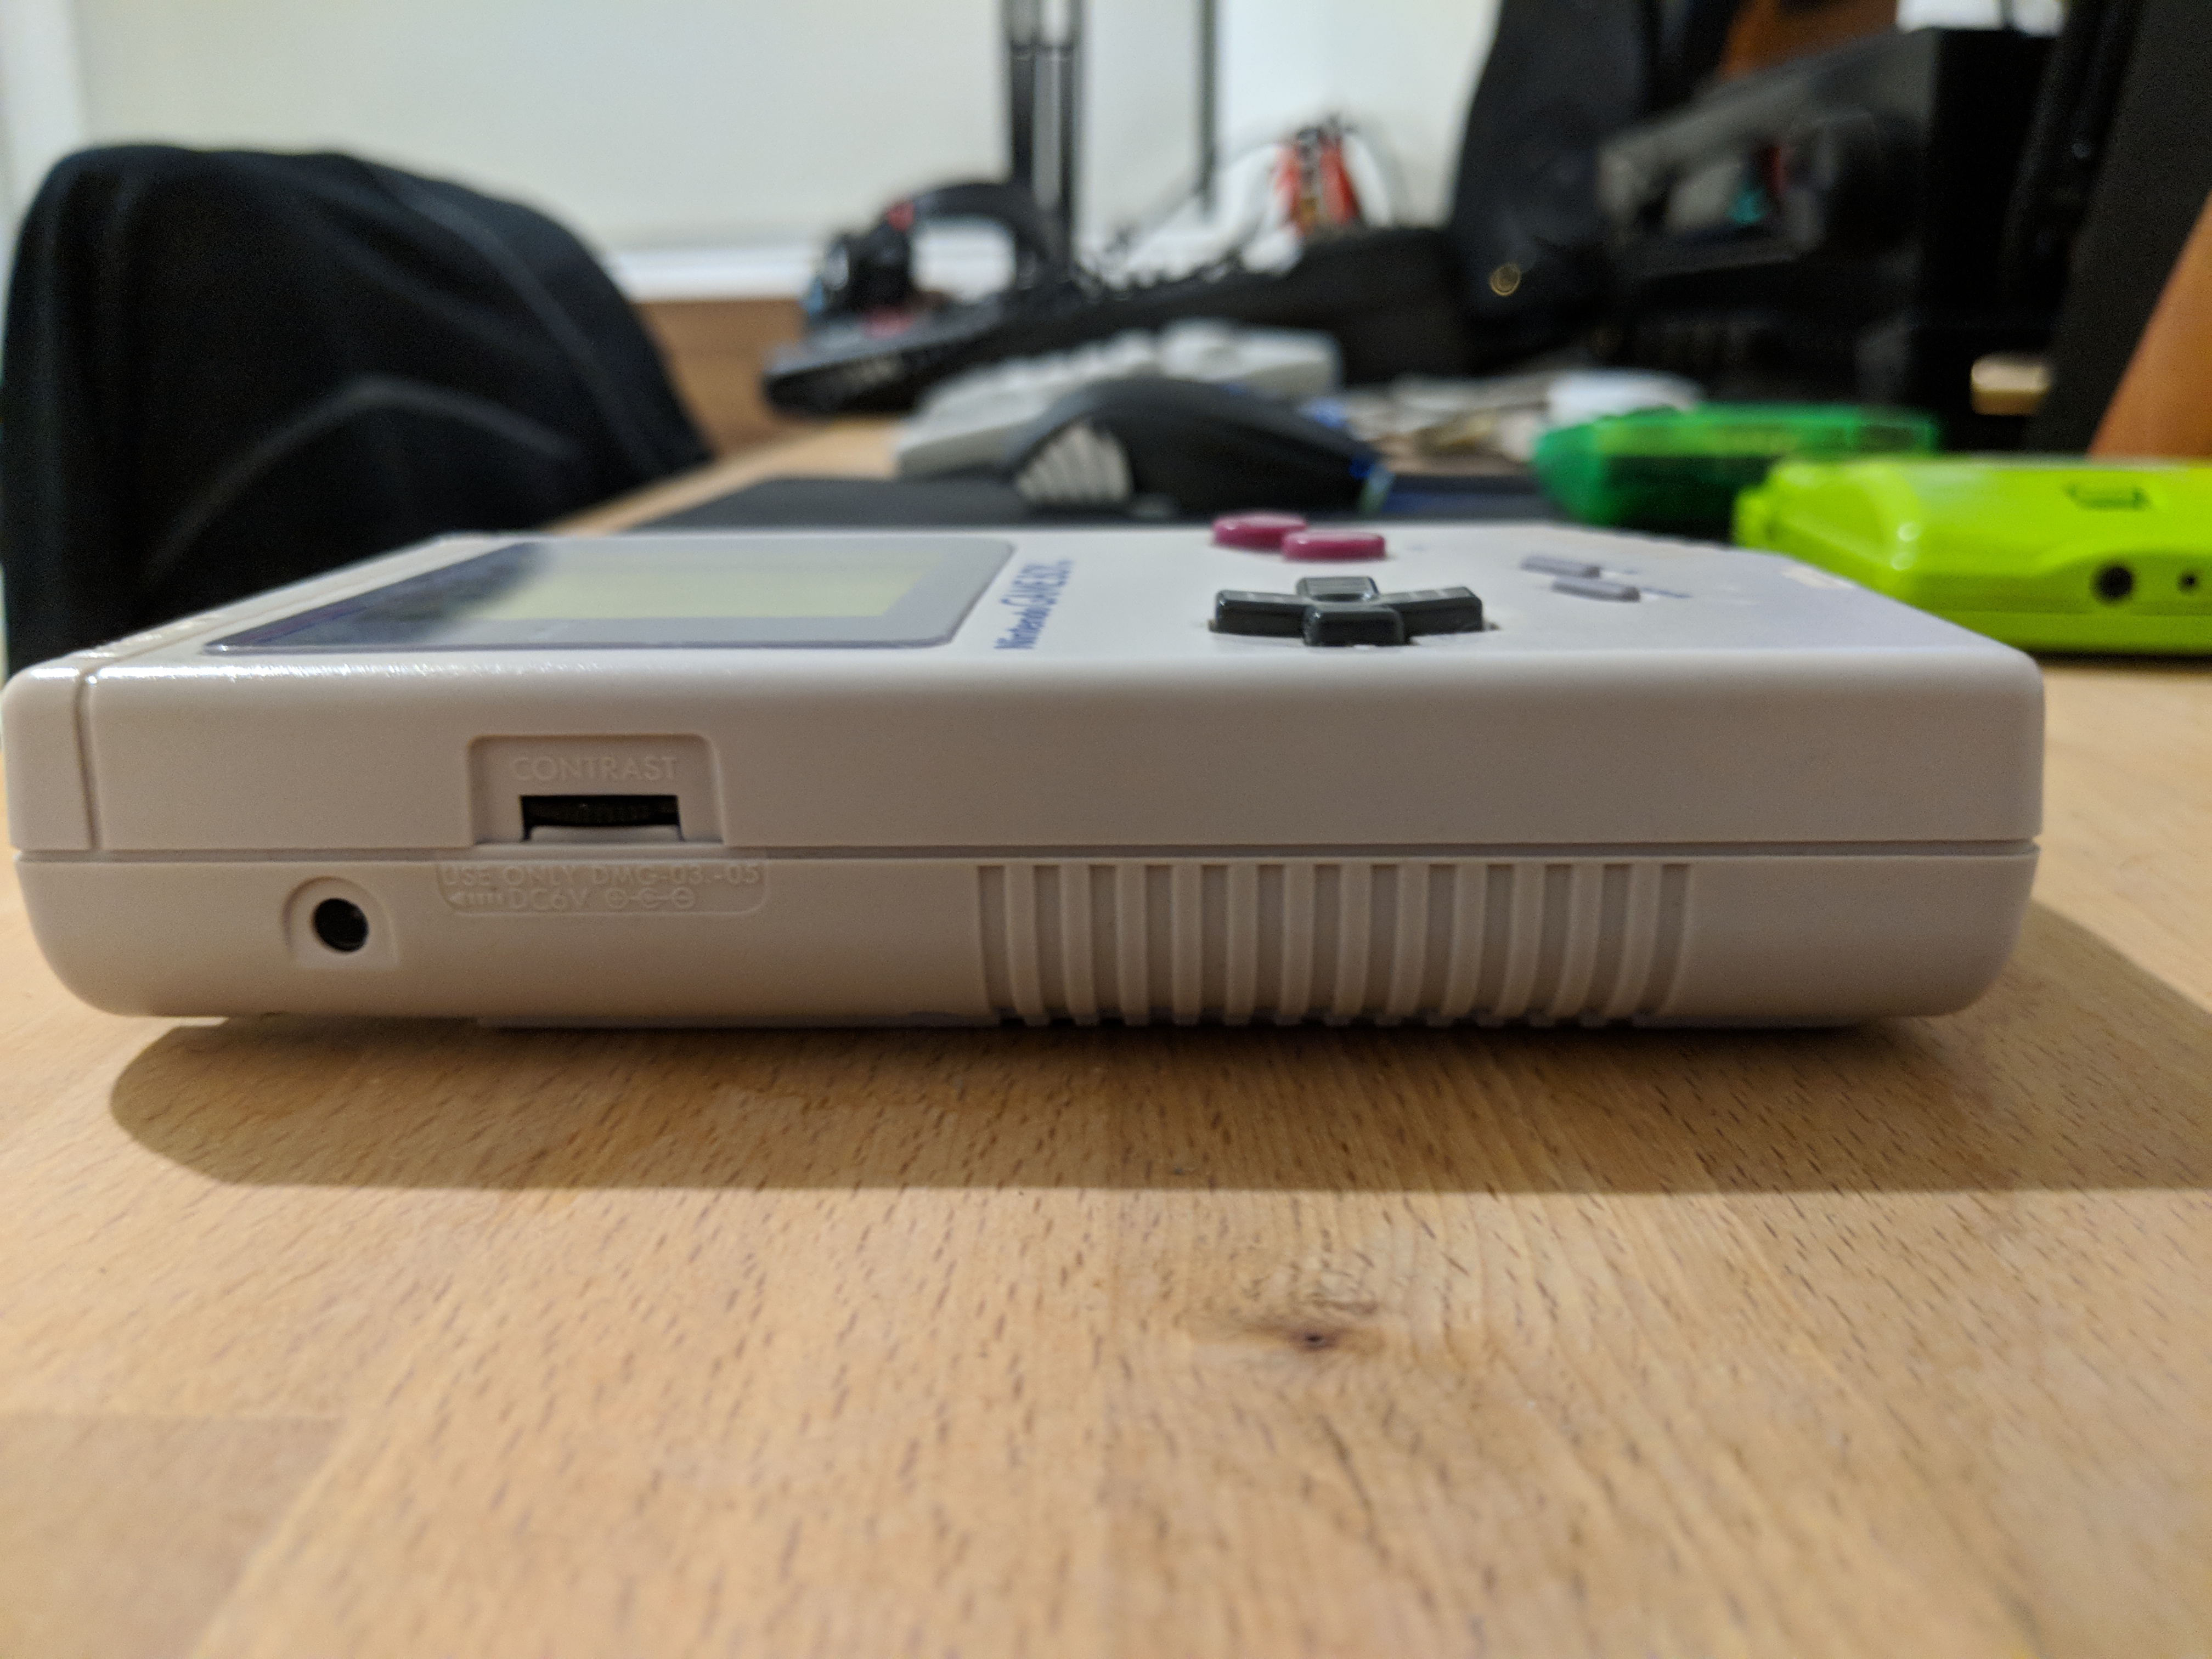
Bottom side of the DMG
The sides look great, too. I’m surprised that the condition is this good. It includes a 3.5mm headphone jack, as electronics should.
Backside of the LCD board in the case
Backside of the main board in the case
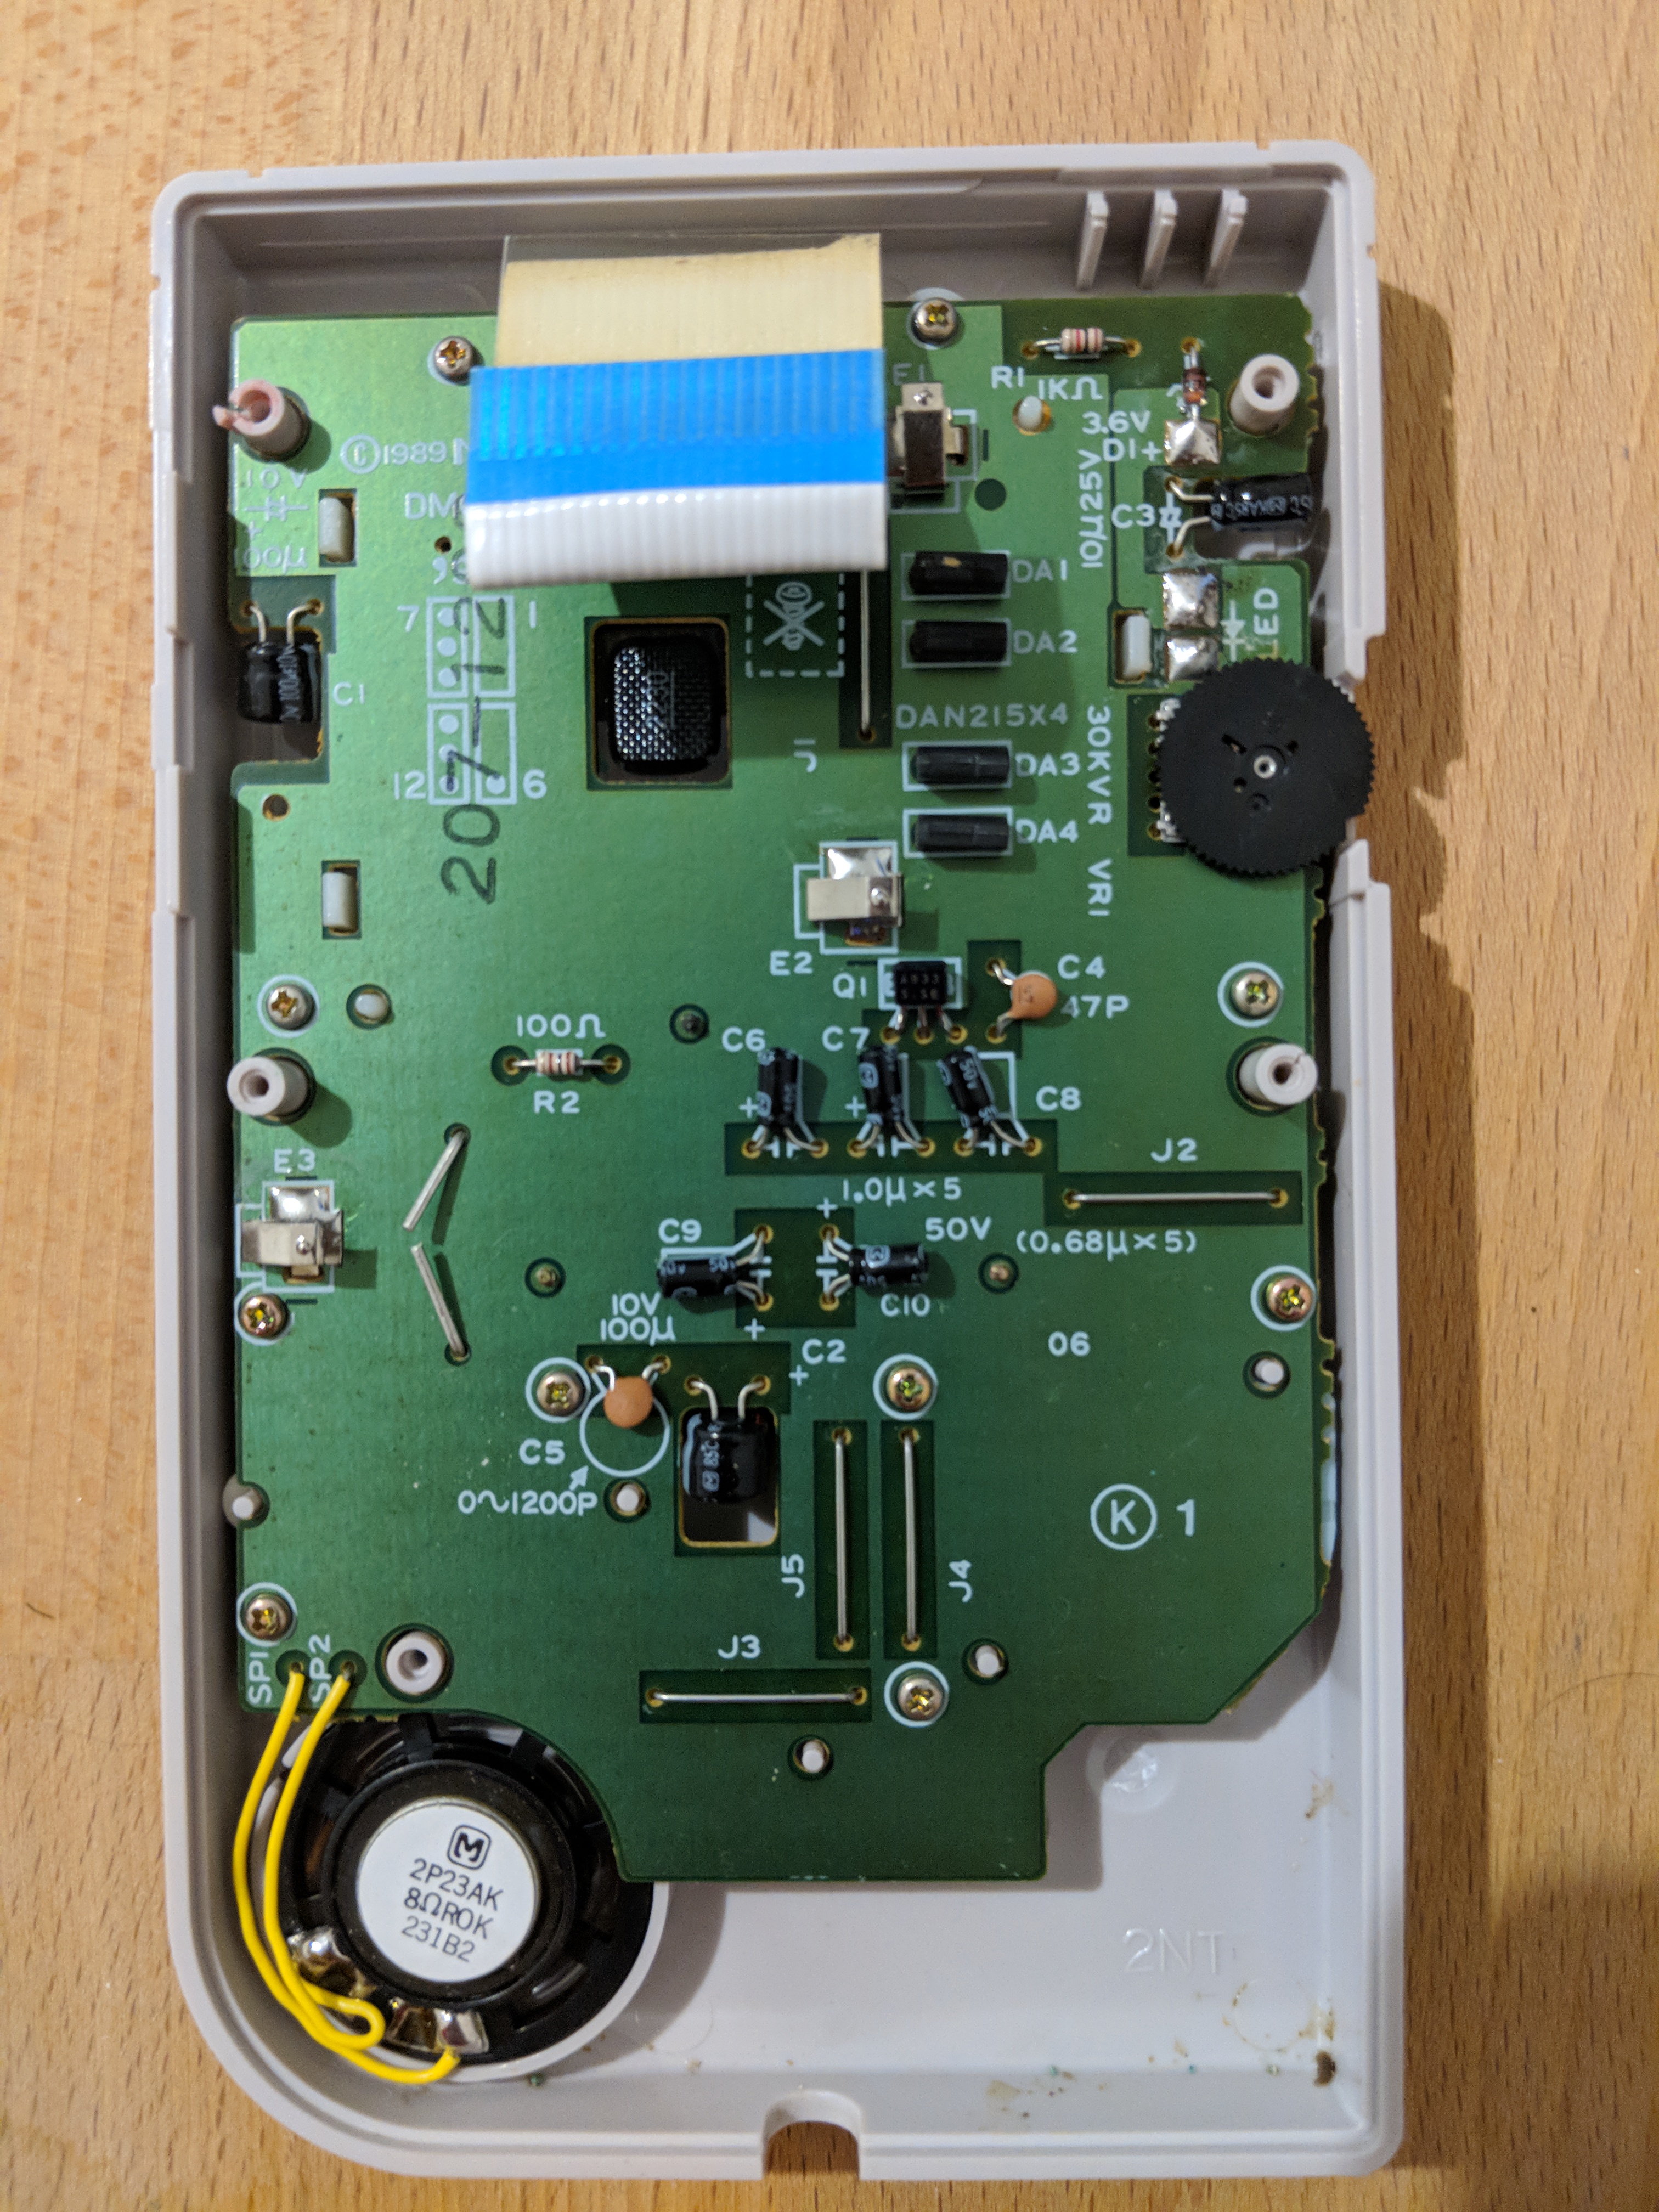
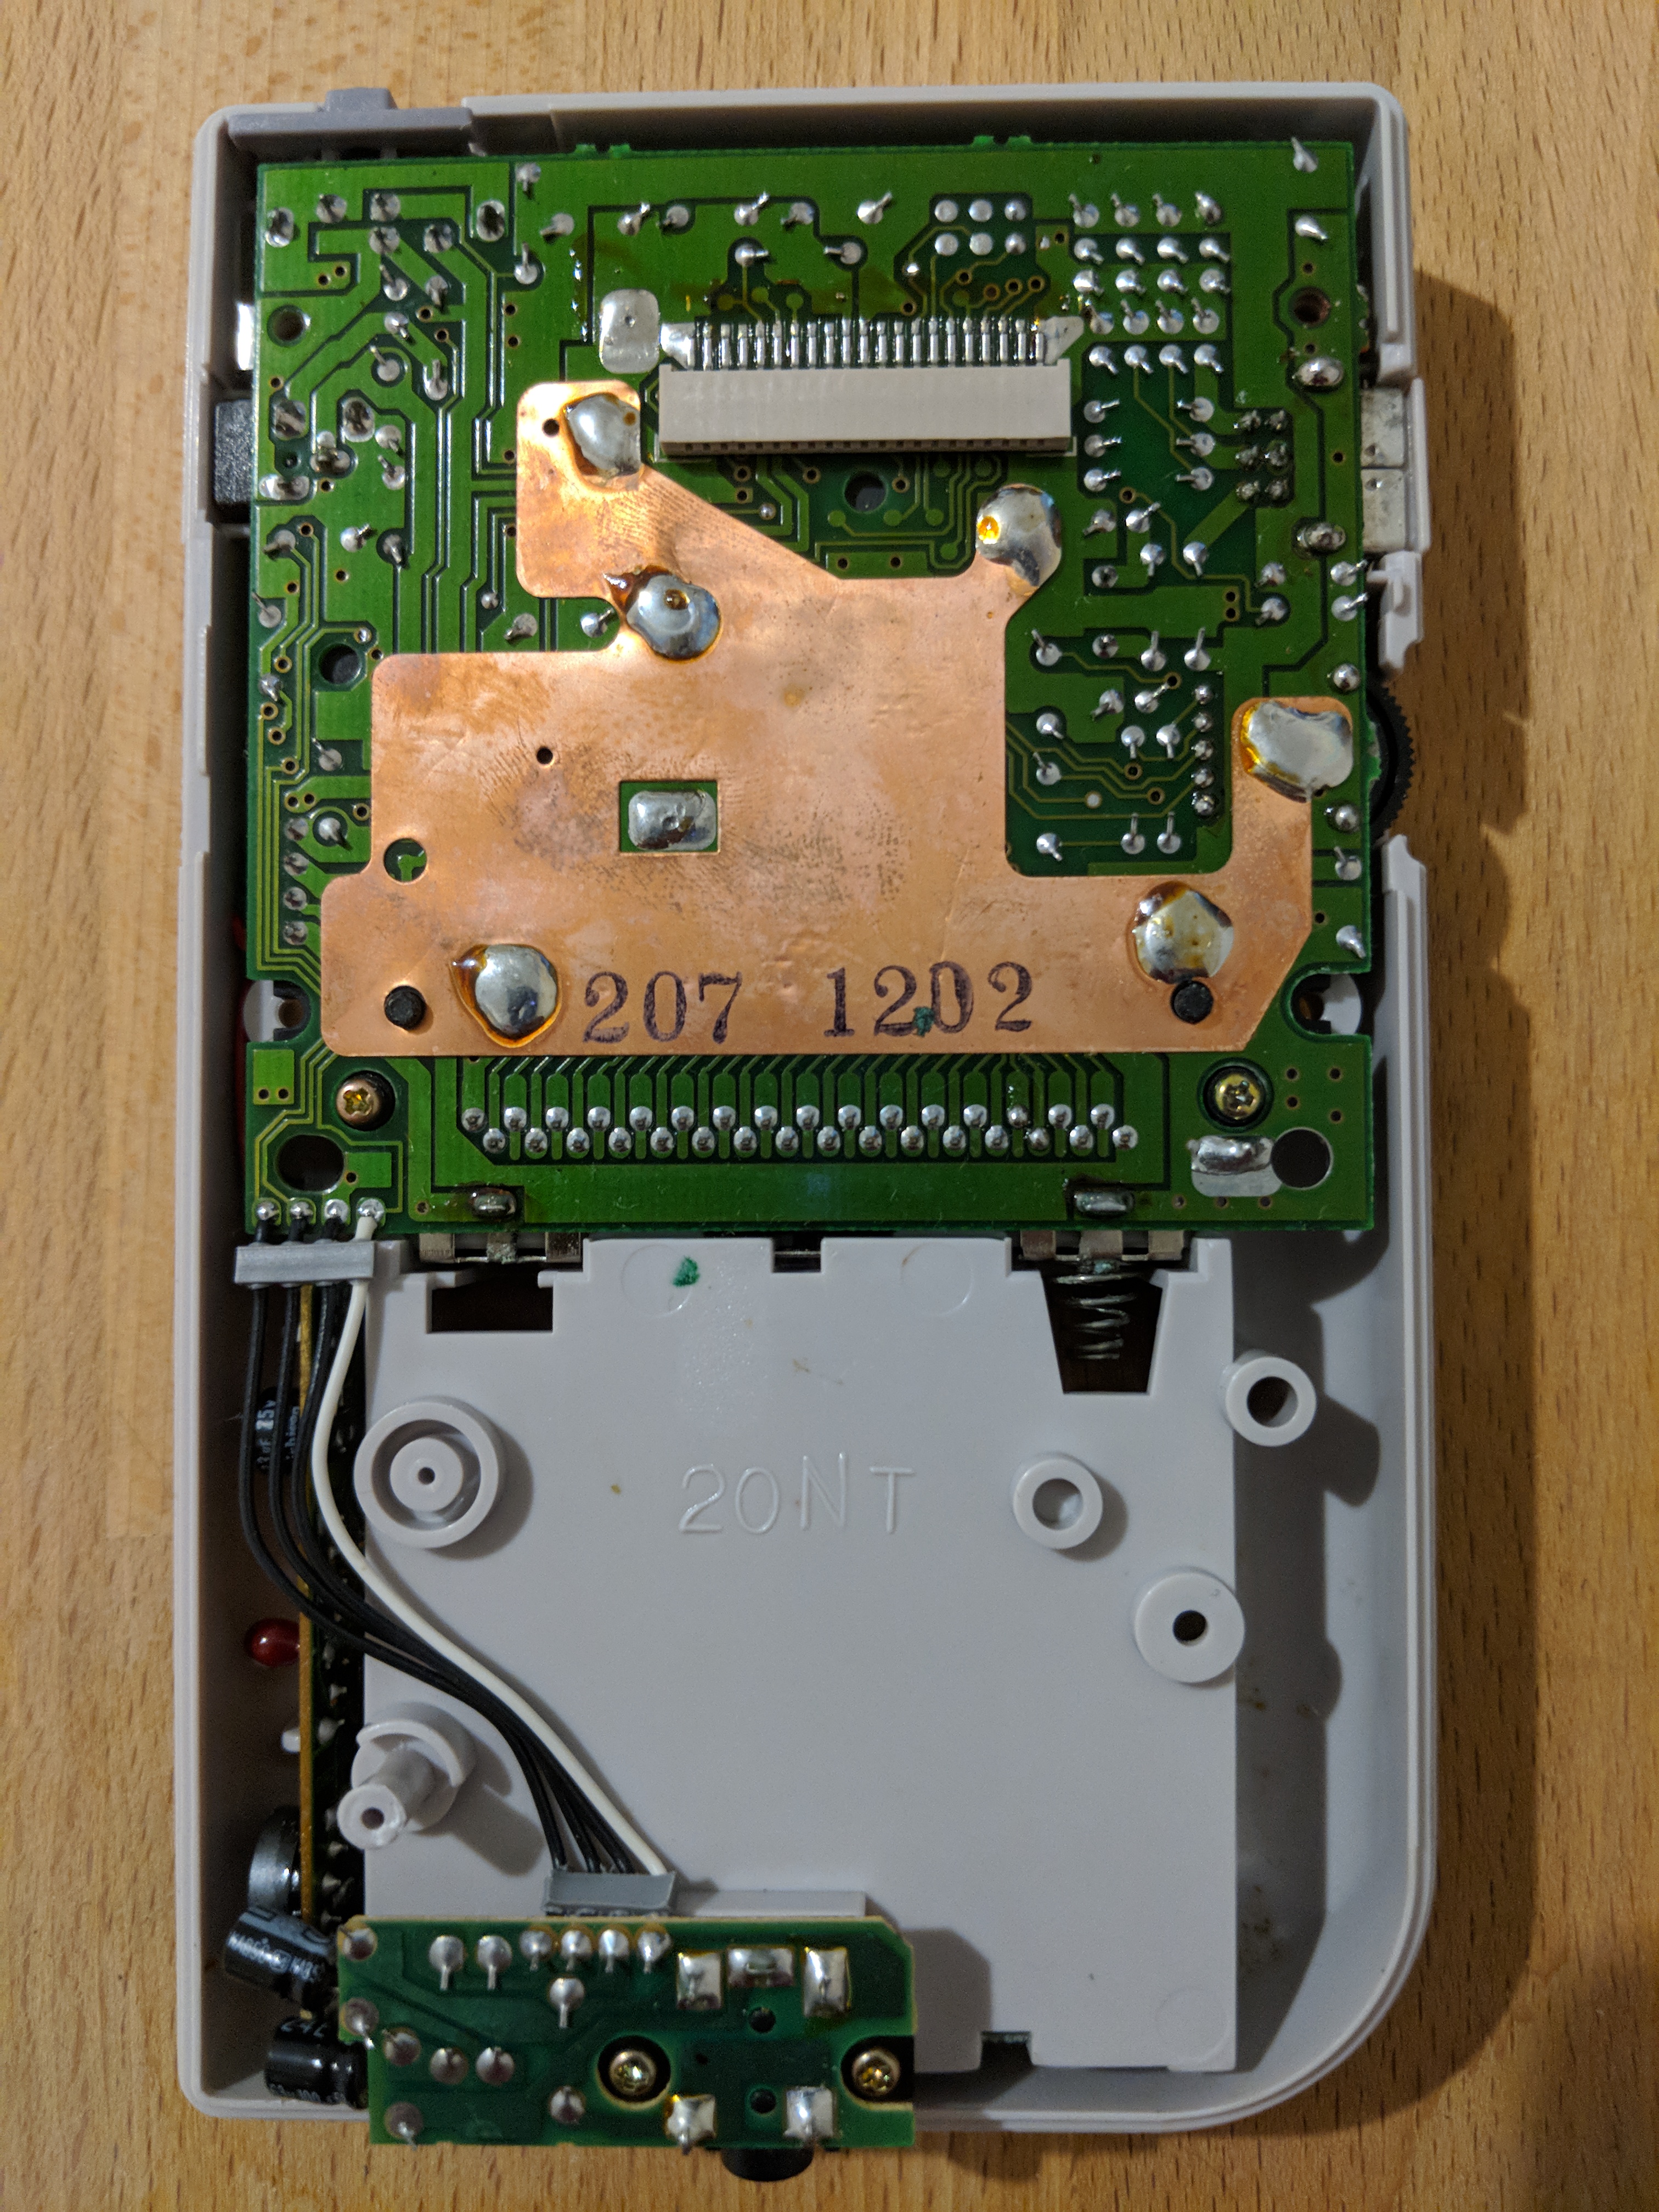
After popping it open, I find that it’s relatively dust free. The Game Boy separates into two main pieces, connected by a ribbon cable. The top board contains the LCD screen, input controls, and contrast knob. The bottom board houses the main CPU, coprocessors, audio amplifiers, volume knob, and cartridge loader. Two daughterboards are attached to the bottom board, one for power regulation, the other for the 3.5mm jack.
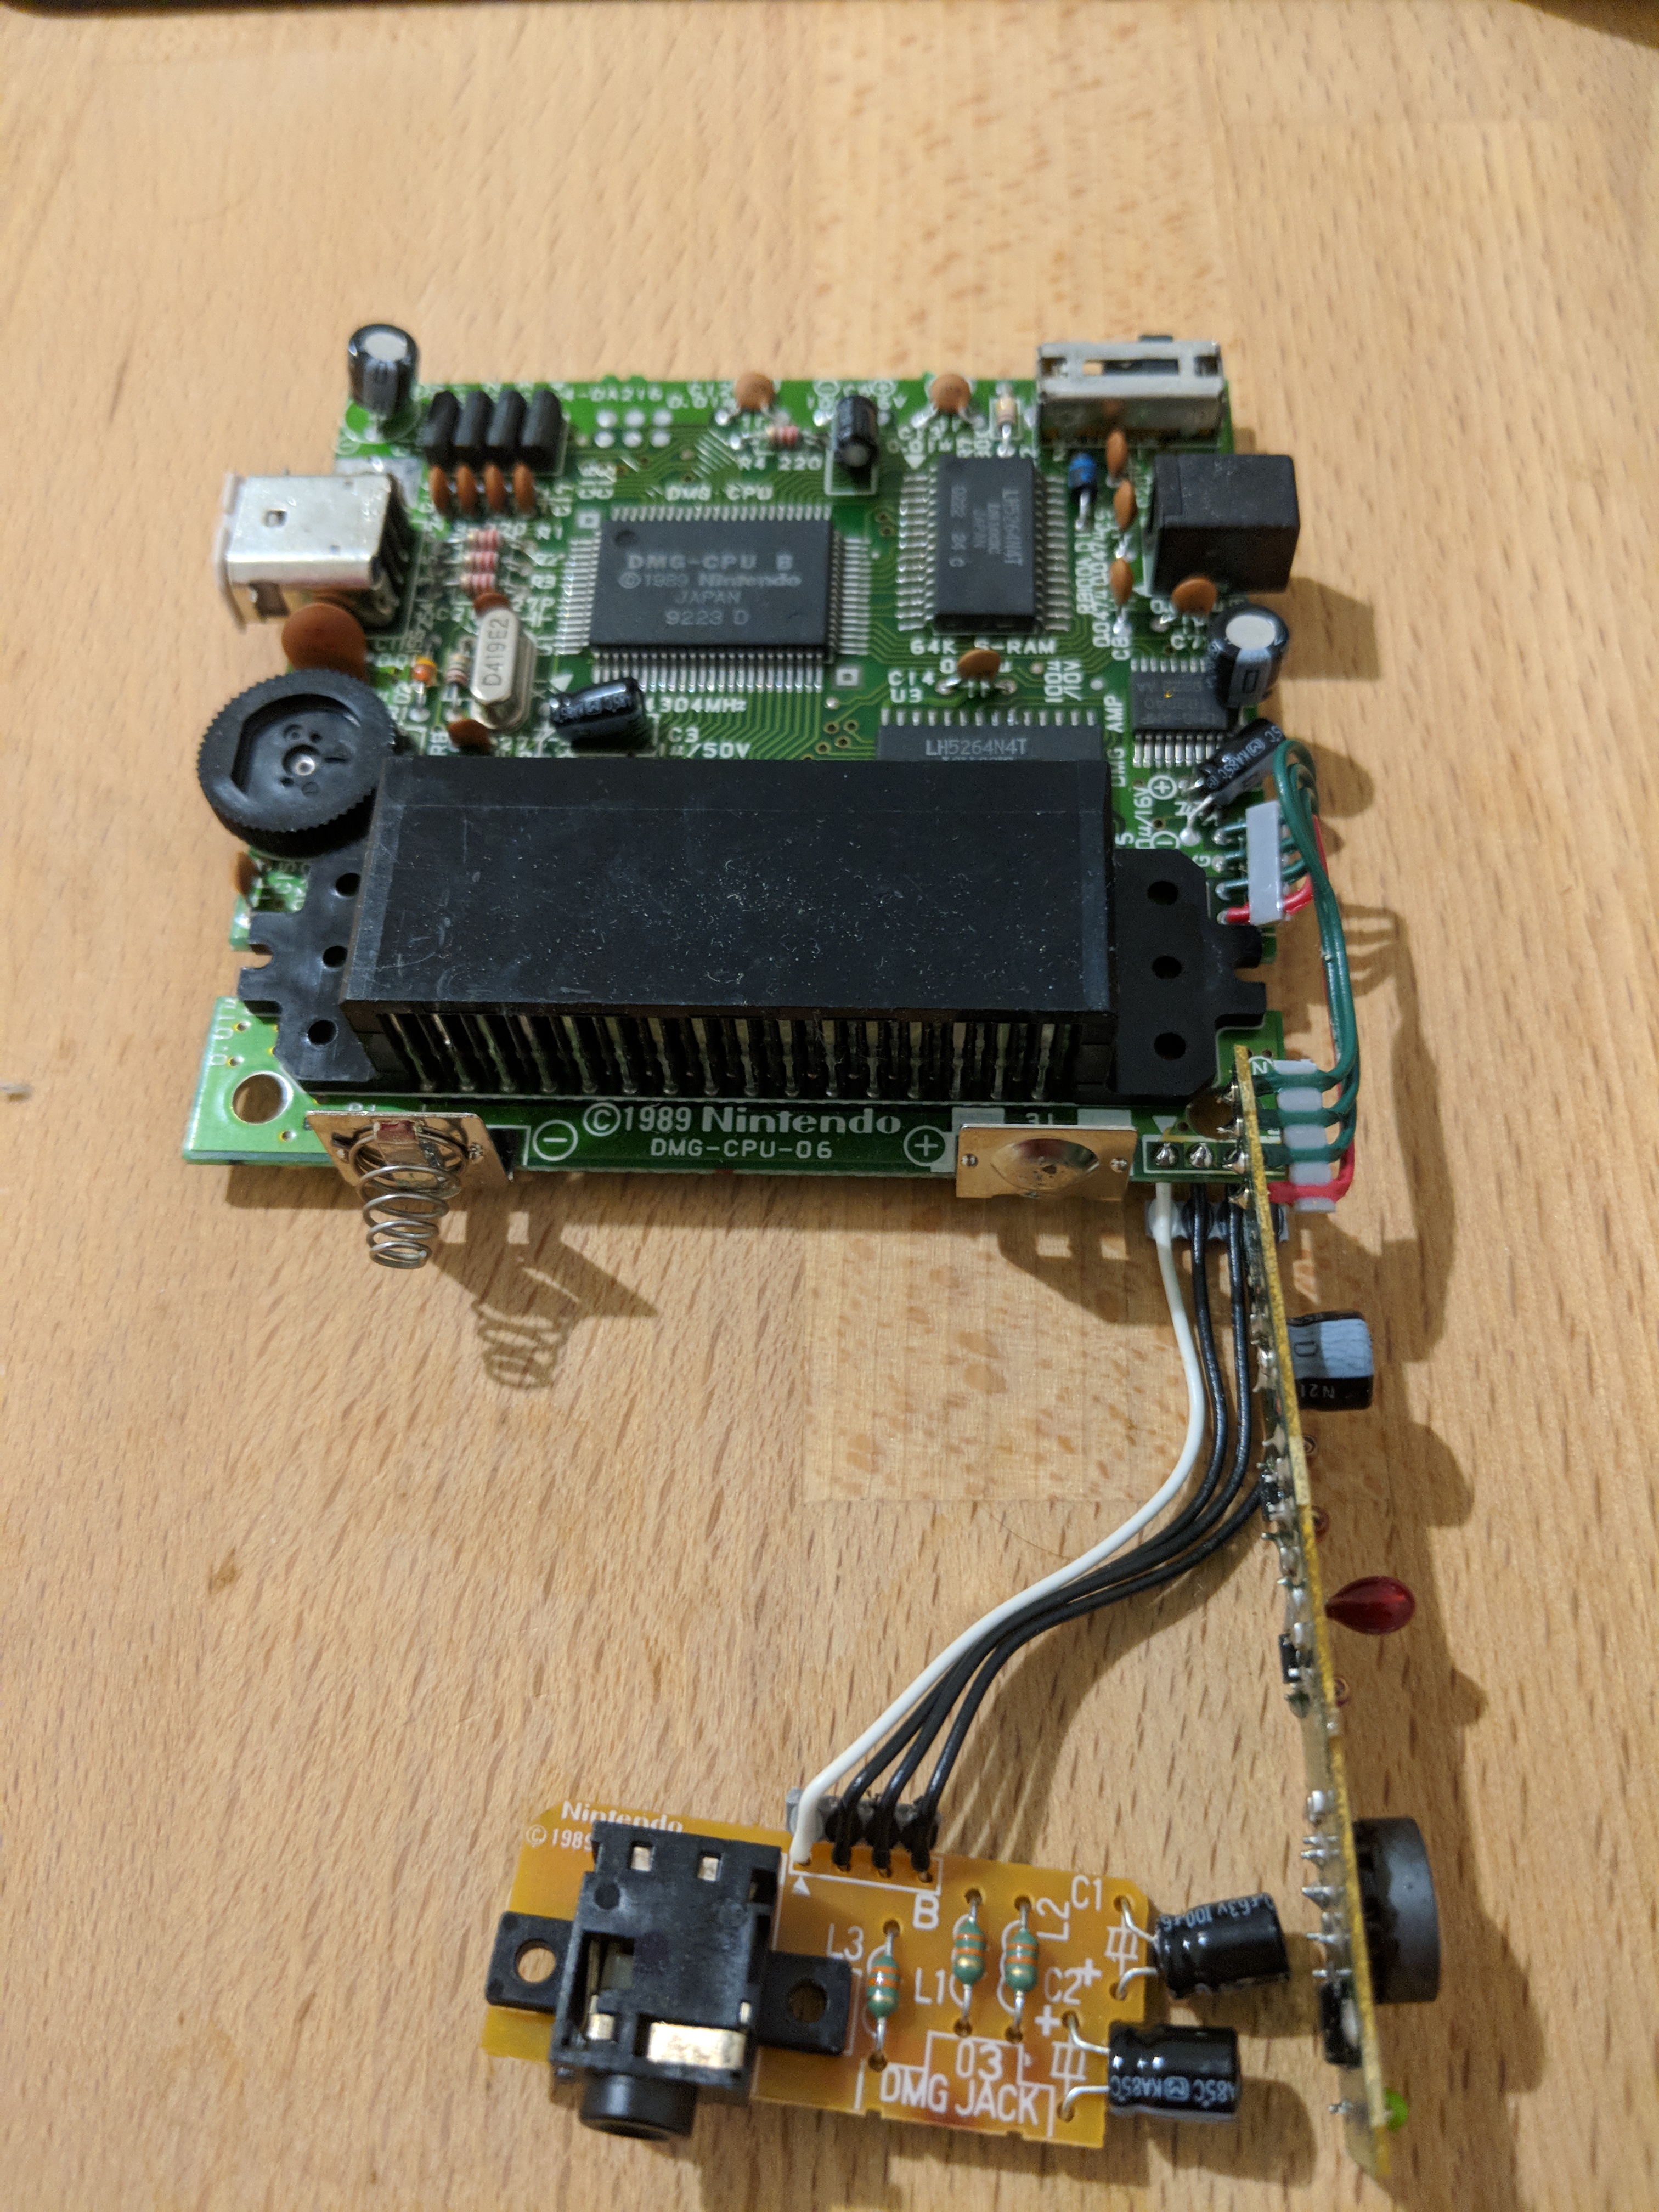
Front of the main board, along with the power and audio jack boards
The manufacturing date of both boards is July 1992, based on the date codes stamped. That means these capacitors are at least 25 years old. Since most manufacturers rate their capacitors for 15-20 years, I should replace them before this project gets to far along. The boards are otherwise in great shape.
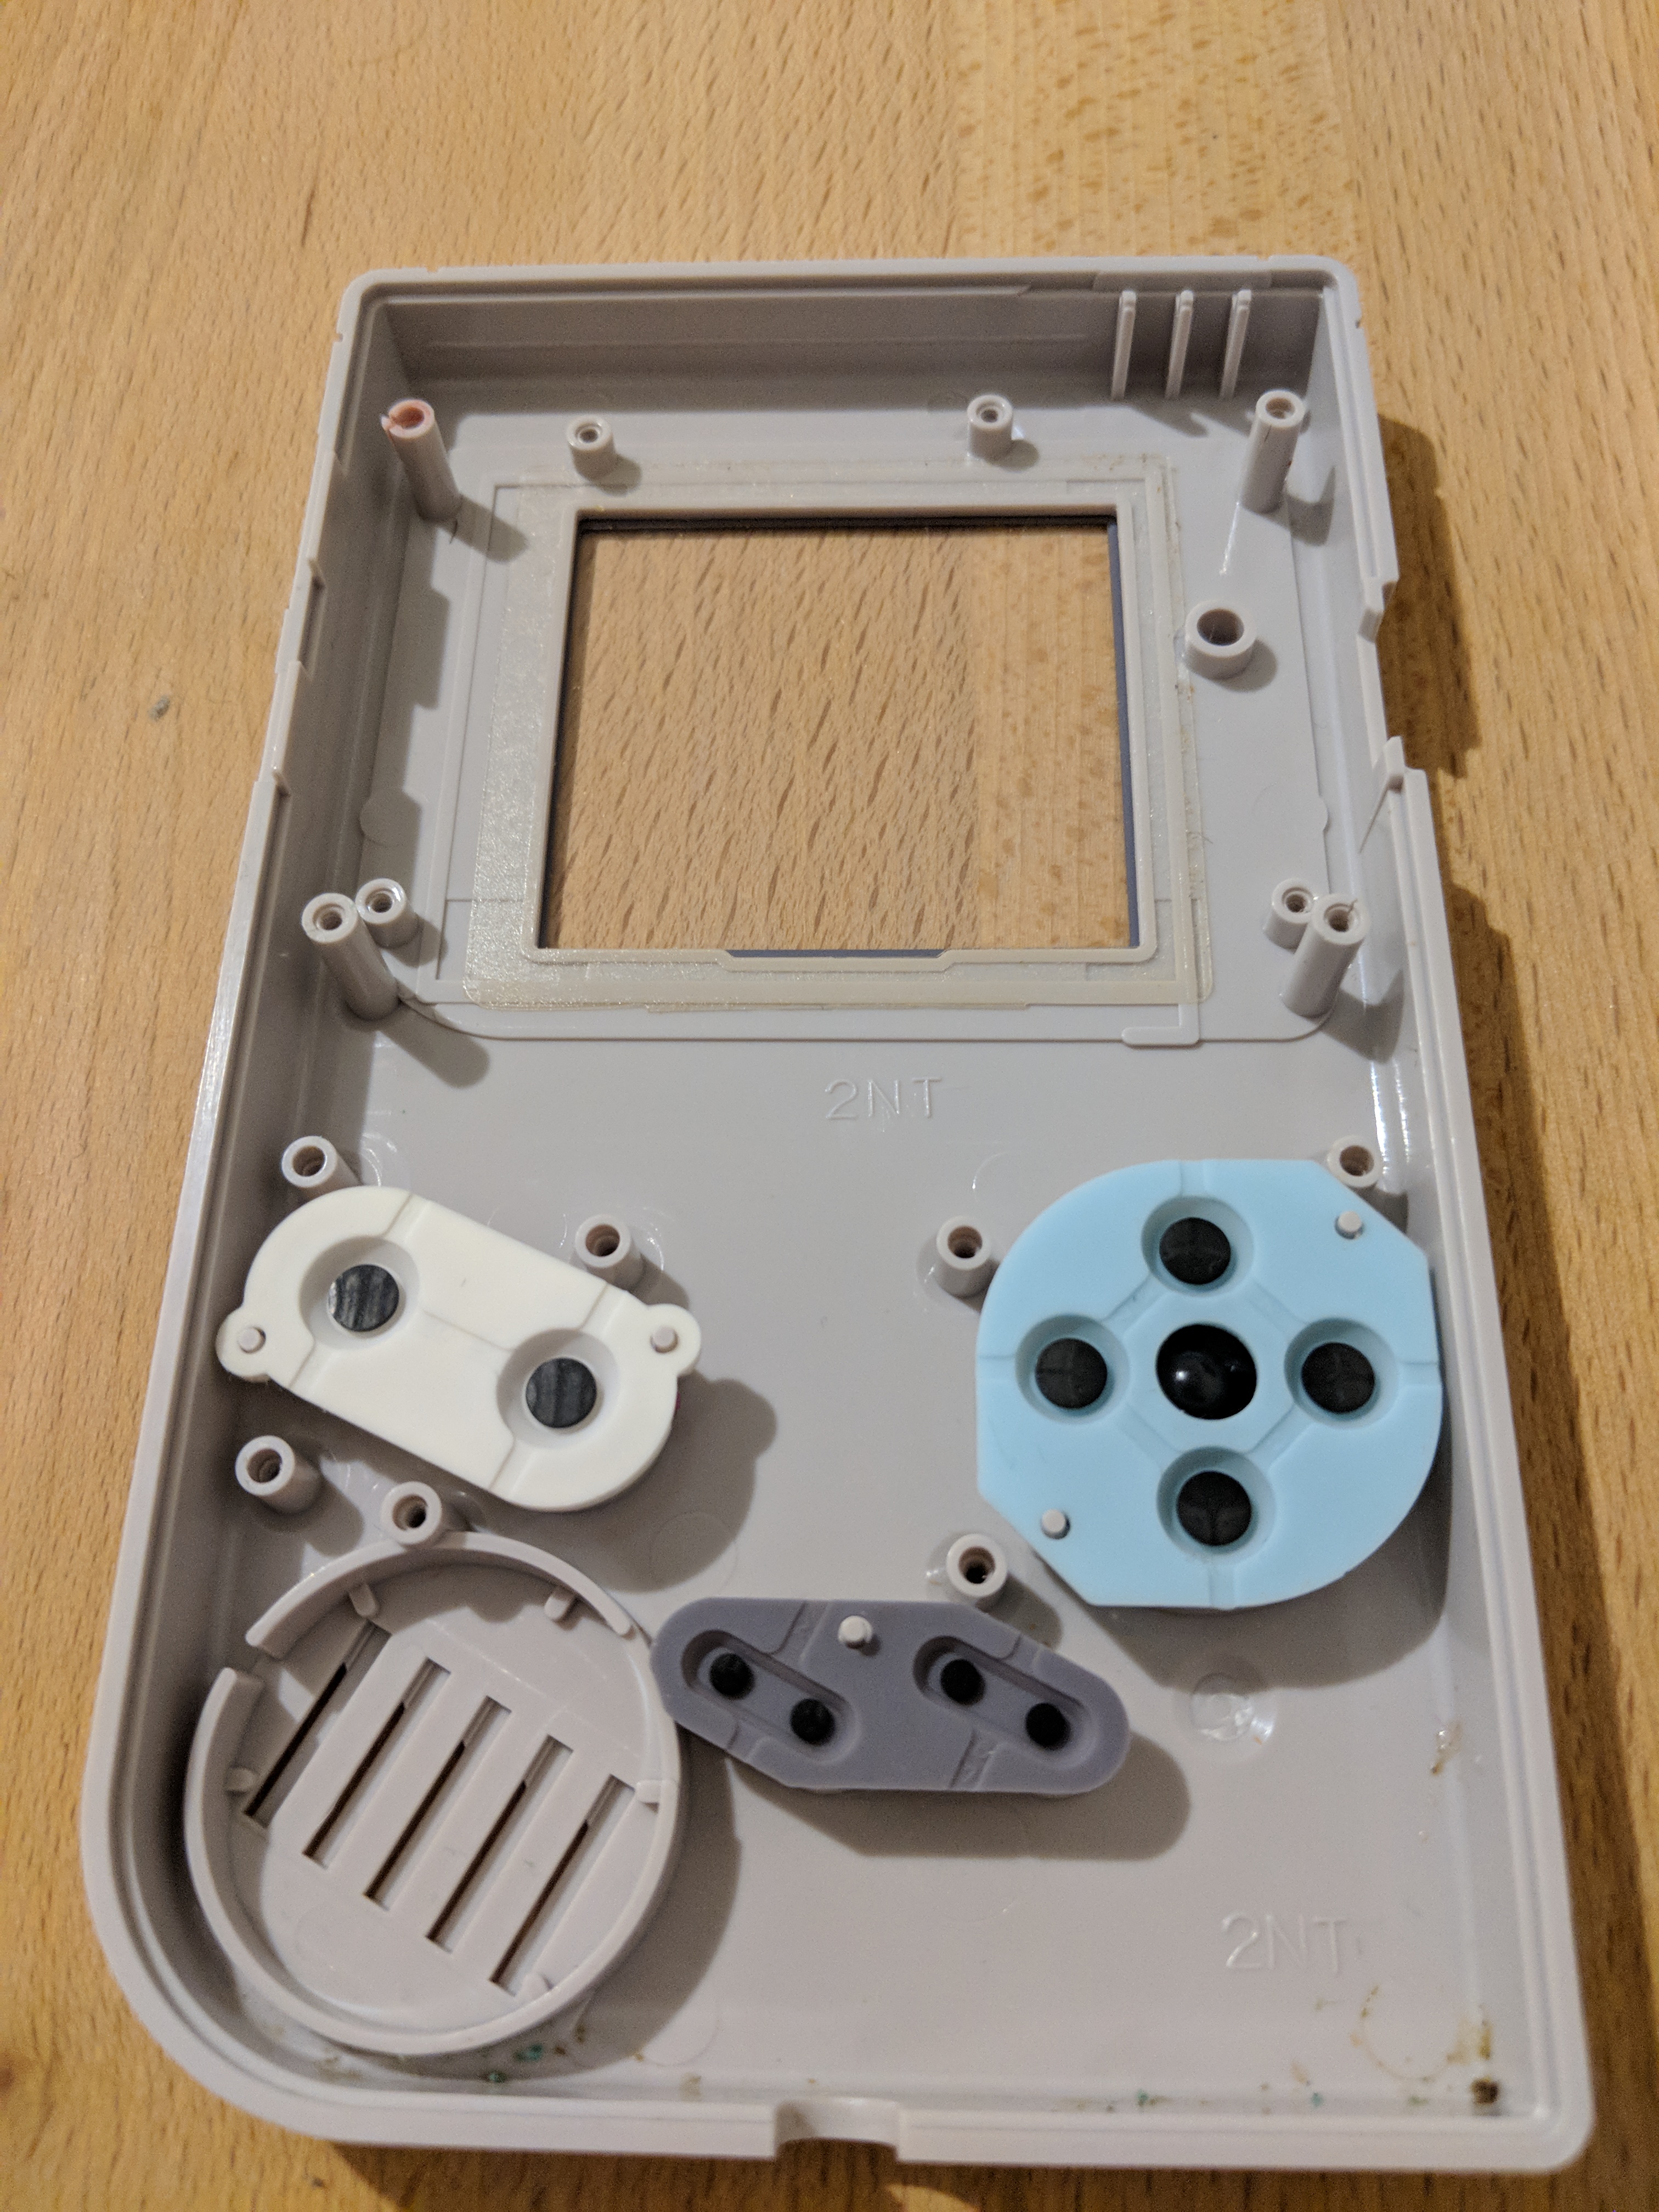
Inside of the front case
Unfortunately, on closer inspection, this unit has two broken standoffs on the front case. I don’t think it’s a problem: you won’t be able to see them in the final design.
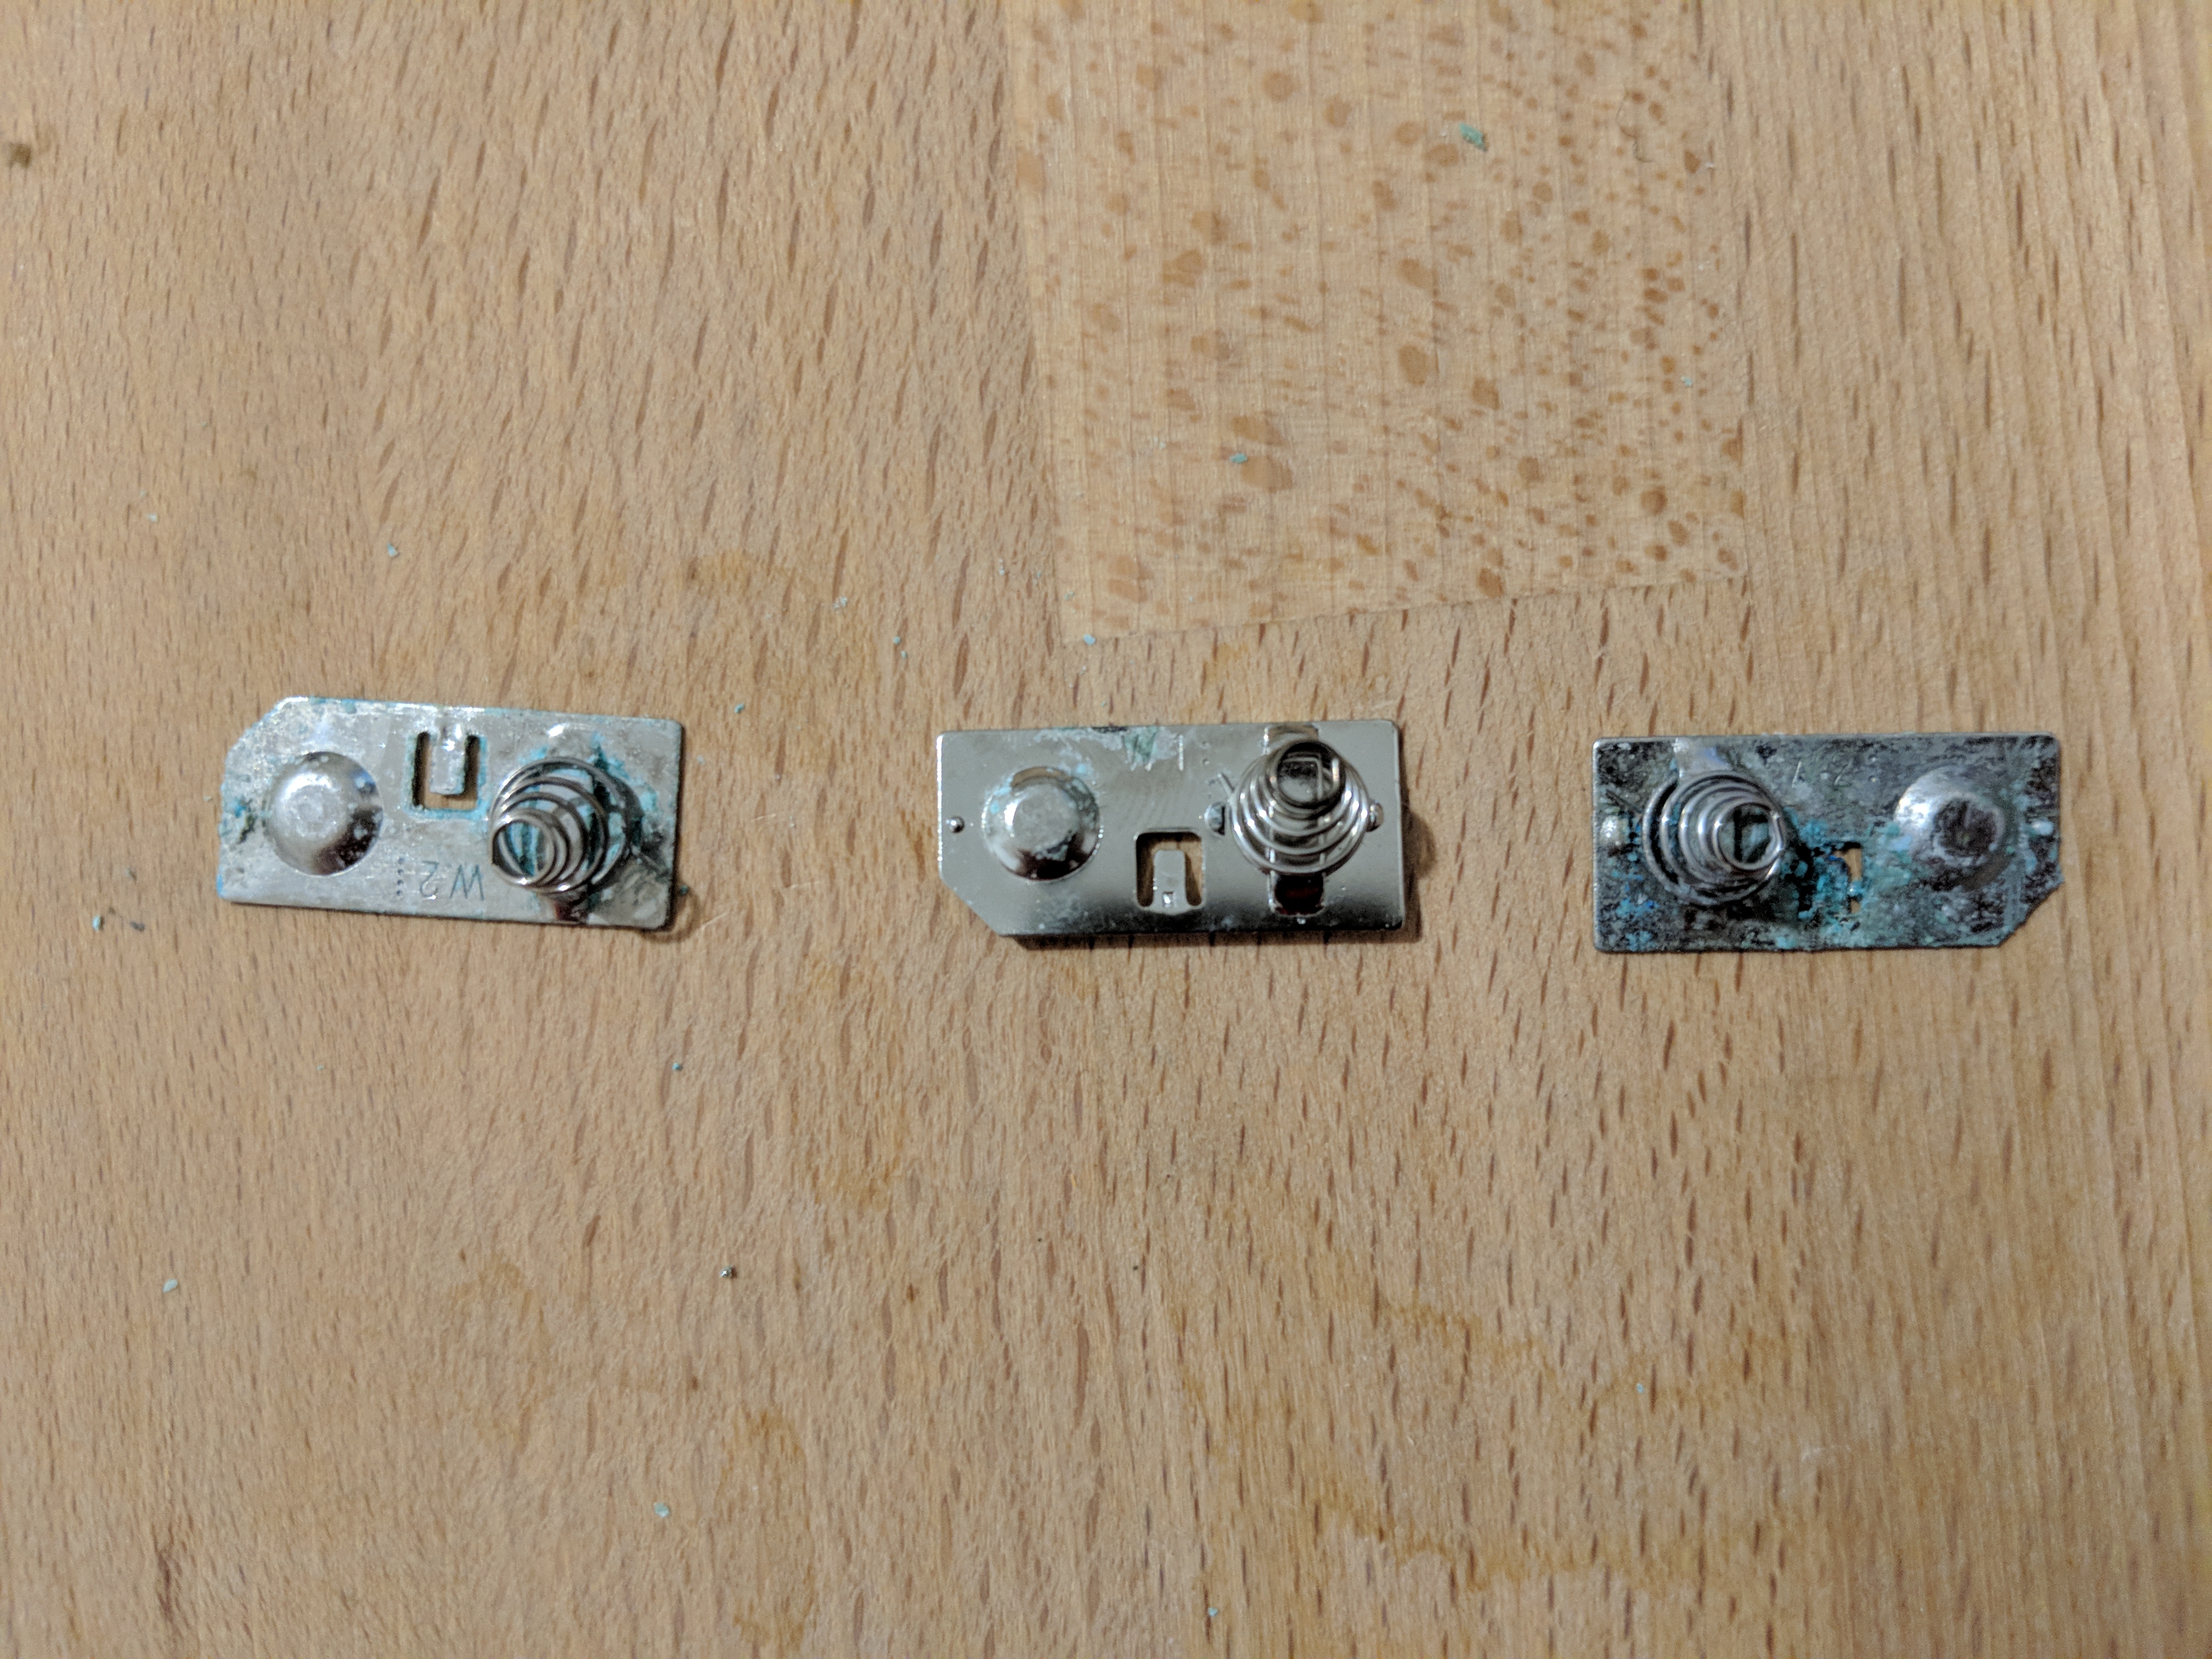
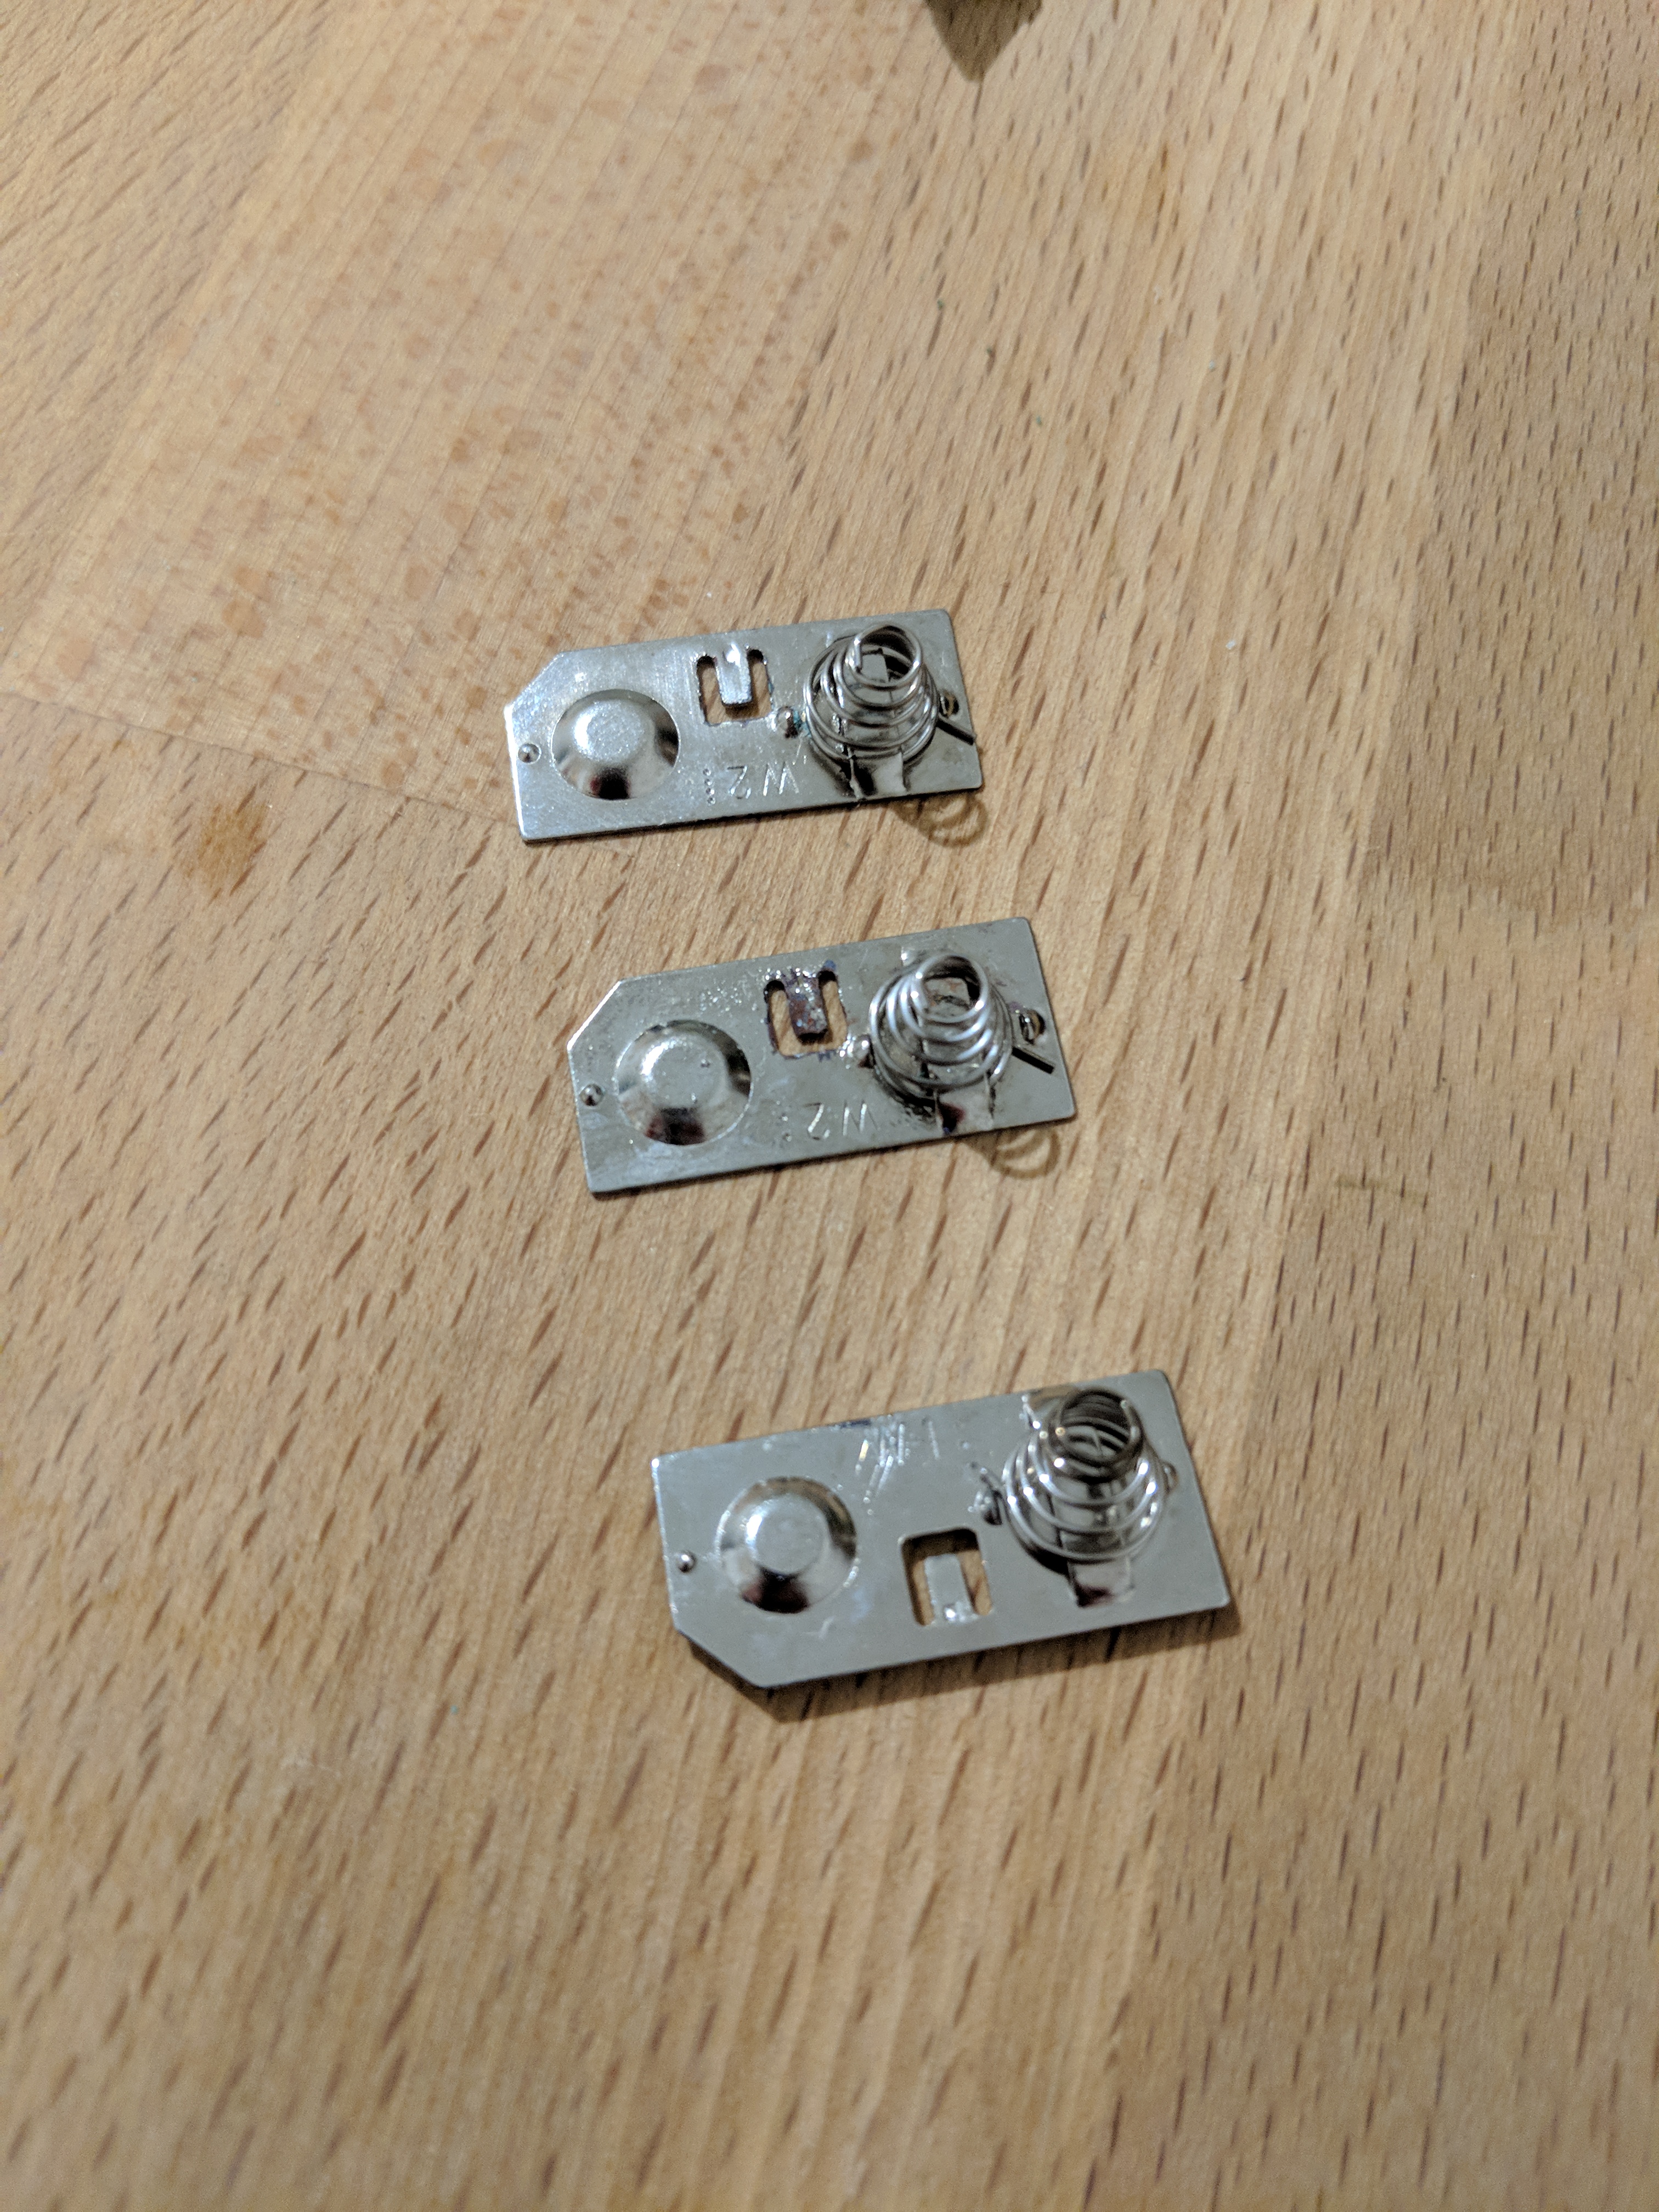
DMG's battery contacts are covered in acid
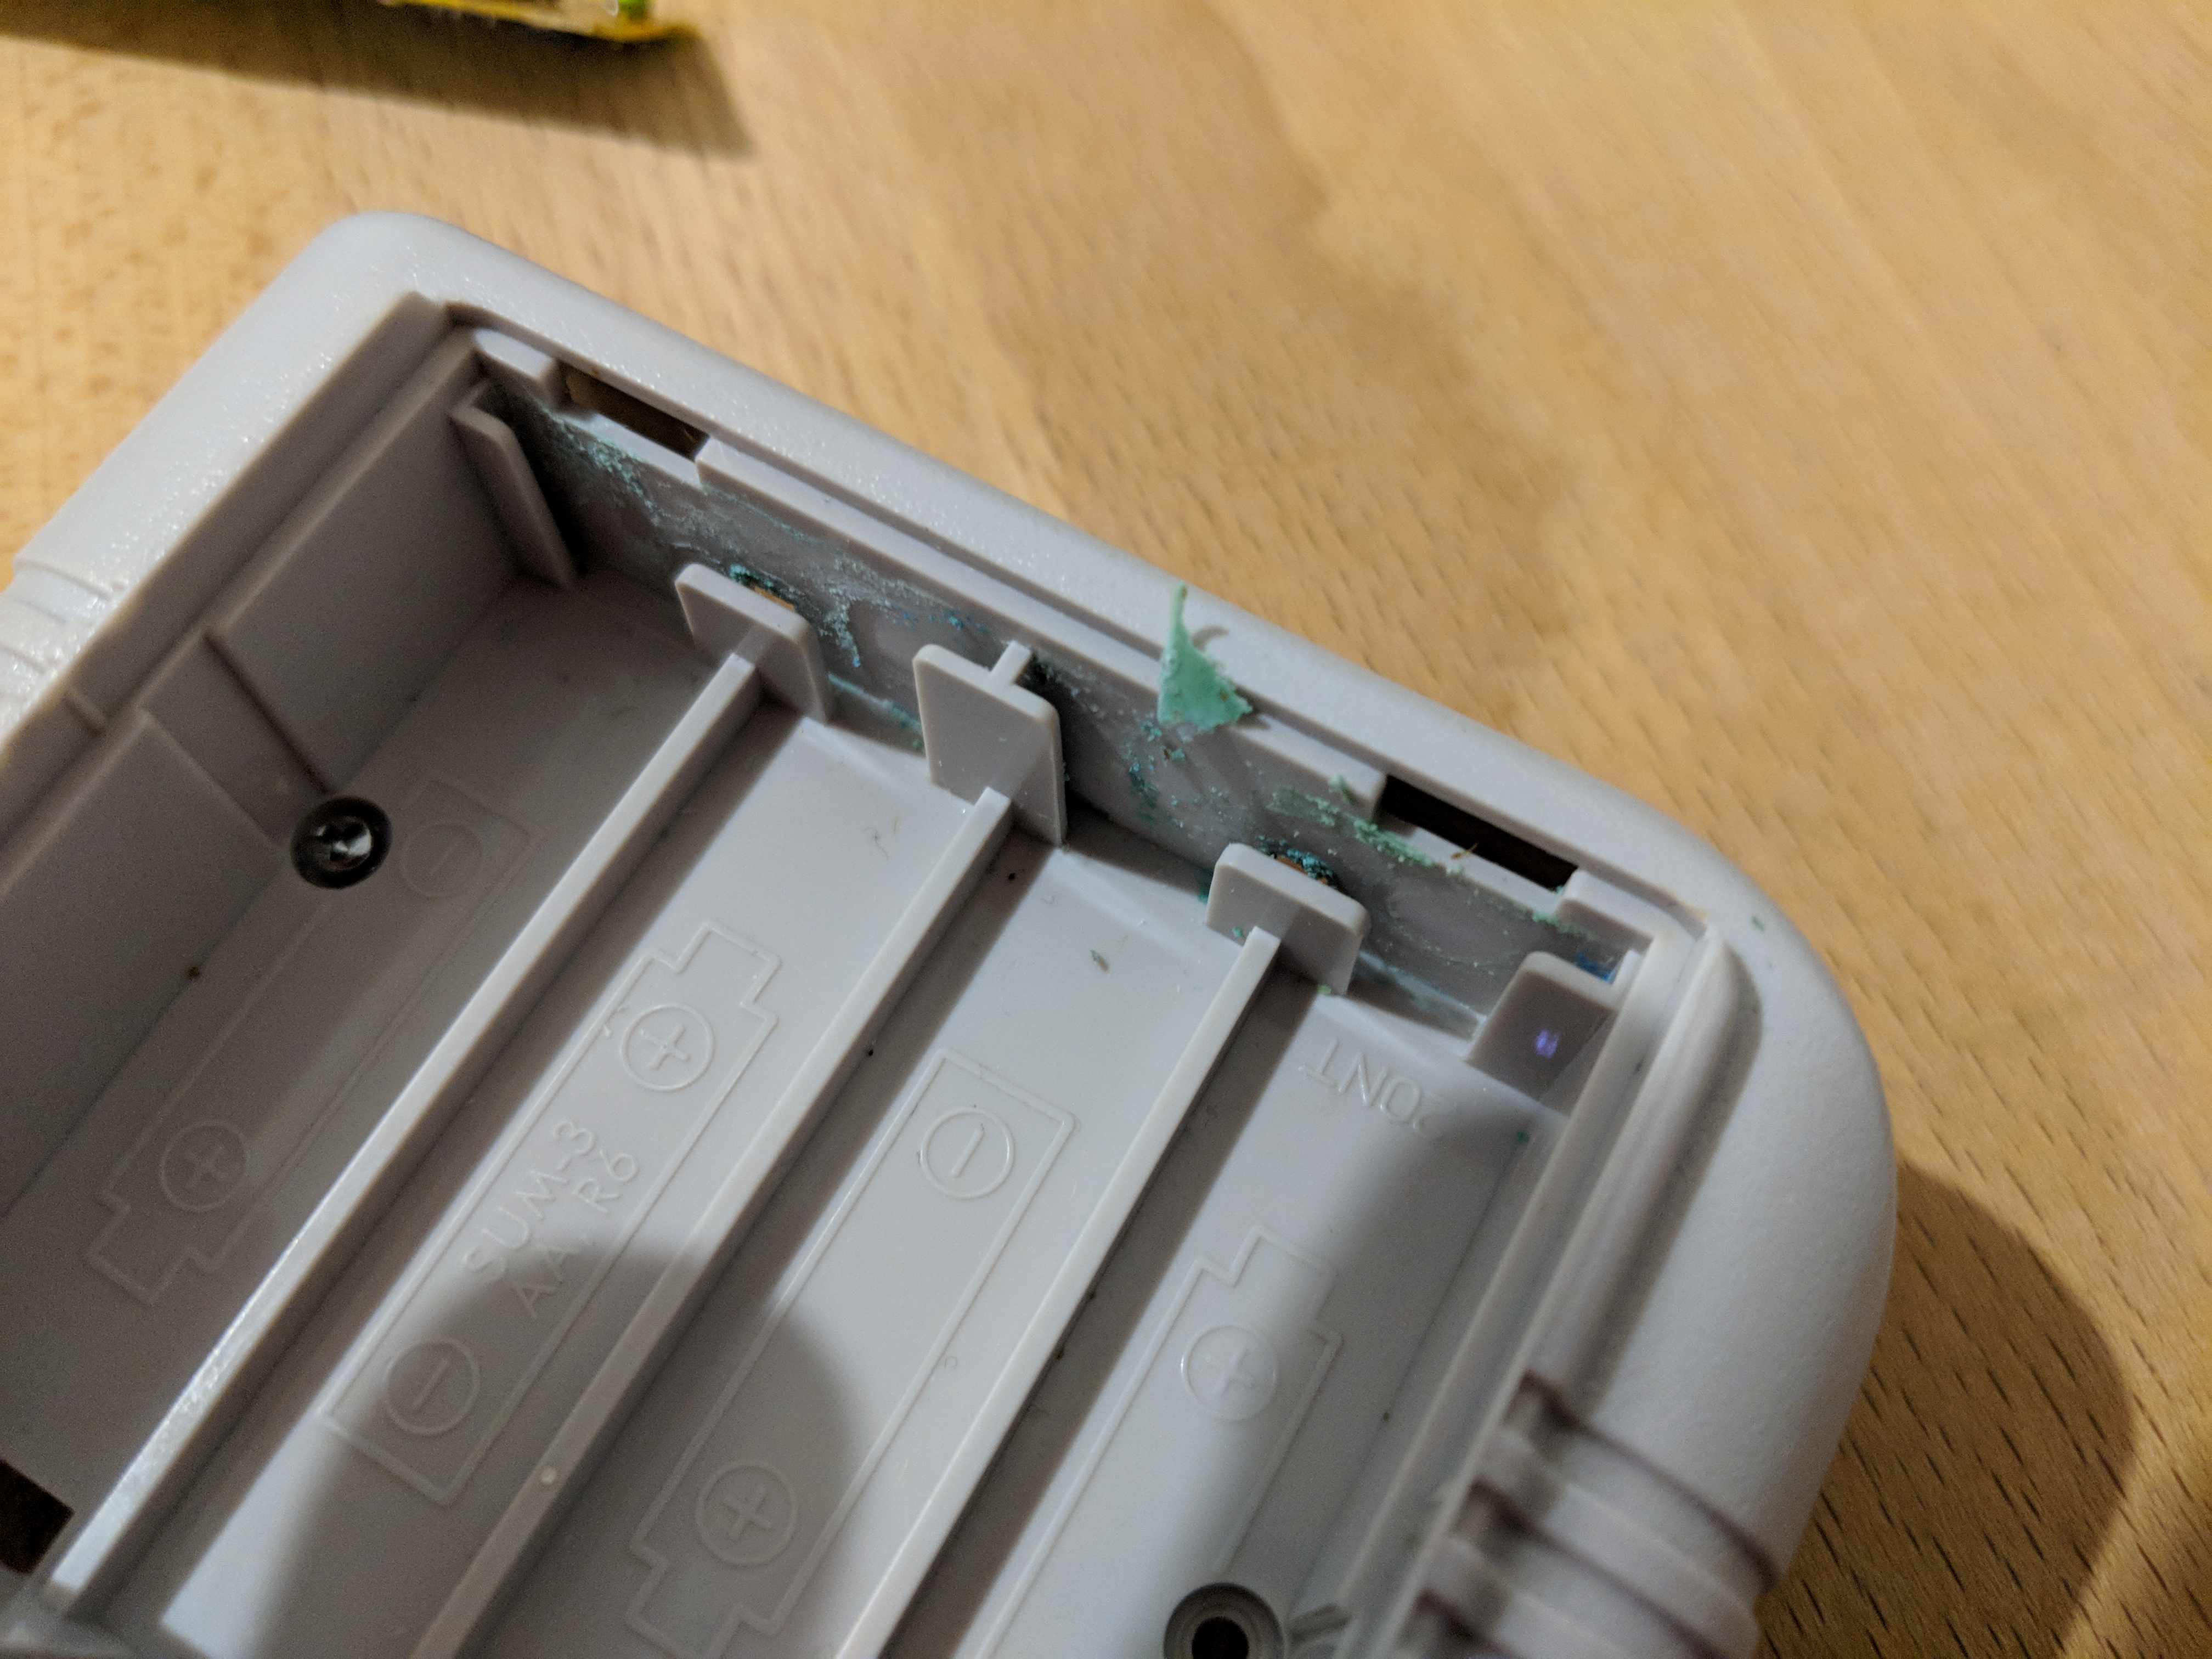
Battery acid left behind in DMG's battery compartment
The biggest problem is the corrosion in the battery compartment. All the terminals were pretty corroded. They were pretty easy to pop out, but lots of battery acid stayed behind in the case.
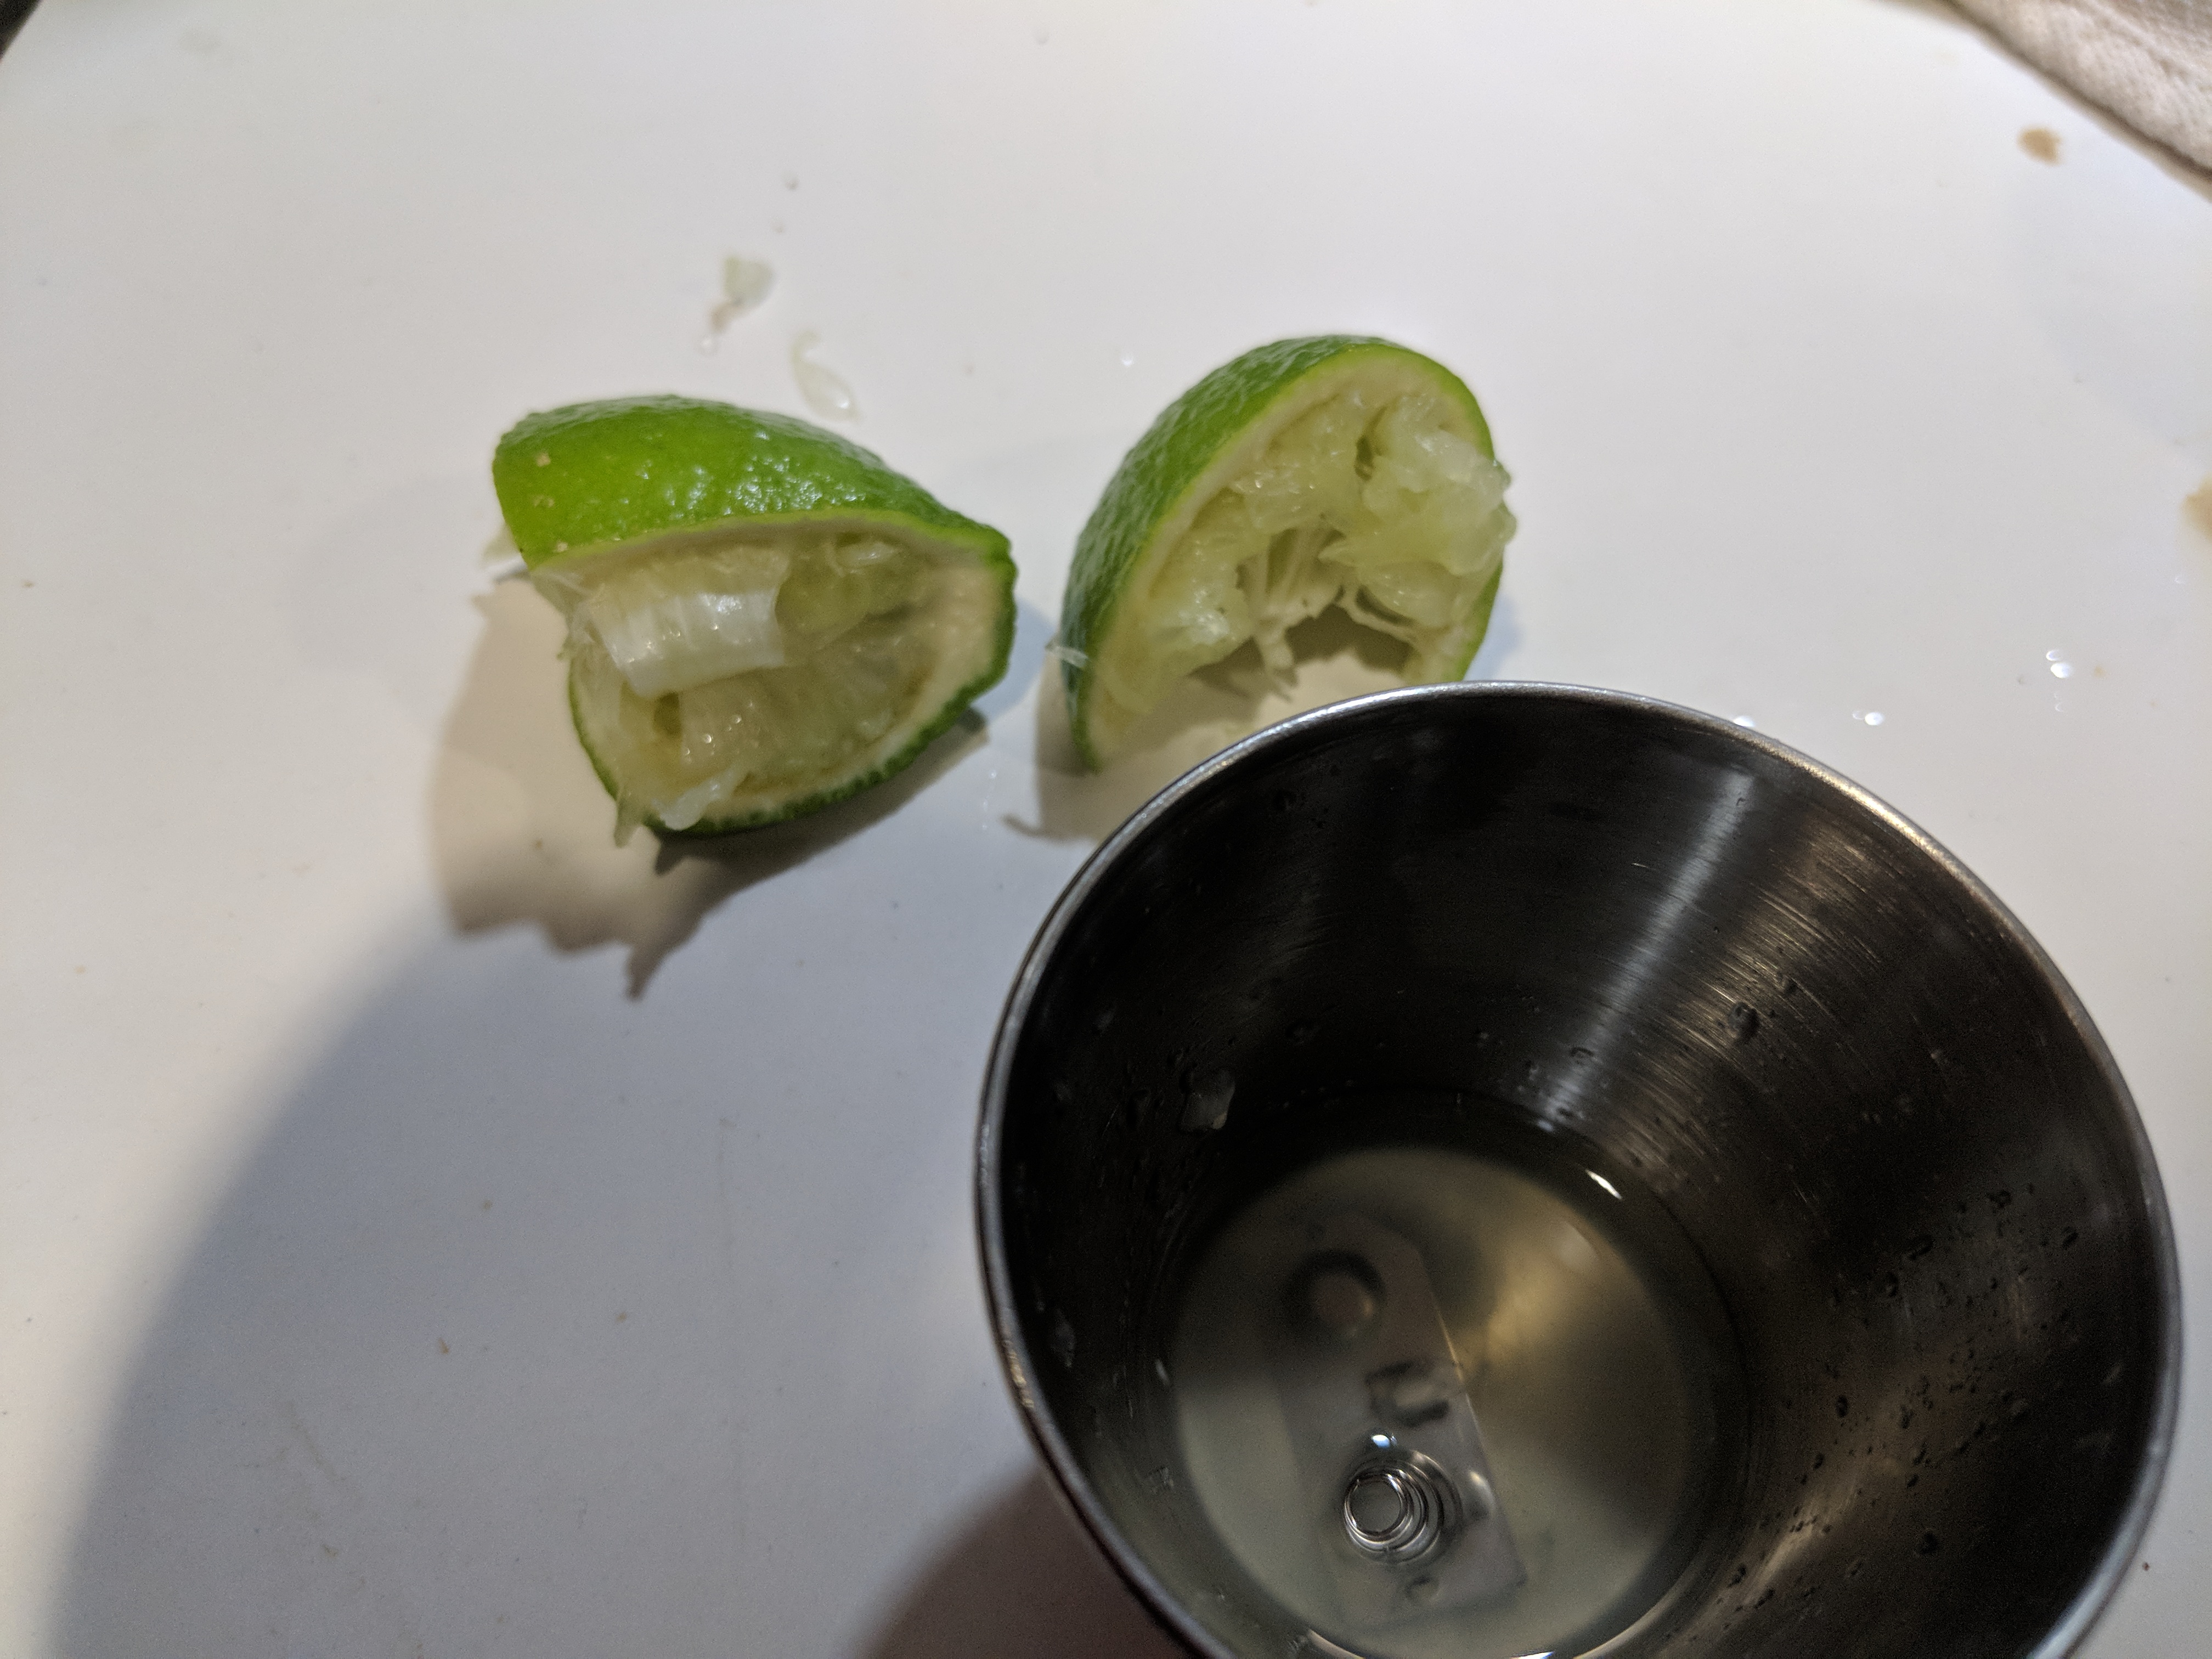
A quick aside to the kitchen. For Science!
Silly me, I had no terminal cleaner available, nor any other acidic household cleaner. So I improvised a bit: I had an extra lime in the kitchen from a previous meal. Lime juice is a citric acid with a pH about the same as lemon juice and vinegar, so I figured it would work just as well. It’s also fitting, because, you know, both color handhelds are lime green.
No more acid remains
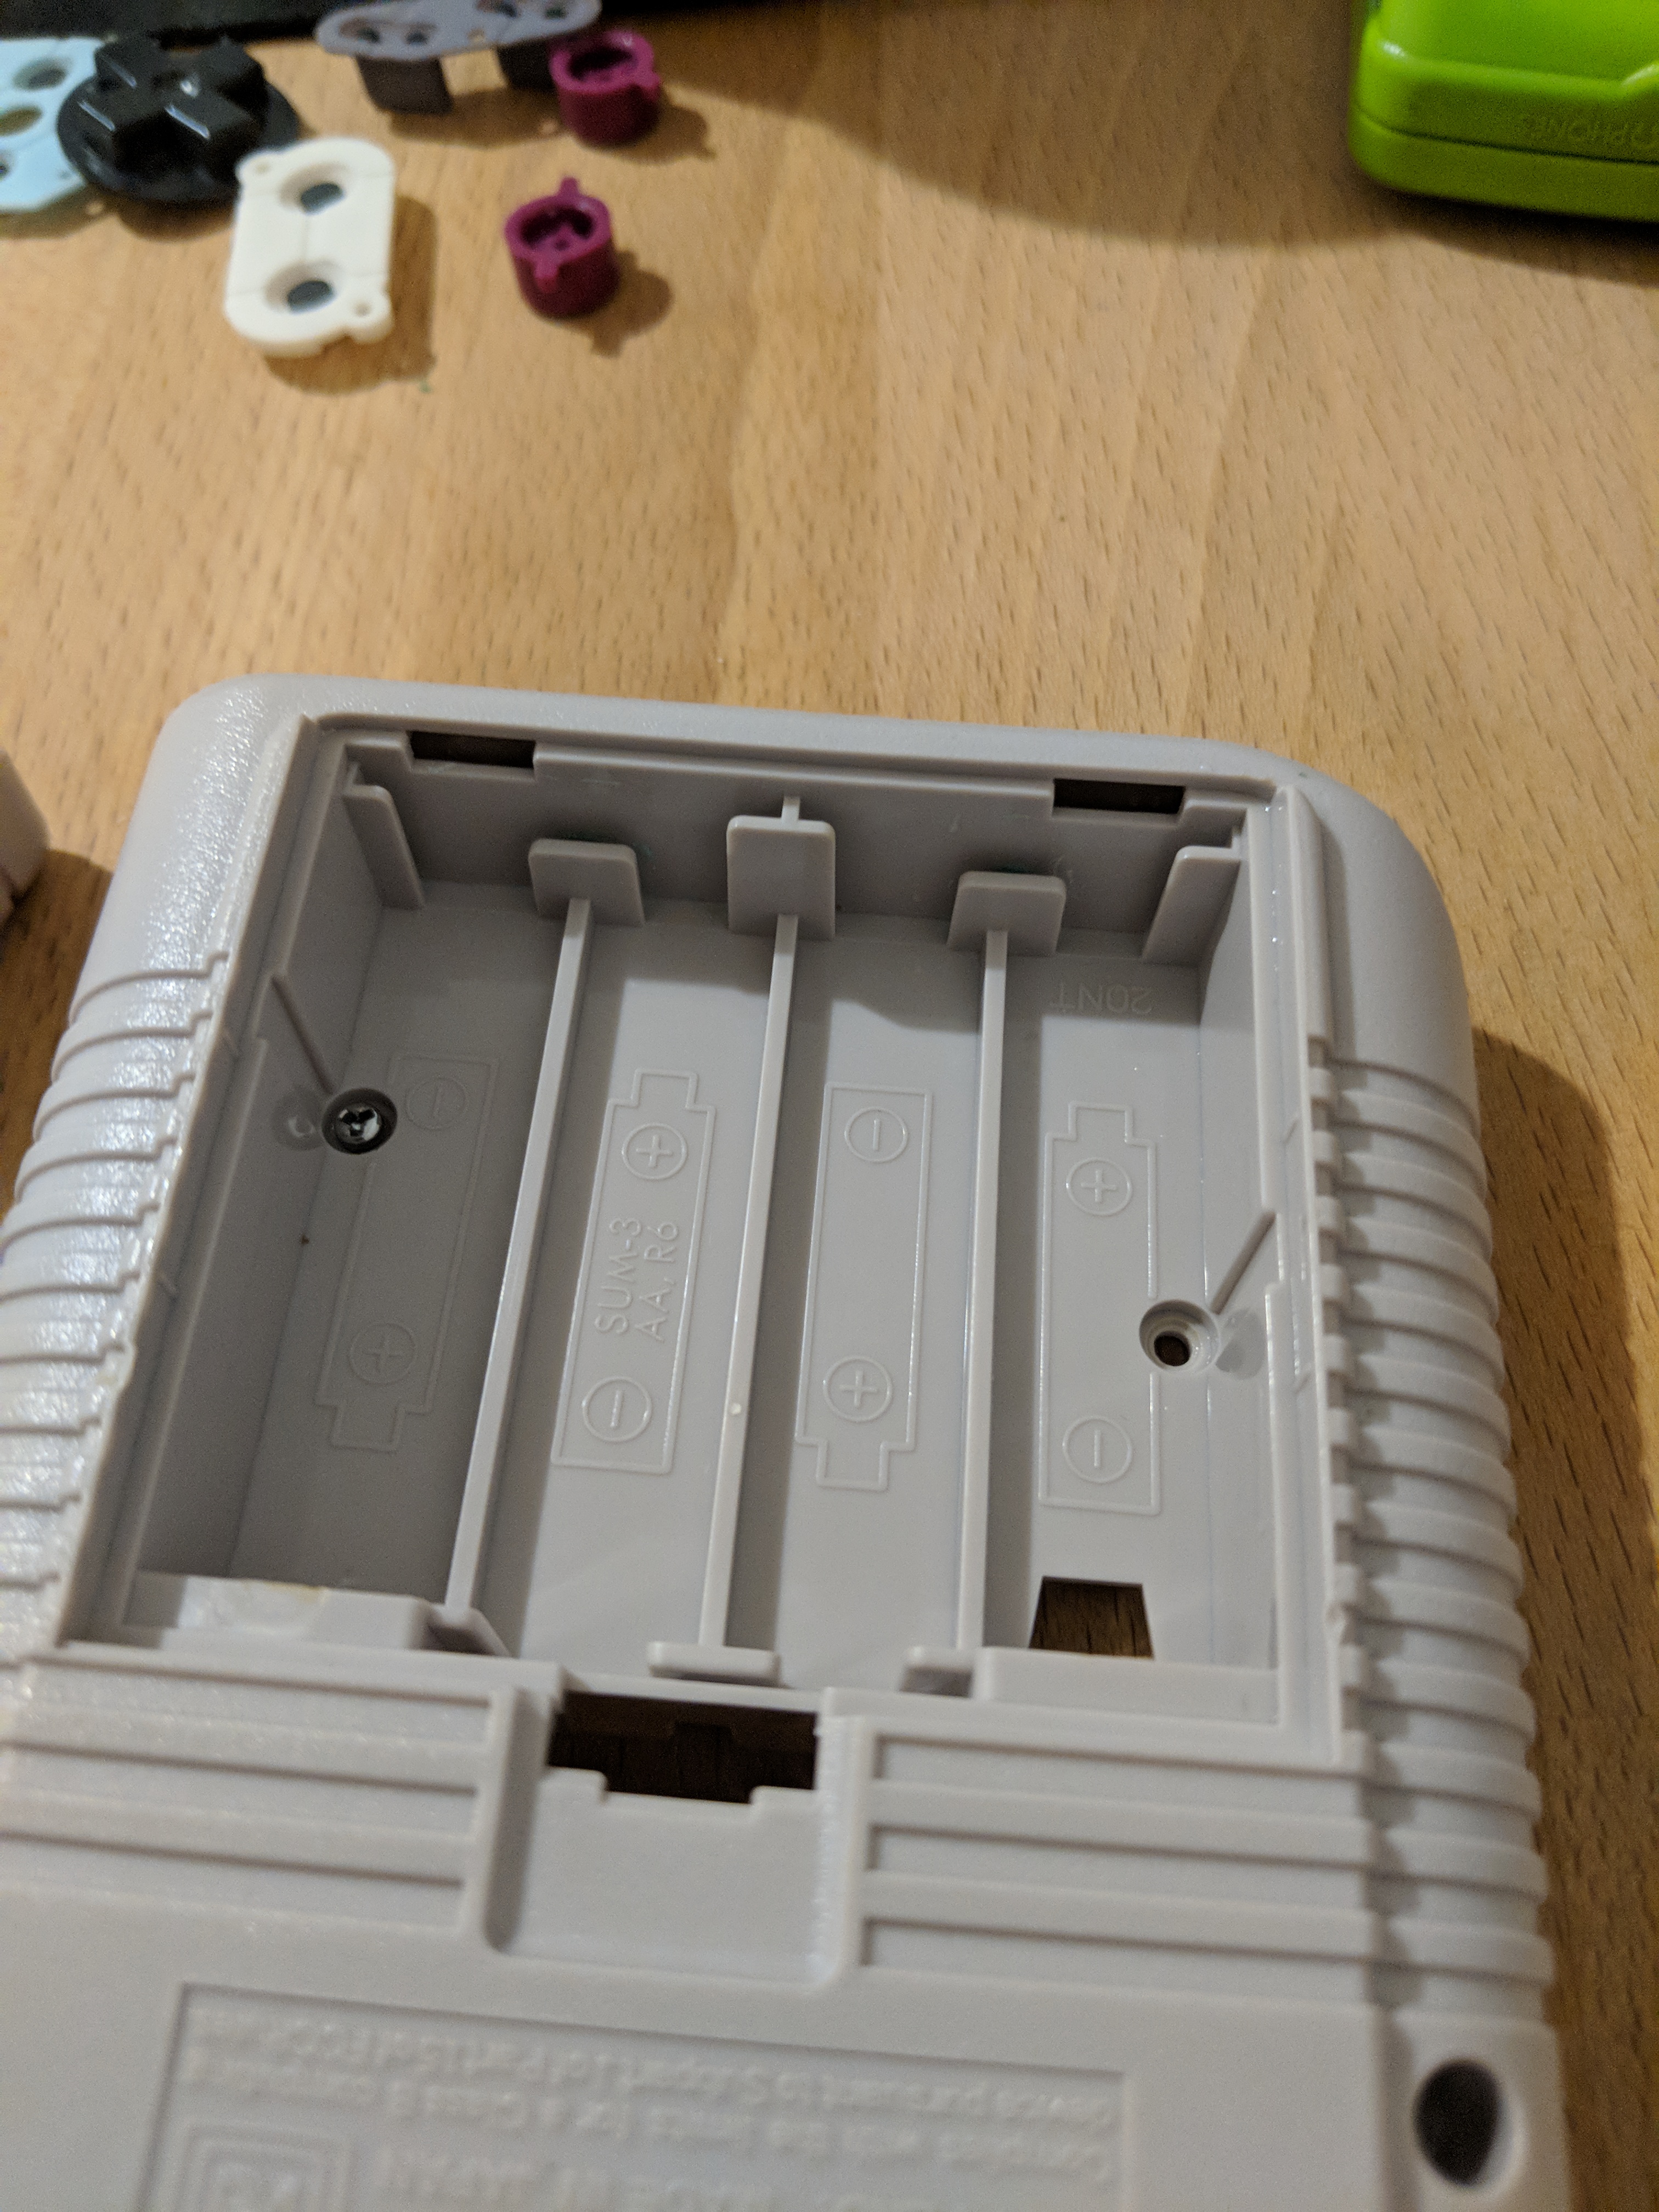
No more acid remains
After cleaning, it appears the battery acid etched some of the shininess away. But it otherwise cleaned up nicely. I cleaned up the battery acid in the case using a cotton swab along with the lime juice.
That’s it for now. In the next installment, I will share the plan for how breaking up the Game Boy and wiring it together. I also have ideas for future enhancements I think would be cool. I’ve also ordered a set of replacement capacitors; I’ll do a post on replacing them once they arrive.