Hardware MIDI Player (Part One)
Overview
Raspberry Pi MIDI Player
Last December, I watched Techmoan’s YouTube video on the Roland MT-80S, a player built to help teach people how to play songs, that used HD 3.5" floppy disks as storage medium for MIDI files. Since then AkBKukU has done a video on the Yamaha Disk Orchestra DOU-10, that used DD disks instead.
As I enjoy listening to chiptune and DOS-era video game music, I was keen on having a player in my collection. Cursory searches for players sold online resulted in typically high eBay prices. Considering my growth in ability with electronics in the past year, I decided to forgo the market and build one myself.
The vision in my mind belongs in the mid-90s. My completed player shouldn’t feel out of place alongside a tape deck and CD changer. The insides, however, should be built from modern components.1
Hardware
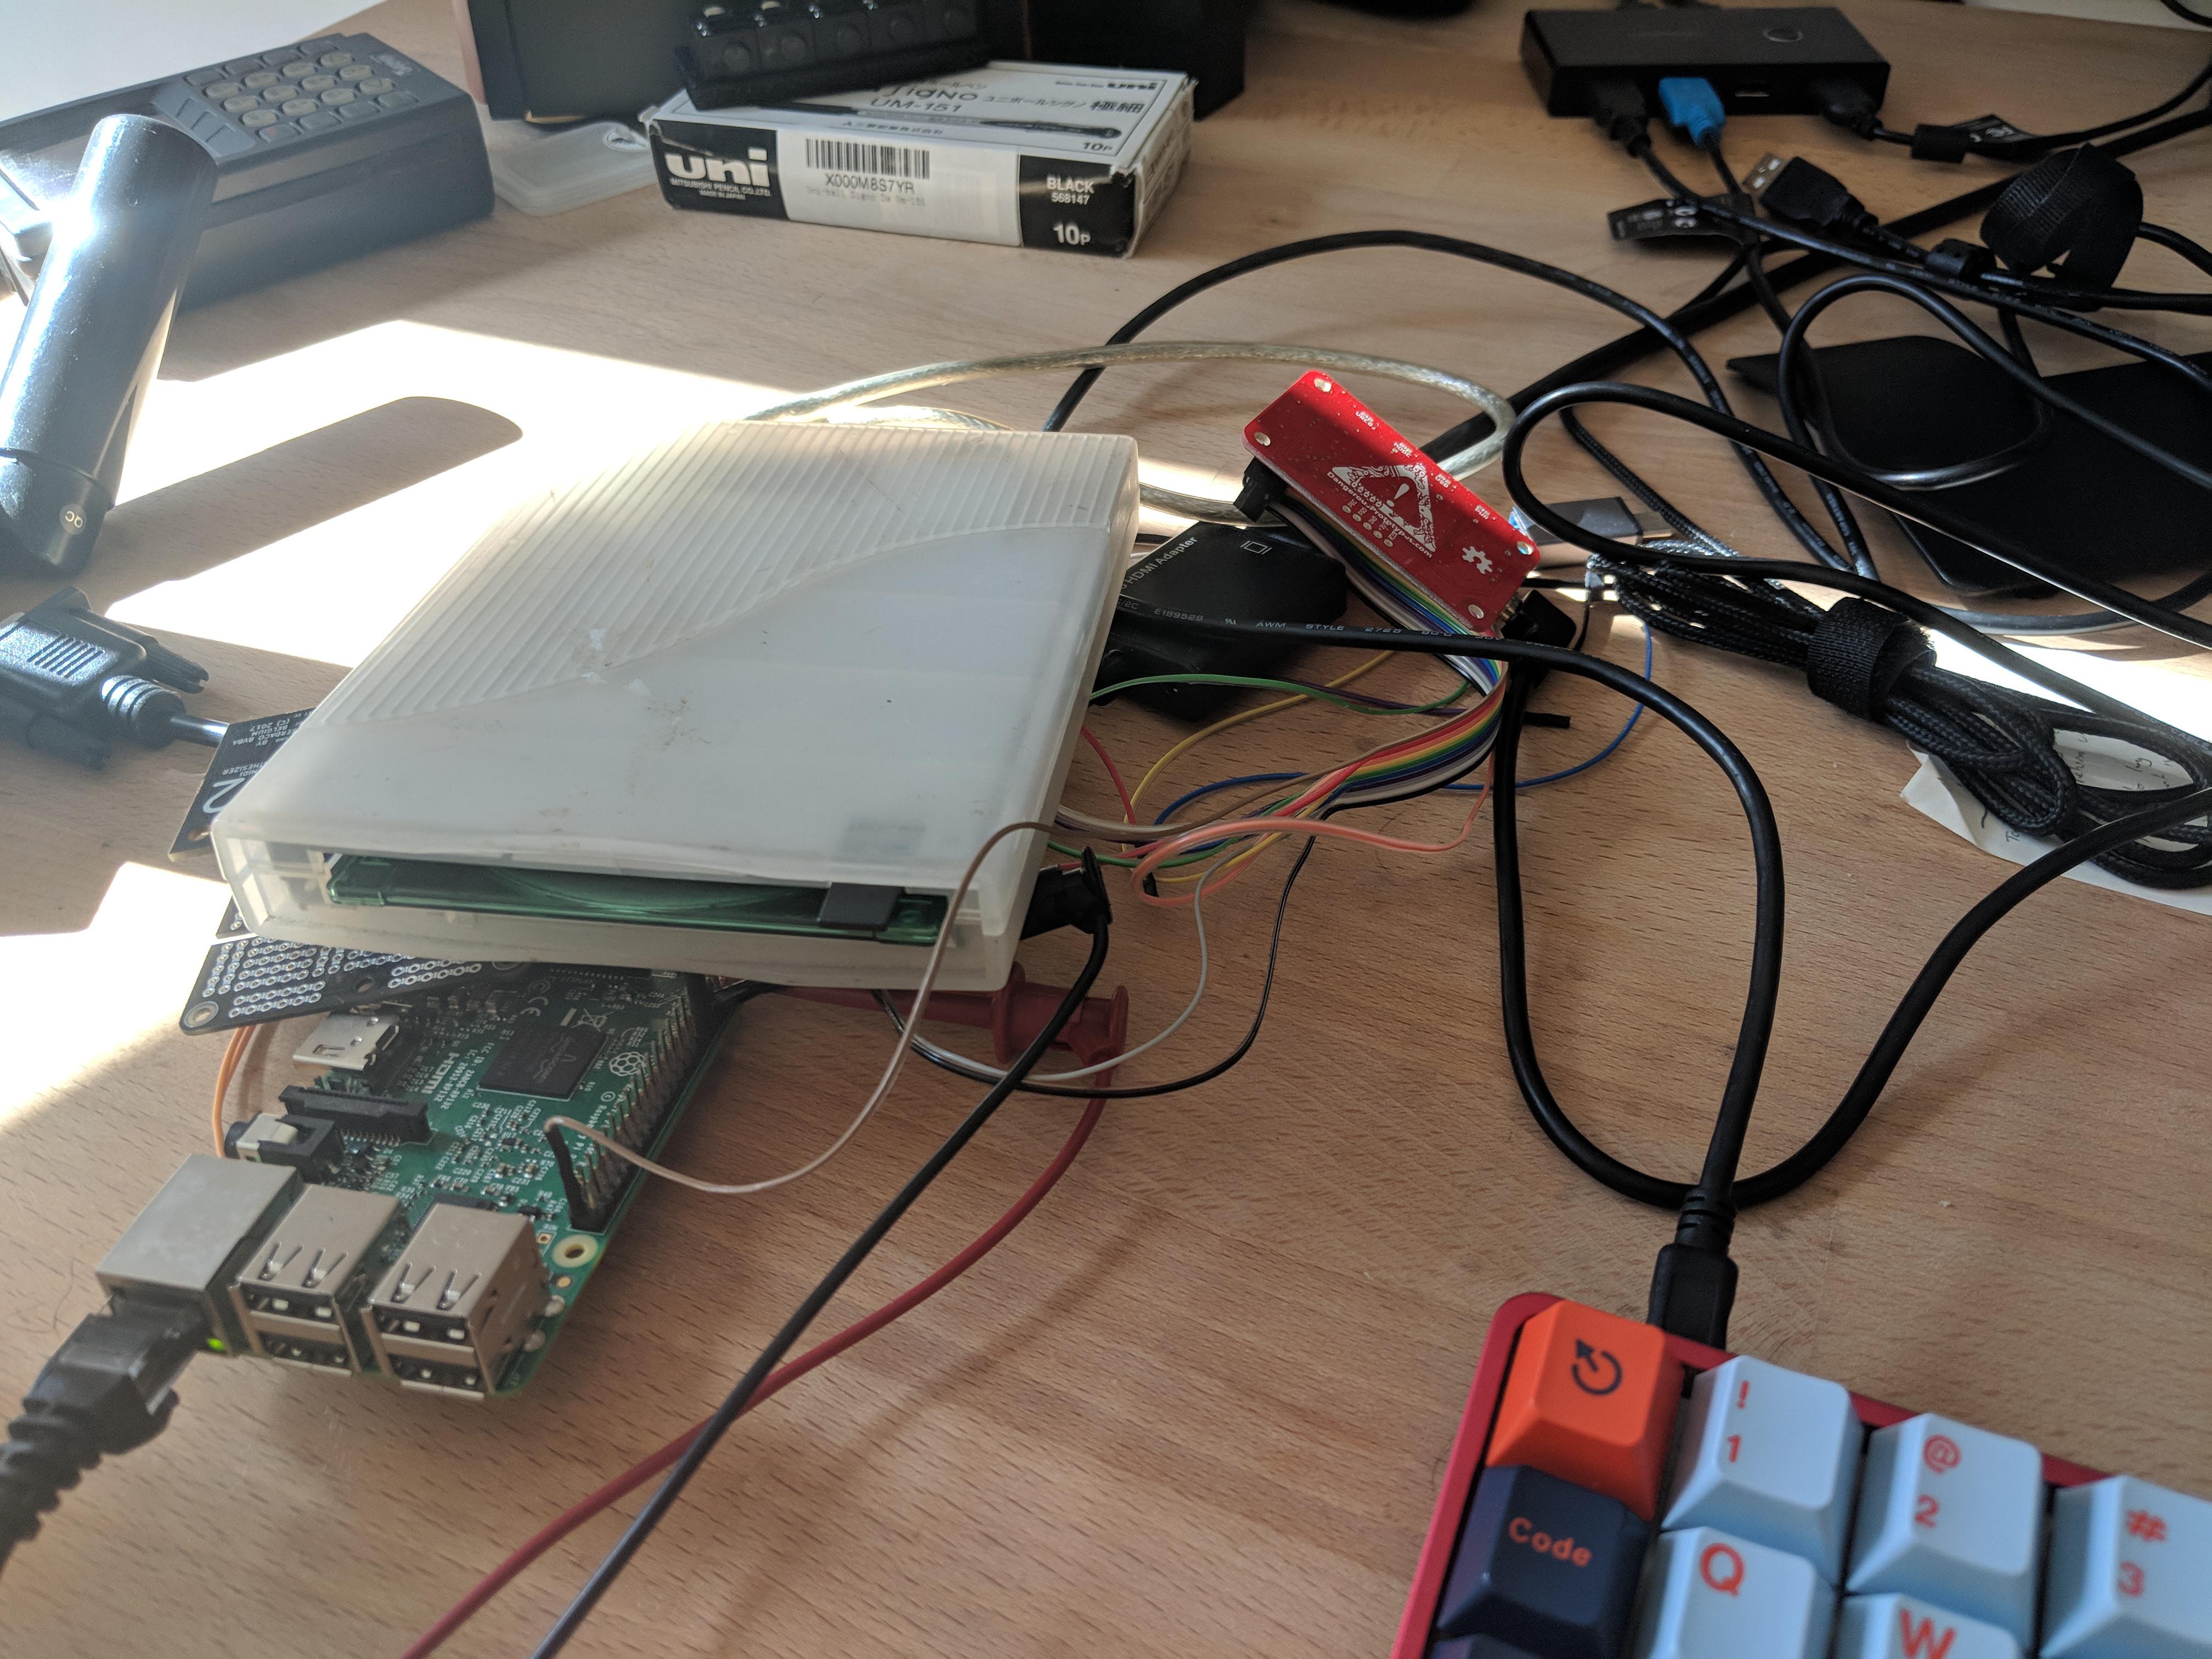
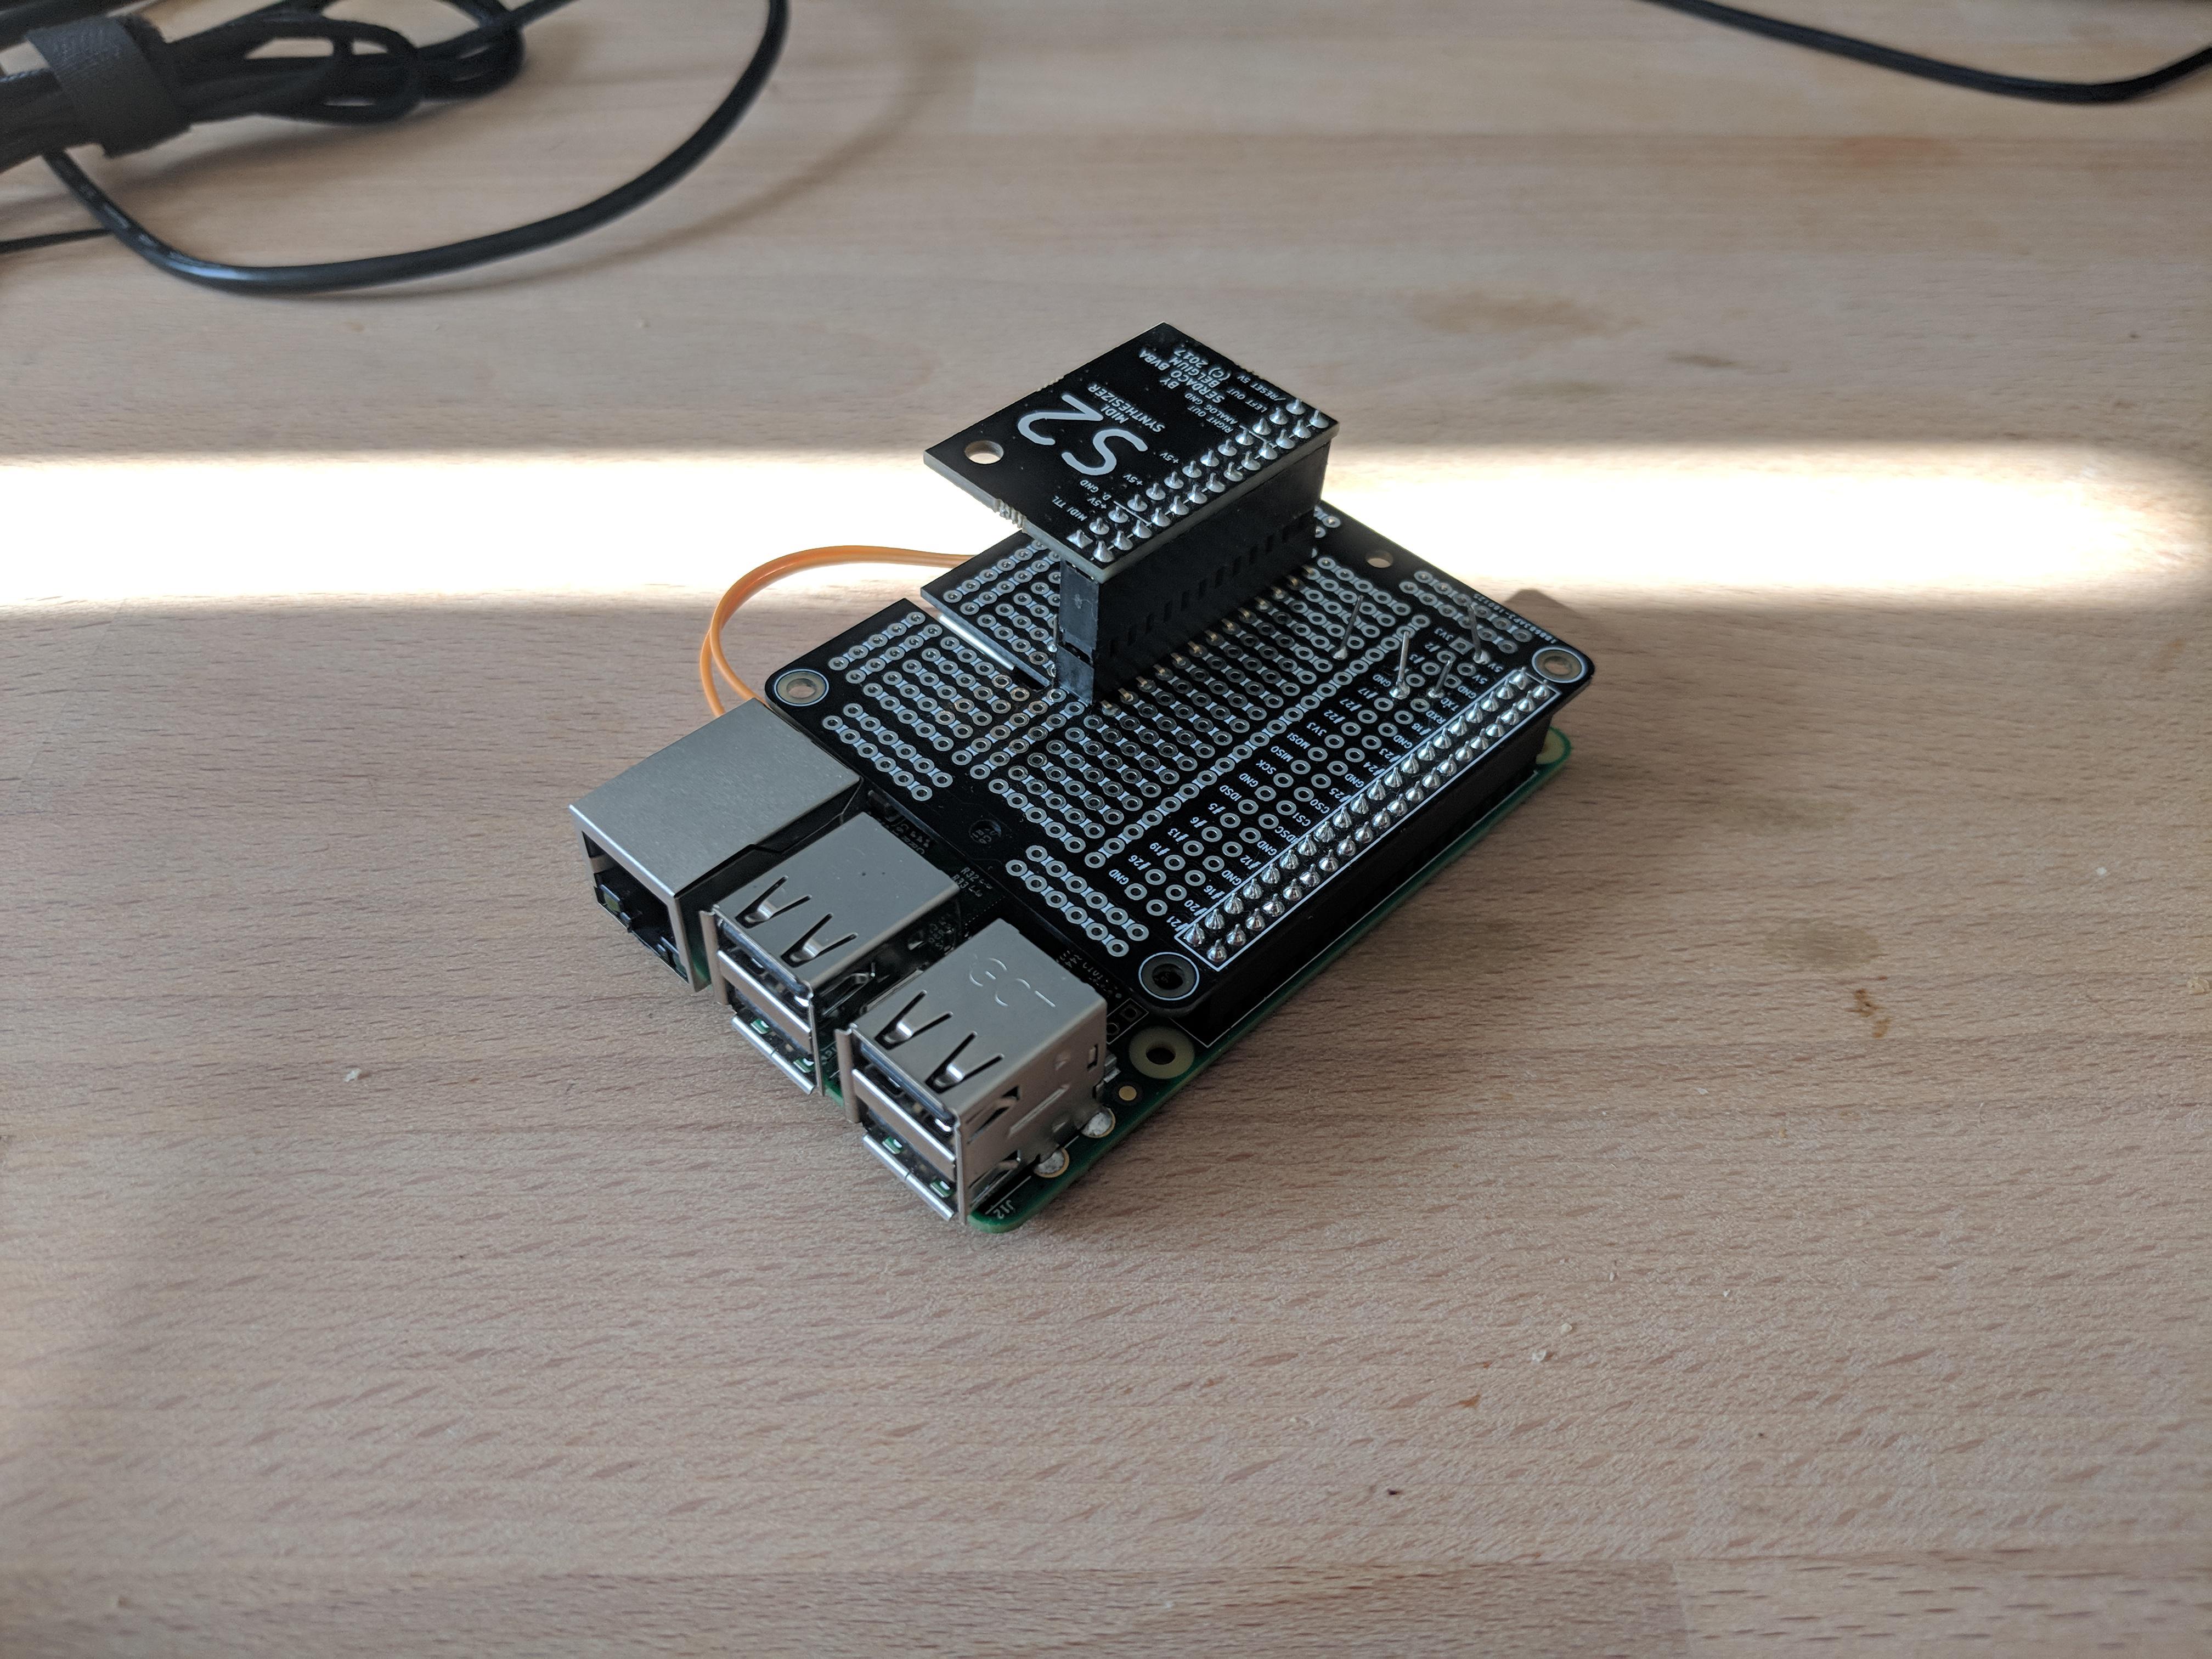
I began with the internal hardware, which is somewhere underneath all those wires.
I’ve built the project using Raspberry Pi 3B. This is significantly more powerful than required for playing back MIDI files.
In fact, I had originally planned to use an Arduino Uno as a rudimentary central processor and floppy drive controller. However, I was unable to reliably control any of the floppy drives shown here—they might not even work properly—and decided to switch to using a USB floppy drive that I could more easily verify. I switched to the Raspberry Pi because it is a better USB host than an Arduino.
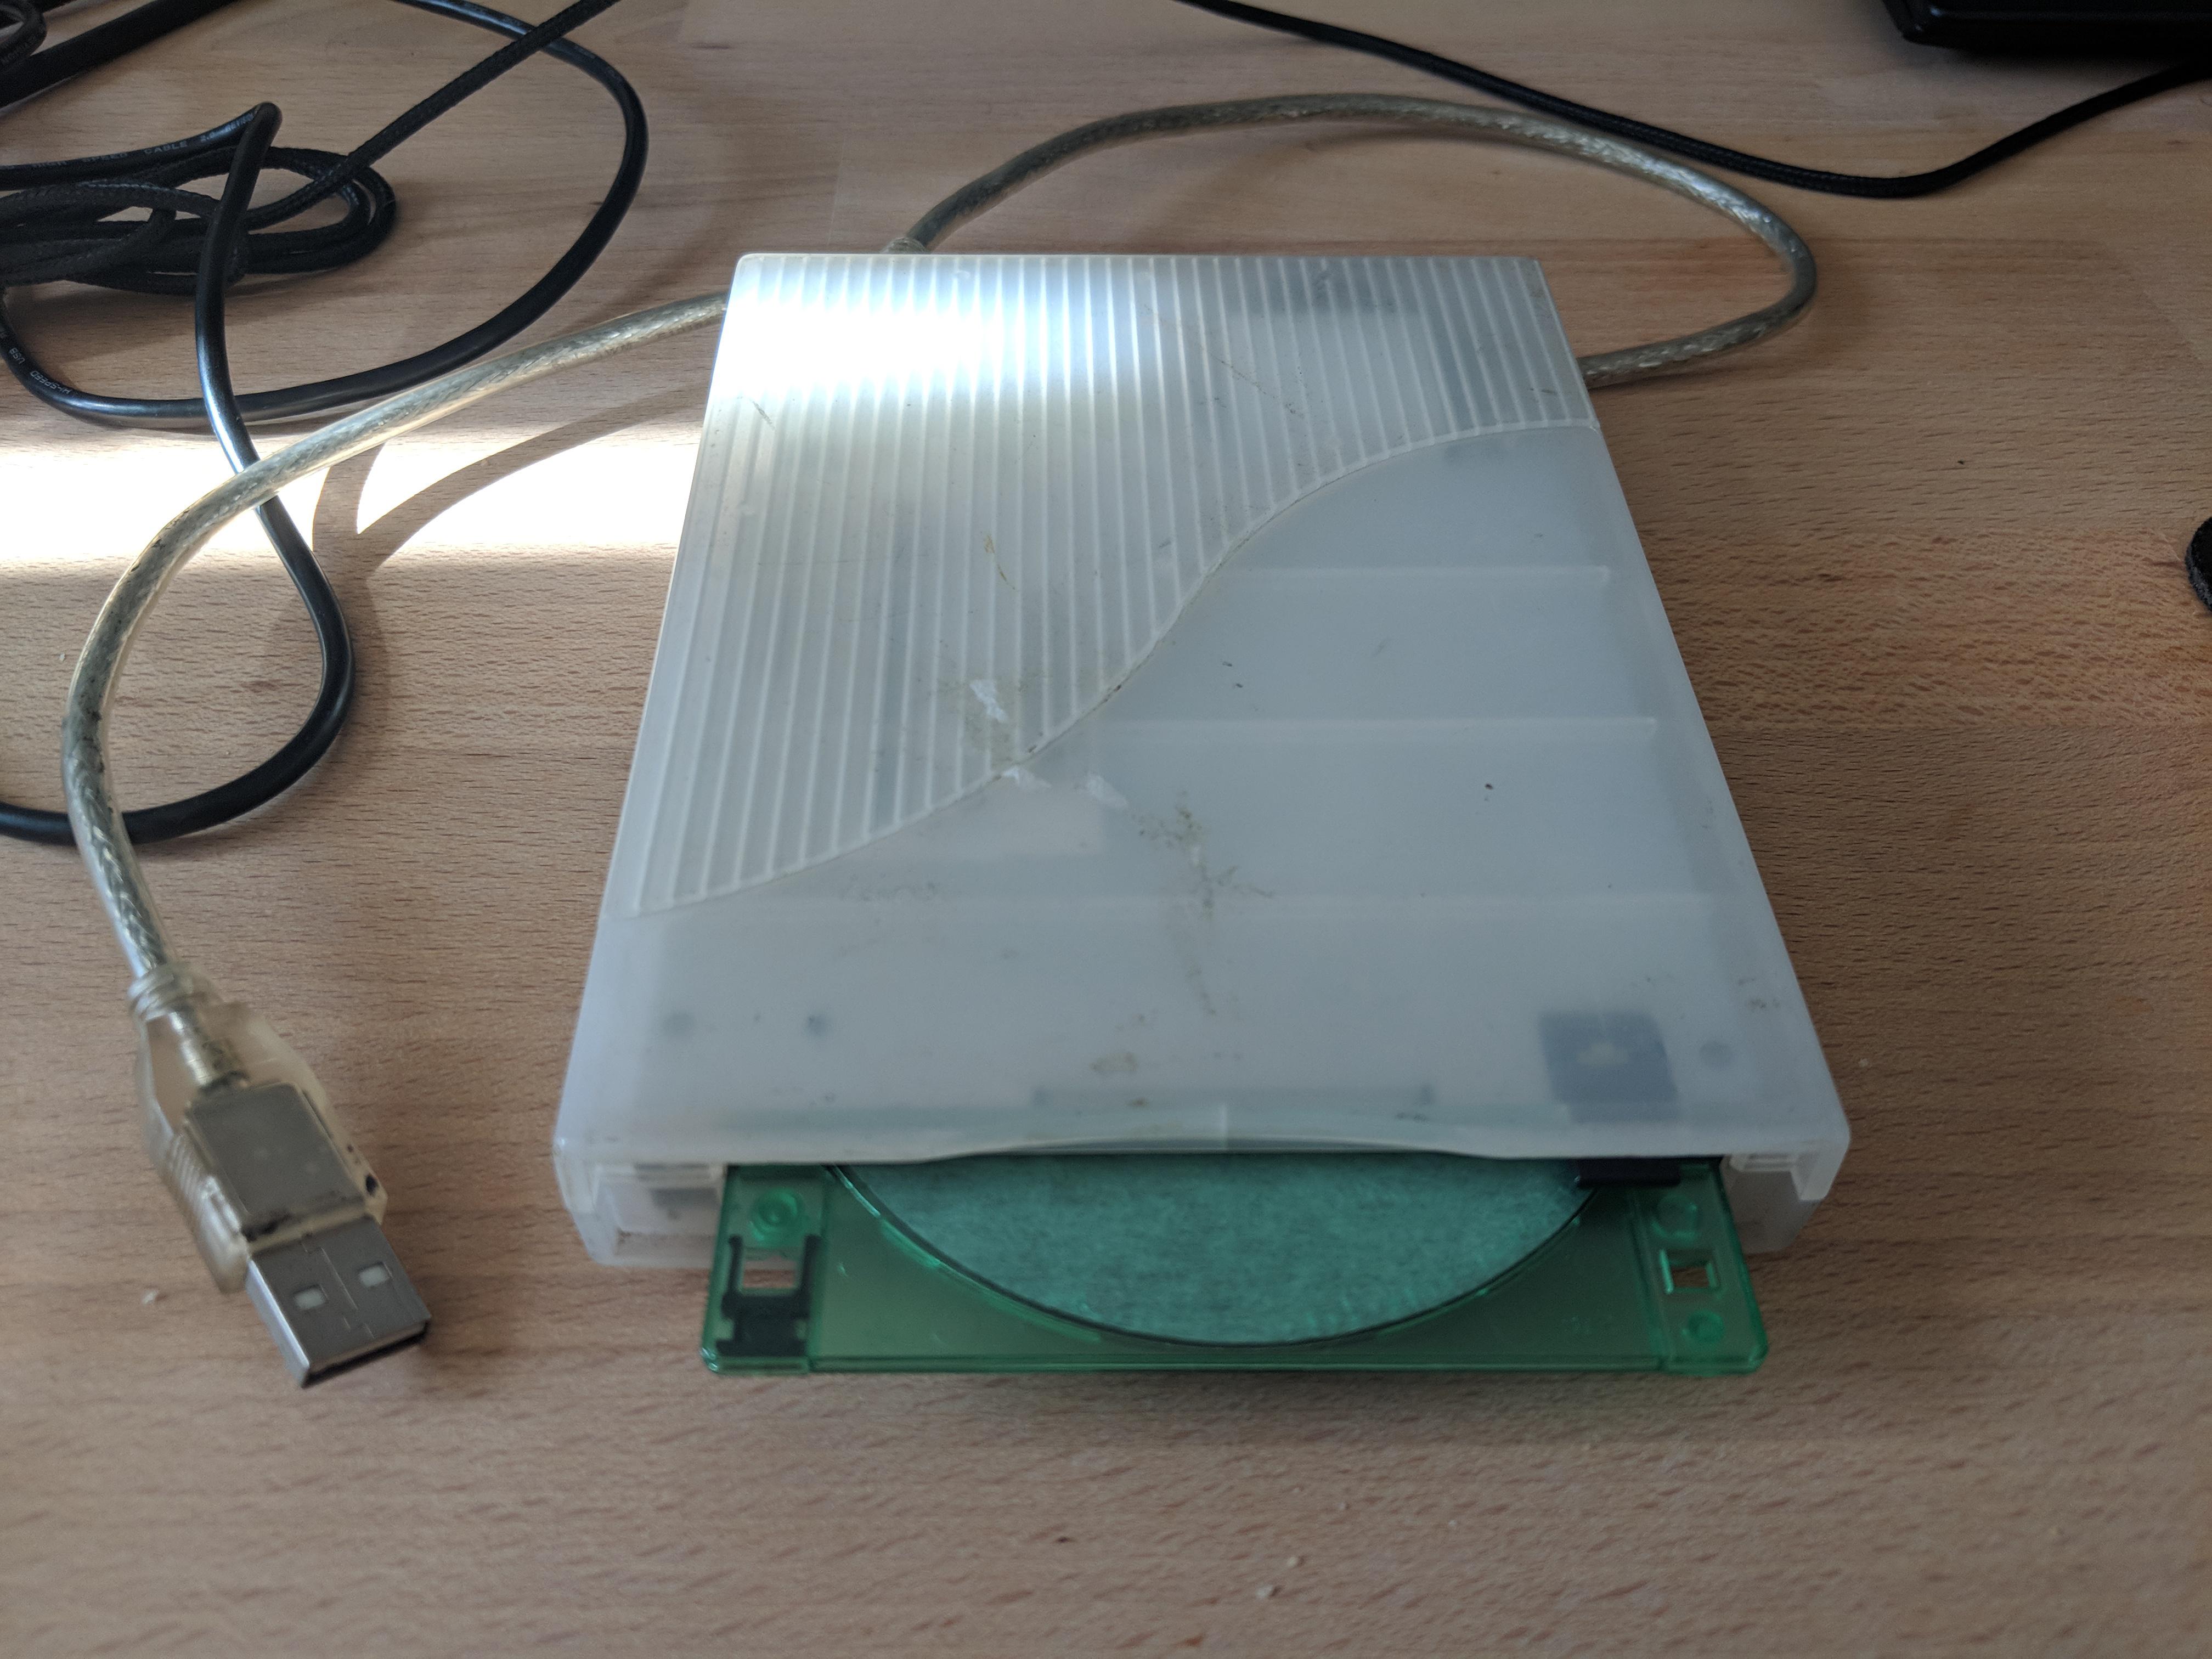
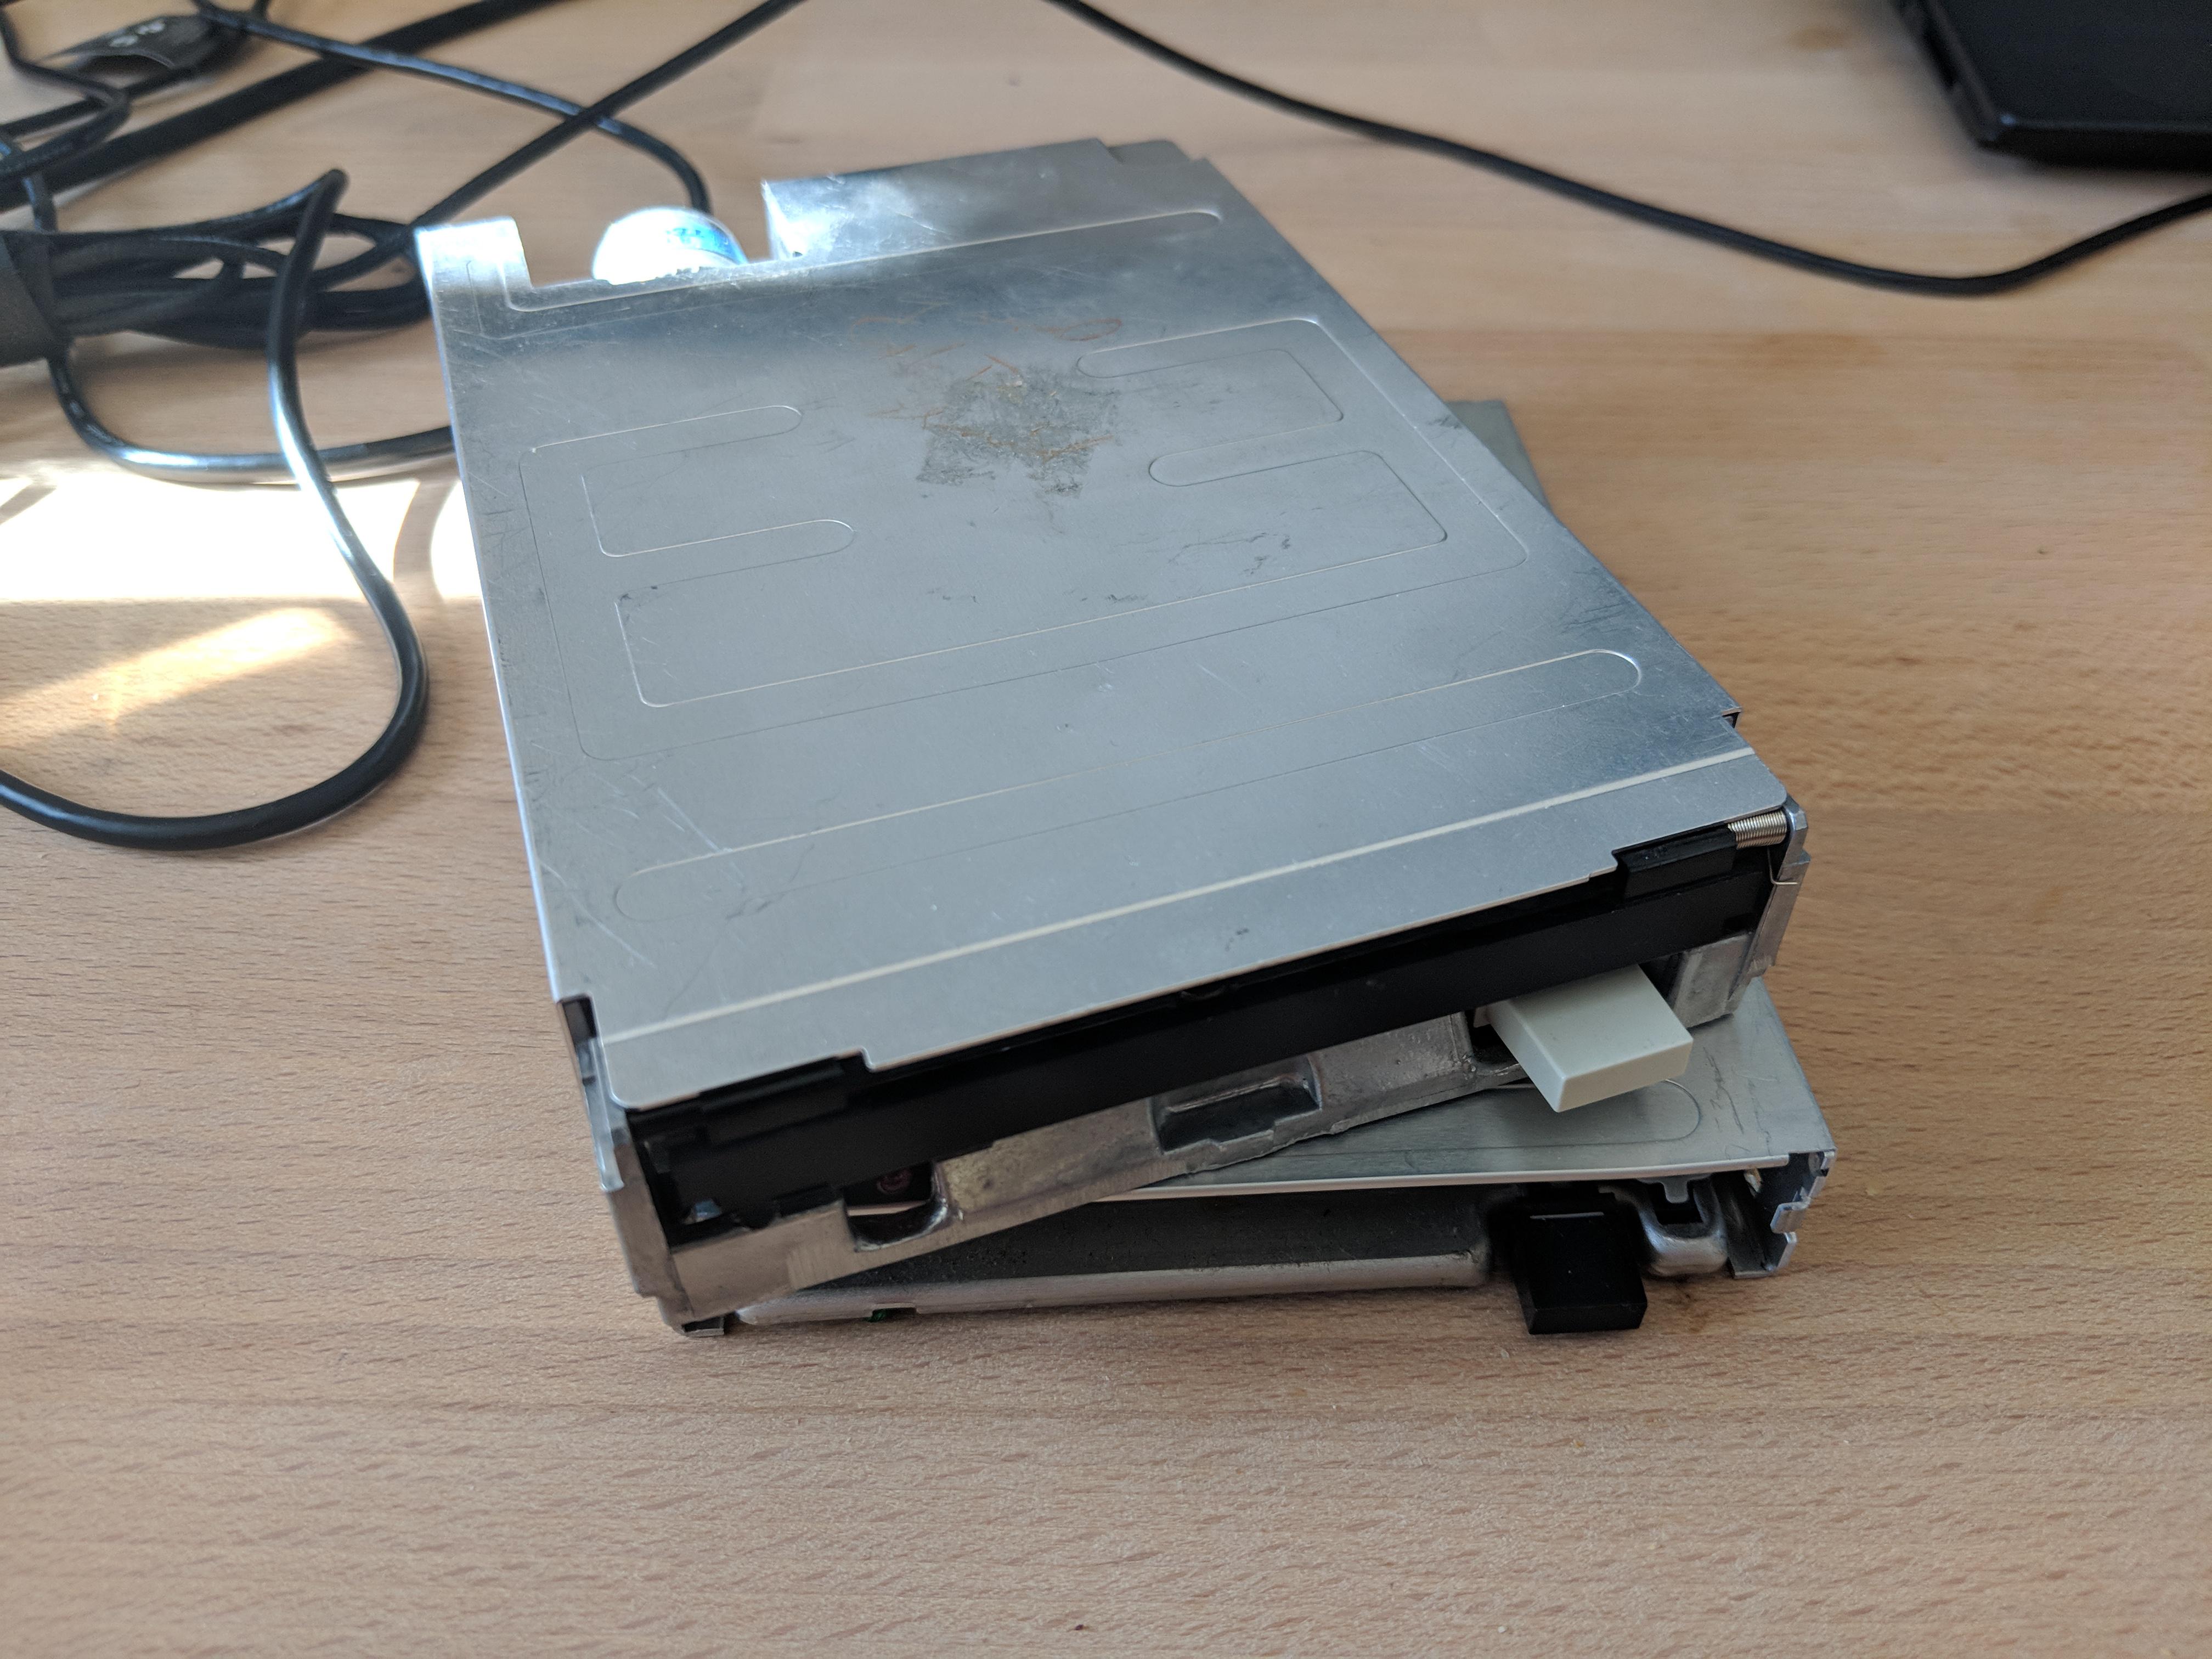
Maccally USB Floppy Disk Drive for Mac
I settled on a rather generic USB floppy drive. Well, not just any USB floppy drive, but one “for Mac”. Based on the stripe design, I’m guessing it was meant to pair (or, pear) with the fruit-colored iBook G3 clamshells. Fortunately, the plastic case comes off simply enough.
This choice of drive proved to be troublesome as I would soon find myself on a pretty significant detour as a result.
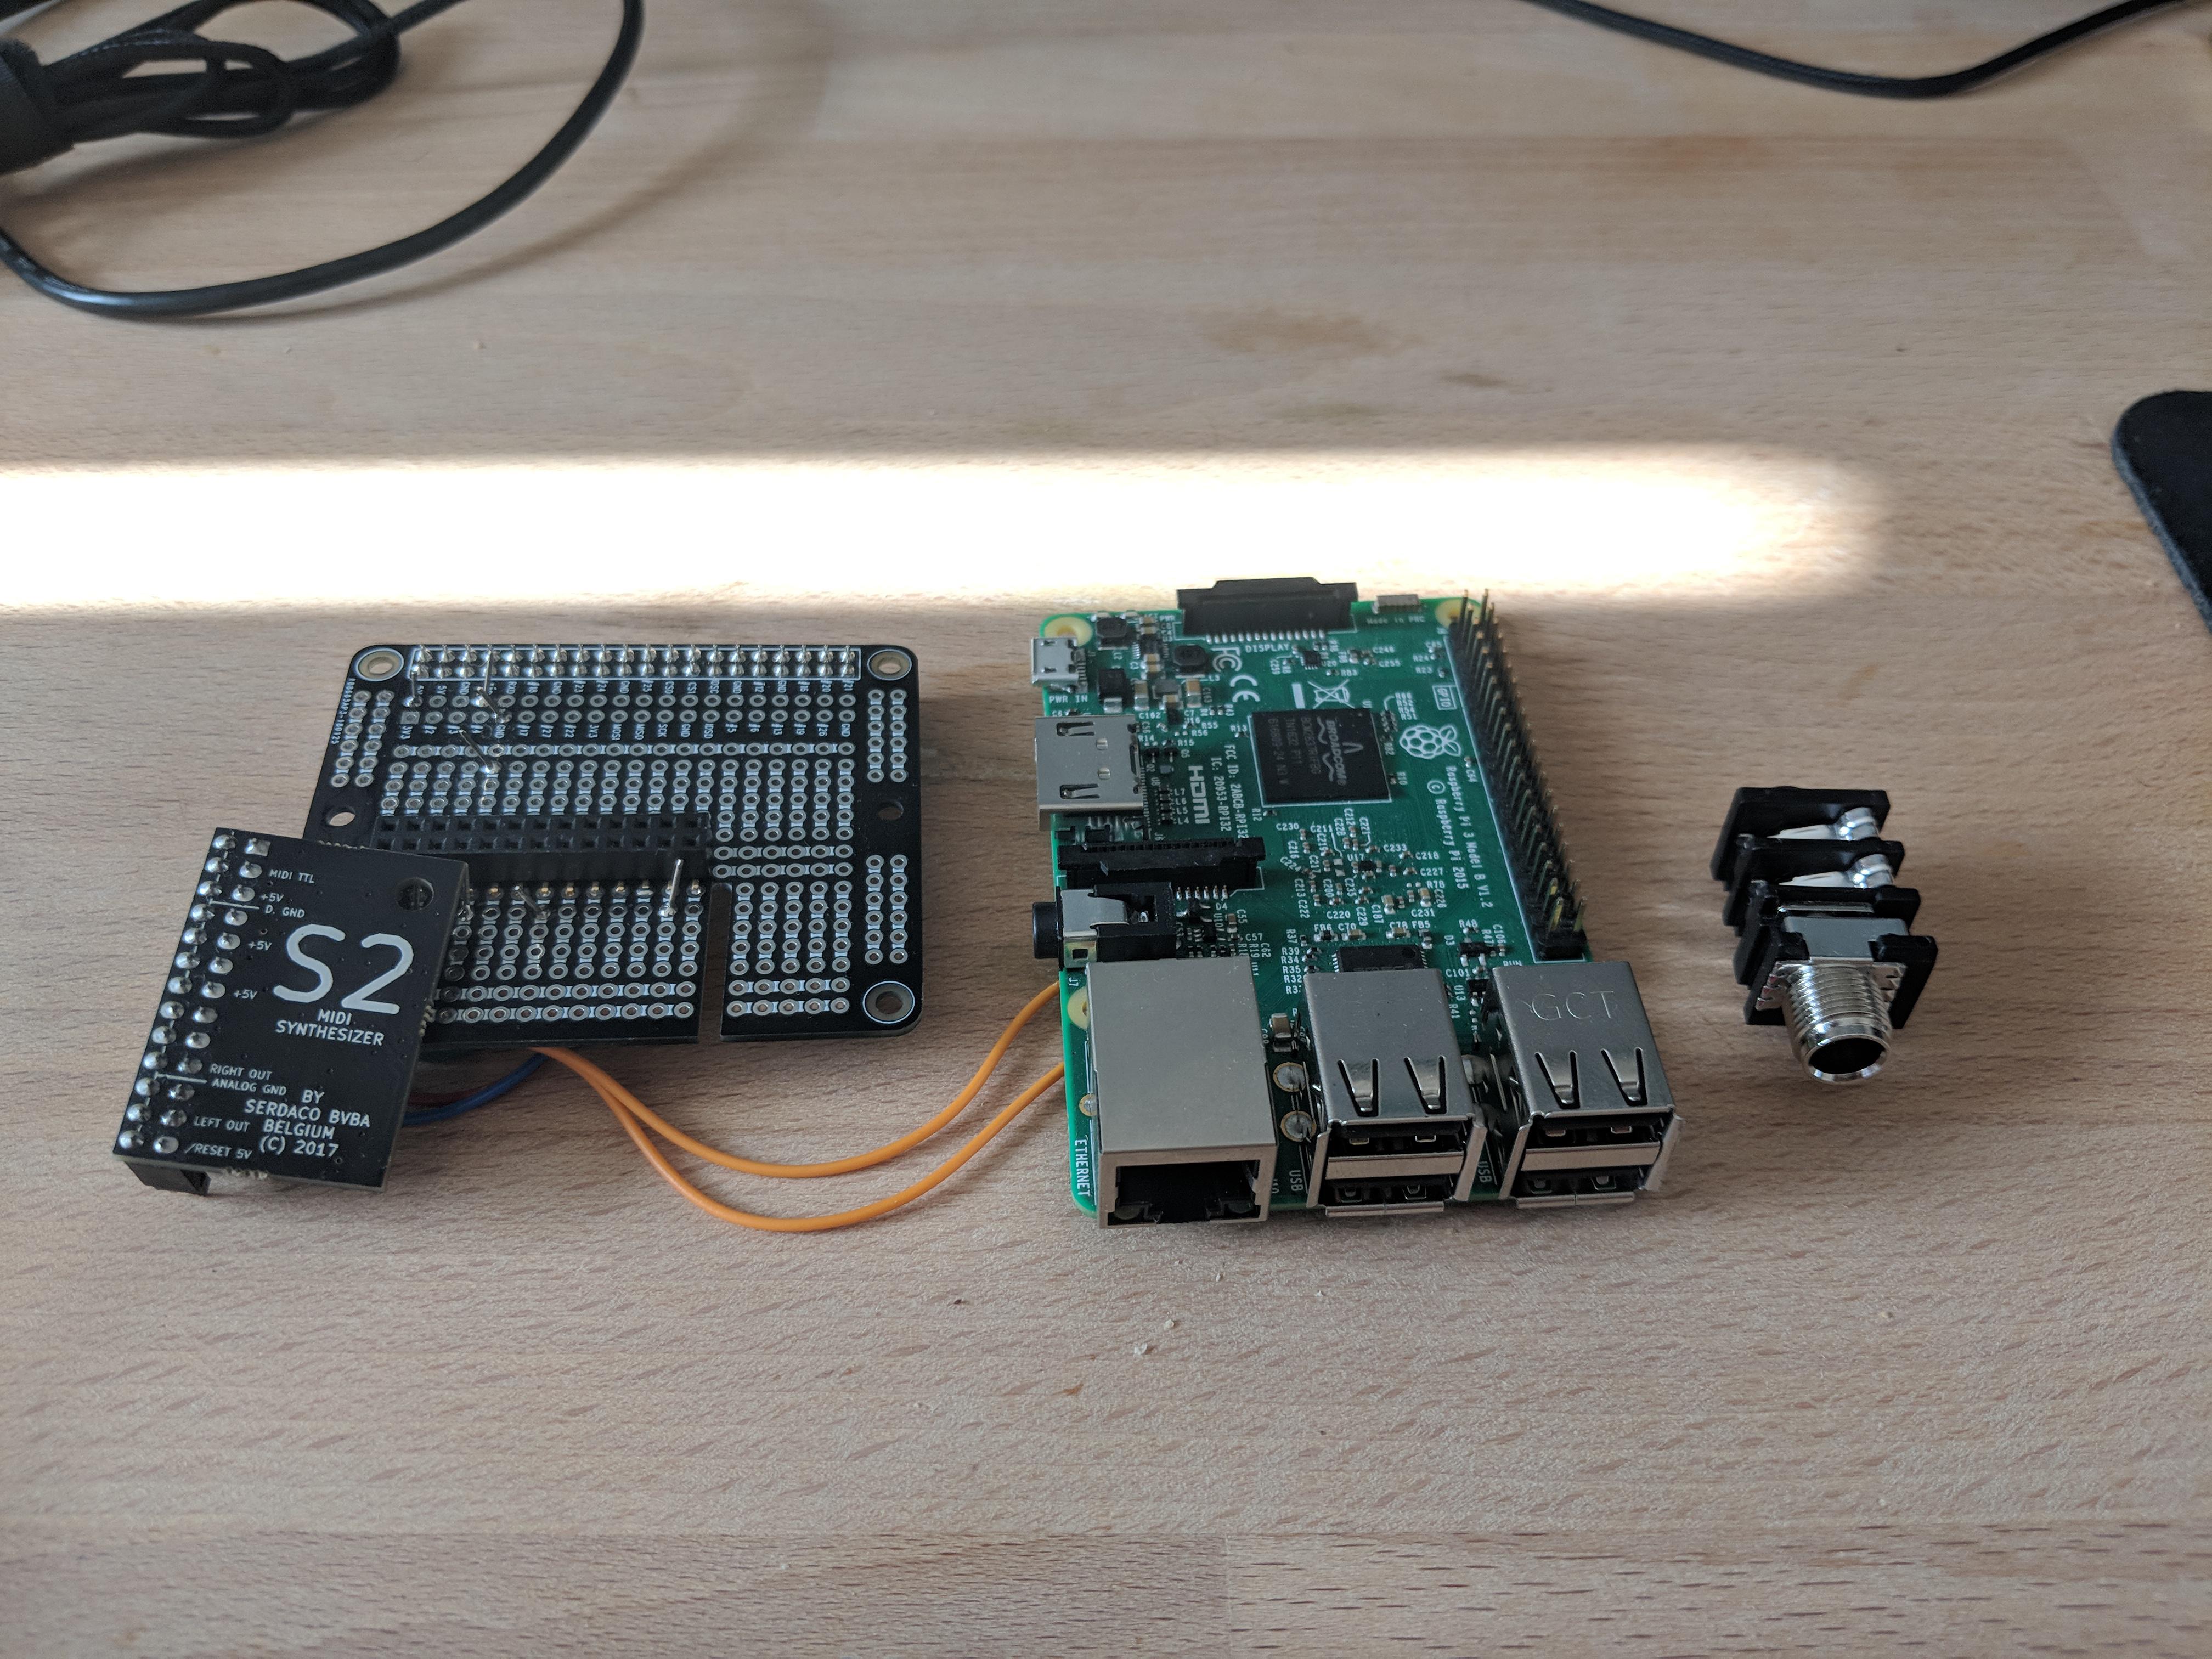
I used the Protoboard hat from MakerSpot for the remainder of my hardware work. The Pi’s serial data and power lines are connected through to a 90s-era WaveBlaster-compatible 2x132 header. I’m used an absolutely tiny Dreamblaster S2 as a modern General MIDI synth. The output from the synthesis chip, a SAM2695, was routed to the Pi’s 3.5mm AV jack. A proper quarter-inch jack has been ordered.
Software
As a software guy, I expected the hardware to be the hard part. As Caesar would have said, “The fault, dear Brutus, is not in our stars, but in our software.”3
So far I’ve only written a rather trivial MIDI player. The path to an SMF or RIFF encoded MIDI file is provided as the command line argument, the software decodes and at the appropriate time sends the MIDI event to the S2 daughterboard for synthesis. I also confirmed manual playback of files on a floppy disk worked.
Shortly thereafter, I switched from Raspbian to a stripped down Linux distribution. Much to my horror, I found the floppy drive no longer worked. Any attempt to mount or otherwise interact with the floppy drive would completely freeze the running program, and no amount of SIGINT or SIGTERM would regain control. The floppy drive had to be disconnected from the Pi.
I spent the next several weeks debugging why the floppy drive stopped working. I started with debugging the floppy drive itself, then confirmed the power supply was outputting the correct voltages and was clean. I even recompiled the Linux kernel with different options!
Eventually, I discovered the drive worked with the 4.14 Linux kernel, but stopped working some point thereafter. Facing an 8-month range of changes to the kernel, I turned to git-bisect and started a week-long hunt for the breaking change. Since this range was so large, and the underlying files so different, setting up a compilation cache did not decrease the rebuild durations.
After at least 16 bisection points, I was lead to a single commit in the kernel driver for the USB controller used by the Raspberry Pi, the DesignWare USB2. In this change, a communication delay was added after multiple successive NAKs in the USB protocol, to allow low-speed Chromebooks (and other ARM-based devices) to do other work, instead of being tied up in an interrupt loop.
The commit requests a 1 millisecond delay, but uses the kernel’s low-resolution timer API. On devices where this timer is coarse, like the Raspberry Pi, this delay might actually be closer to 10-20 milliseconds. Fortunately, most USB devices tolerate delays in the communication. Unfortunately, this drive is not one that does so. This drive only tolerates delays of up to 5 milliseconds.
With some help from some of the maintainers of the module, I was able to use the kernel’s Ftrace functionality to be able to debug without losing the use of my serial TTY. I was then able to rapidly iterate with changes to the kernel module, and load the rebuilt module into the running kernel using rmmod and insmod.
I have submitted my first ever kernel patch4, to convert the delay to the high resolution API. This API has a finer timer, allowing the delay to operate much closer to the requested 1 millisecond on retries.
Next Steps
Complete Player Software
With my kernel patch in hand, I can now return to work on the MIDI player software. I want to be able to insert a floppy disk and, with one button, load all the MIDI files stored there into a playlist and began playback. Then I will add buttons for the other basic playback controls.
I’ve been happy with using go-krazy as the Linux distribution. Writing the MIDI player in Go has been pretty nice, and it makes the whole project feel fast.
I’m now battle testing the MIDI parser to make sure my player can withstand whatever is thrown at it. I hope to make this available as open source software by the time I publish the next part of this blog.
Thinking farther into the future, the following project would add a display for album and track metadata.
Custom PCB and Case
I also aim to design a custom PCB for the synthesizer, buttons, display, and RTC, as well as integration with a power supply that can signal the Pi to shutdown before removing power.
I haven’t yet decided if I’ll do this PCB as a custom hat, or, since I’m not using the majority of the hardware functions, as a board housing the Raspberry Pi Compute Module. The decision here affects the case design.
Like the software, I plan on releasing both the PCB and the case designs as
MIDI Albums
To really sell the illusion that, on an alternate timeline for the 90s, we bought our pre-recorded music as MIDI on floppies, I’d love to commission musicians to compose some awesome tracks that can be packaged onto a floppy. Let me know via email if this appeals to you.
-
Except, perhaps, the floppy drive itself. ↩︎
-
There are no 12V rails in the current design, as the WaveBlaster-compatible, which we’re able to talk about, doesn’t require it. For compatibility, I’m wanting to include them in the final design. ↩︎
-
If not Caesar, then perhaps Peter van Houten. ↩︎
-
At this time, it is still pending review for a future kernel release. ↩︎